September 18, 2019
Exposing with a Graduated Filter
When do you need to use a graduated filter and what’s the right one to use?
A key piece of equipment for landscape photographers is a good set of filters. I have recently switched to using Kase Filters which I reviewed a few weeks ago. I am often asked a couple of questions about filters. How do I know when to use a graduated filter? This is closely followed by, why do I need more than one? I’ll try and demonstrate how I approach using graduated filters.
When should I use a graduated filter?
When you look at a graduated filter, you’ll see that it is dark at one end and gradually gets lighter to the other end of the filter. At the darker end of the filter, it will slow the light coming through the lens. We can use this effect to balance the exposure of our photographs in high contrast scenes.
Let’s think about taking a shot that includes clouds and foreground. In the middle of a sunny day, the amount of light hitting both the clouds and foreground will be quite similar. However, when there are either angry dark clouds or at either end of the day, the contrast between the sky and foreground can be quite large.
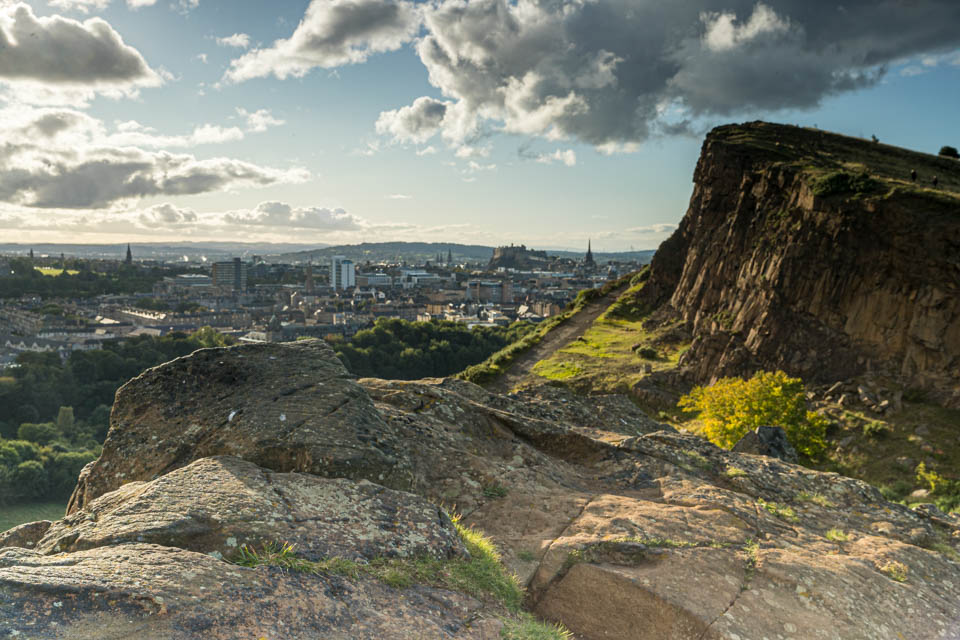
Our cameras can capture around 14/15 stops of light from the darkest elements (usually the foreground) and the lightest (the sky). If the dynamic range of the scene we are shooting is greater than this we are either going to under-expose the darkest parts of the scene or over-expose the highlights. In the shot below, the histogram shows a spike on the right-hand side. This means we aren’t capturing any information in the sky. This is a great example of when we need to use a graduated filter.
Which graduated filter should I use?
Before we look at the technique of using a graduated filter it’s good to know the different options available. Grads are available with different stop values. (Remember to check out the recent blog about what a stop is). Kase offers 4 different graduated filters ranging between 2 and 5 stops. As an example, this means that the darkest part of the 2-stop filter two stops of light darker than the clear part at the bottom of the filter.
We need to try and balance the light in the sky with the foreground which is currently exposed correctly. To do this we need to calculate the number of stops that we need to reduce the sky’s exposure so that all the detail is captured in the histogram. With my Canon 1DX, I can visualise the histogram in Live View. If your camera doesn’t let you do this then you could take a series of test shots with faster shutter speeds until the histogram captures the highlight detail. By changing the shutter speed from 1/8th of second to 1/200th, the detail in the sky is now within the range of the histogram. This is a difference of 4.67 stops.
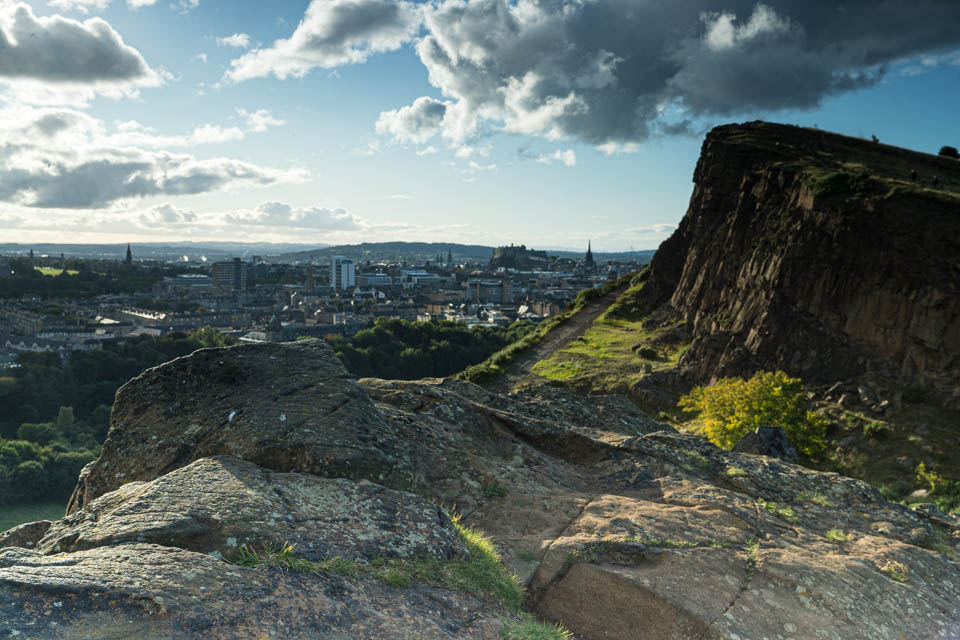
A rule of thumb I like to use with graduated filters is to use the graduated filter which is one stop greater than the difference between the two exposures. In this case, as we have a difference of nearly 5 stops then I’ll use 6 stops of the graduated filter by combining my 2 Stop and 4 stop filters in the holder. You can see the resultant shot below which has no other edits. I hope you’ll agree that it gives a really natural result without the need for lots of post-processing techniques.
If you’ve got any questions or comments, leave them below. You can also sign up for the Edinburgh Photography Workshop monthly newsletter where you’ll get regular updates on interesting things happening in photography and some great tips. Sign up by clicking here.