June 10, 2020
Non-Destructive Editing in Silver Efex Pro
DxO has released a new version of the Nik Collection with a welcome addition to SilverEfex Pro, non-destructive editing
One of the best black and white editing tools available is Silver Efex Pro. Pretty much every wedding photographer I know uses it as part of their workflow. Initially produced by a company called Nik Software, they were acquired by Google and then sold on to DxO who are now doing some welcome developments. A new version of the Nik Collection suite was released last week which has a feature that’s been missing for ages, non-destructive editing.
What is non-destructive editing?
All the Nik Collection tools integrate well with Photoshop and Lightroom. You can flick from the Adobe programs into any of the collection, make the changes and then save them back. The one problem we had is that if you wanted to make further changes to the edited photo, then you couldn’t pick up from where you left off. DxO has fixed this in version 3 of the Nik Collection with a non-destructive editing feature.
Making changes in Silver Efex Pro
We last looked at Silver Efex Pro in the Colour Pop Blog in November 2018. The way you move from Lightroom to Silver Efex Pro hasn’t changed. Once installed, you can right-click on the image and take the option ‘Edit In’ and select Silver Efex Pro.
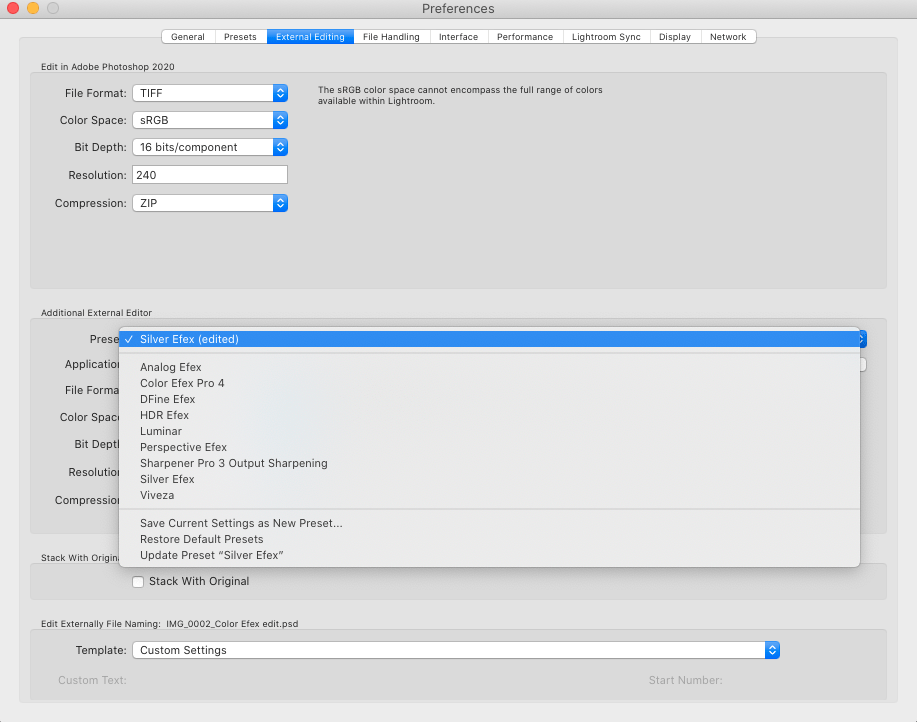
If it isn’t on the list of programs available for editing, then you’ll need to add it in the Lightroom Preferences. Click on the External Editing tab. In the Additional External Editor section, click on the Choose button and navigate to the Silver Efex Pro app on your hard-drive and then press the Choose button. Finally, click on the Preset drop-down box and take the option Save Current Settings as New Preset.
Make any changes to the image using the vast array of options. In the old version of the Nik Collection, you would press the Save button and head back into Lightroom. However, if you want the ability to do non-destructive editing from the same point, there’s a new option available on the screen. Tick the box ‘Save and Edit Later’ before pressing the Save button, and you have created a snapshot that you can return to later. As you’ll see, this means that you’ll create a bigger file. In the test we did it increases the size from 84.93 MB to 169.83 MB. I’d only recommend using this function if you think there will be a need to go back and forth.
Going back to make more edits
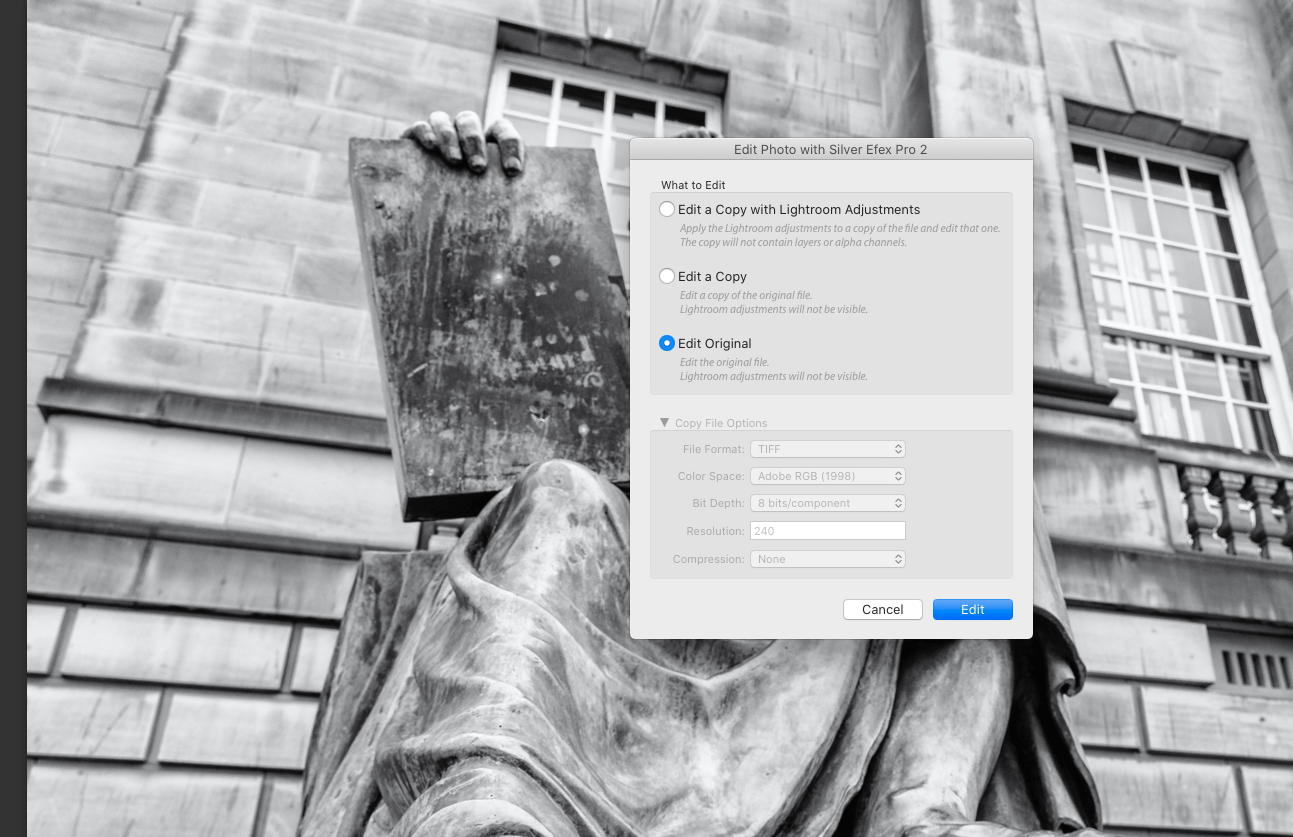
There is one more change that you’ll need to make to the workflow to pick up the edits in Silver Efex Pro. From Lightroom, you’ll still right-click and take the option Edit In > Silver Efex. This time in the dialog box that appears you will need to take the option Edit Original instead of Edit a Copy with Lightroom Adjustments. When Silver Efex opens up, you’ll see all the edits you had done previously.
This week we’ve covered one of the main changes to Silver Efex. The other programs in the Collection have added this non-destructive editing feature too. Next week, we’ll do a more extensive review of the improvements made in Version 3 along with the introduction of a new Perspective tool.
Now you can hear us too!
From this week, you can listen to the weekly blog as well as read it. Head to your usual podcast providers such as iTunes or Google podcasts and search for The Edinburgh Photography Workshop Podcast. If you do like listening, please subscribe to hear it every week and leave a review. That helps others to find the podcast as well, you see.
Give us your feedback
If you’ve got any questions or comments, leave them below. You can sign up for the Edinburgh Photography Workshop monthly newsletter where you’ll get regular updates on exciting things happening in photography and some great tips. Sign up by clicking here.
![]()