April 7, 2018
A rule of thirds that should be broken
Why understanding hyperfocal distance will make your photographs sharper from front to back.
Any budding landscape photographer will have read that the focus point in an image should be about a third into the scene. In the majority of circumstances, this advice is good, and you will get a shot that is sharp from front to back. However, there are some circumstances when this received wisdom actually makes your picture less sharp. This is where you’ll find the benefit of understanding hyperfocal distance.
What is the hyperfocal distance?
The hyperfocal distance sounds like overly technical terminology that will scare the majority of people. The definition is actually quite simple. It is the point where anything half the distance in front of the focus point, all the way to infinity, is acceptably sharp.

Most people won’t want to be carrying out calculations whilst they are in the field. Helpfully there are a number of mobile device apps that will do the work for you. My preferred app is Photopills (https://www.photopills.com/) which is available for both Android and Apple devices. It contains a number of helpful planning tools as well as a hyperfocal distance calculator. There are many other apps that do the same job if you’d like to search the relevant store for your phone.
When should I use the hyperfocal distance method?
As you can see from the diagram above, the depth of field extends both in-front and behind the focal point. We also know that as the aperture size reduces, the depth of field extends (all other things being equal). It is fairly easy for landscape photographers to dial in an aperture around f8 – f14 and the focus will quickly extend to infinity. The sweet spot where hyperfocal distance becomes beneficial is where your scene has elements very close to the camera.
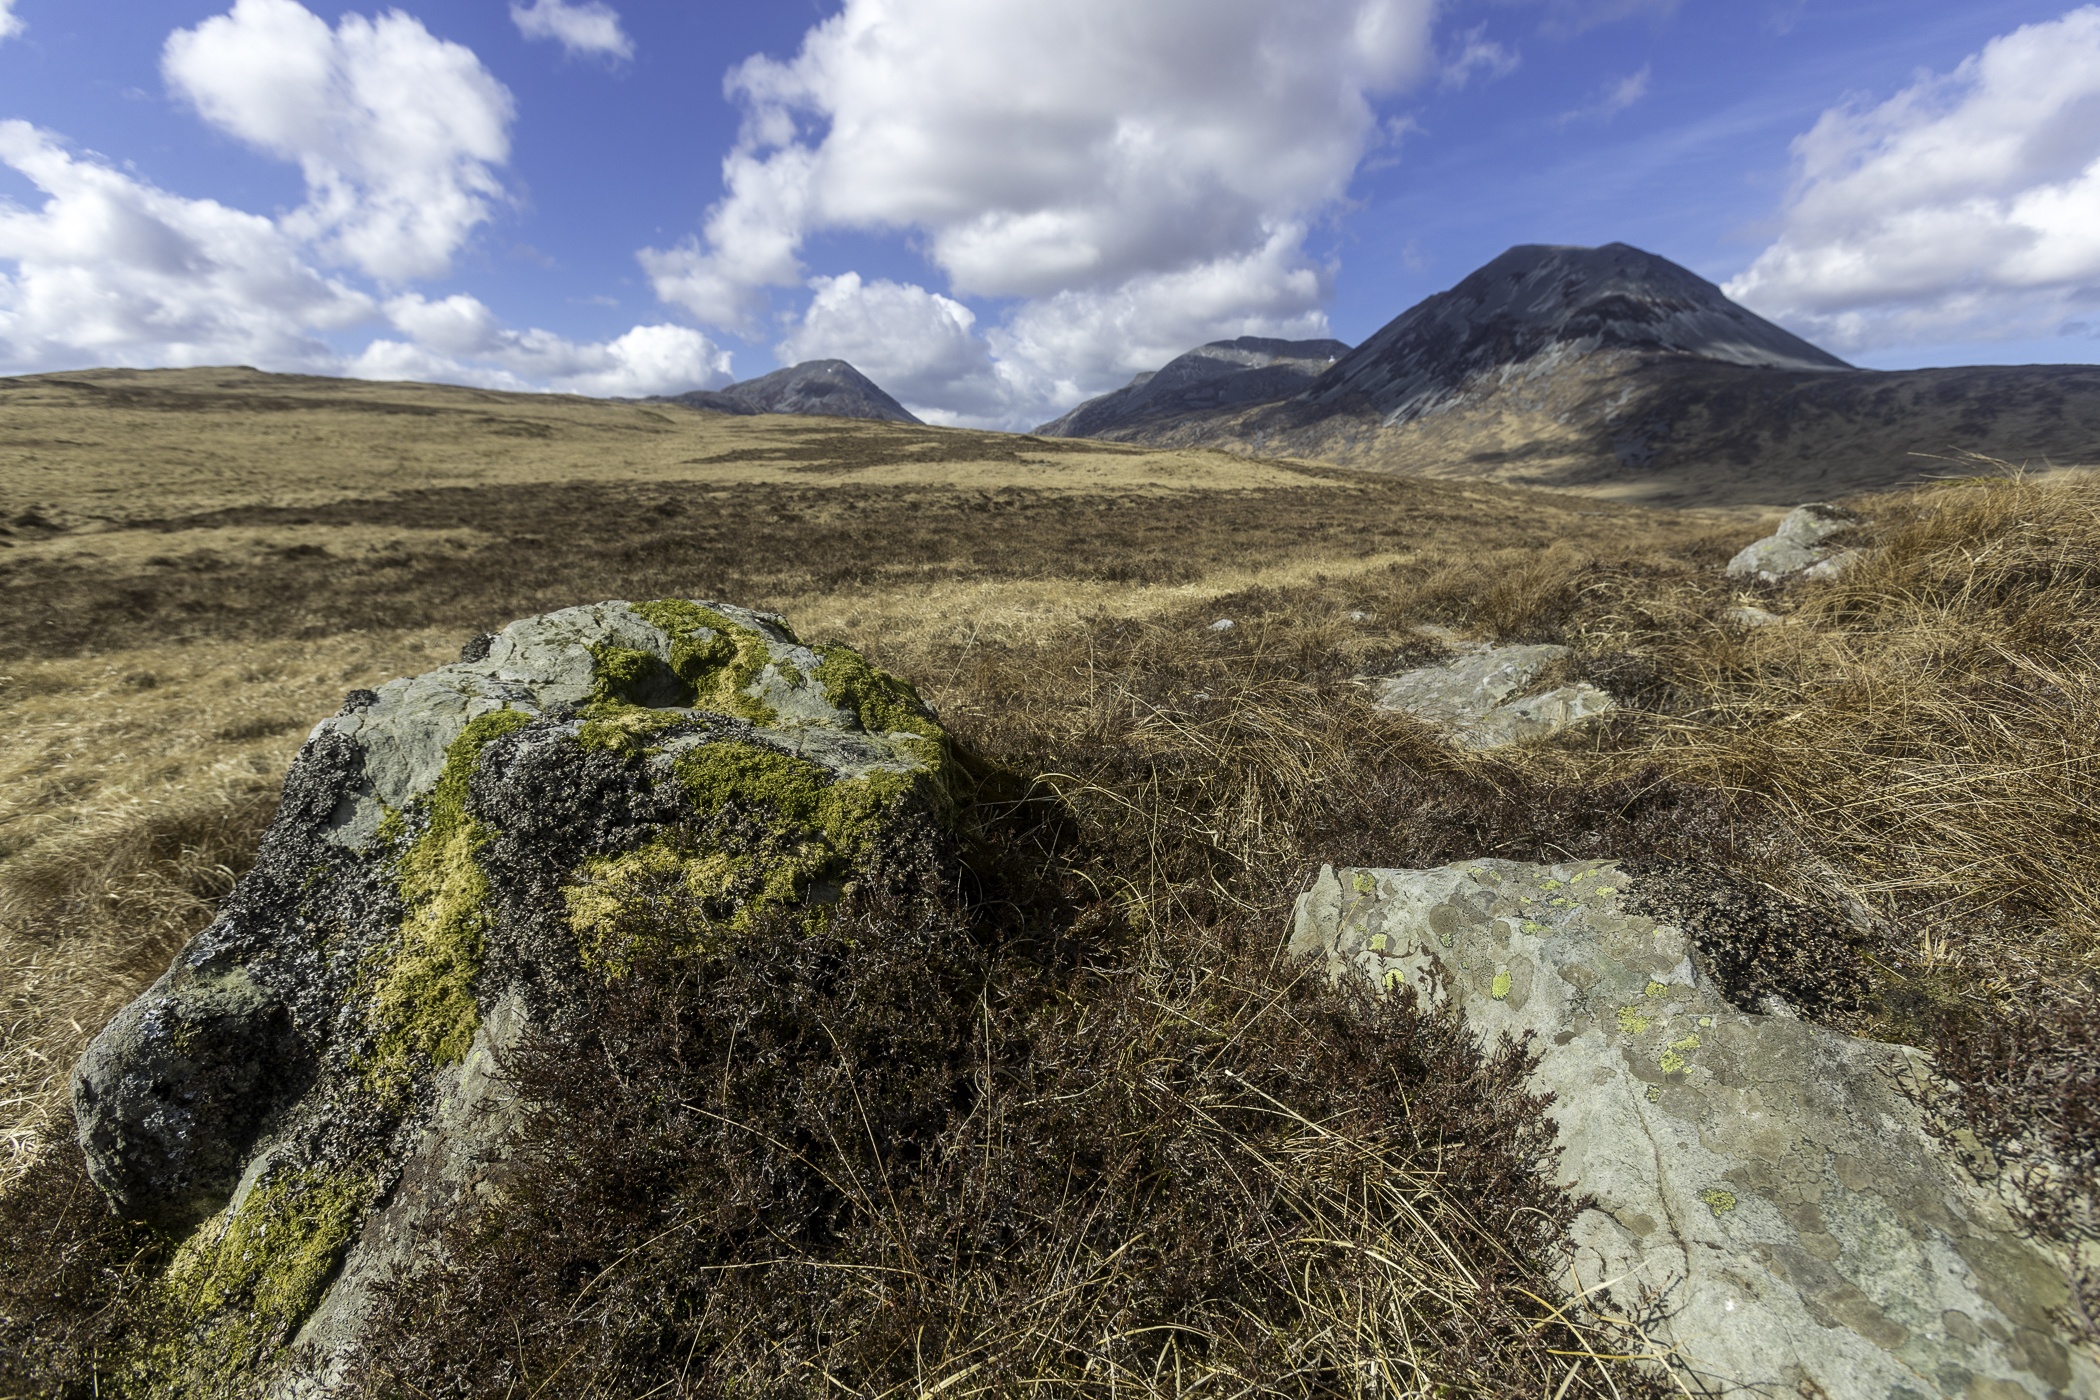
There are two examples below, one focussing at the hyperfocal distance on the left and the other around a third of the way into the scene. Both photographs were shot at a 16mm focal distance and used an f8 aperture. Any changes (such as highlights and shadows) have been applied consistently using the sync function in Lightroom.
On the face of it they look pretty identical, and if you are only sharing your images on social media then either of these two shots is more than acceptable. However, if you get to the stage where you are either printing your own work to put on your wall or, even better, selling your work for other people to display, then you will start to see the difference.
Using the hyperfocal distance technique, the focal point is 1.08m in front of the camera which gives us an ‘acceptably sharp’ range of 54cm to infinity. With the ‘third of the way into the scene’ method, the focal point will be 100m in front of the camera as the mountains are around 300m away. Photopills also has a depth of field calculator and this tells us the acceptably sharp range not using hyperfocal distance is 106cm to infinity. By focussing using the hyperfocal method we have extended the area of sharpness by over half a metre.
I don’t see a difference in the two pictures?
Let’s look at the two photographs at a 100% crop.- The area on the right-hand side of the image where the rock and grass is, we can see that there is a softness in the ‘third into the scene’ image on the right that doesn’t exist in the hyperfocal version.
The takeaway from this exercise is that the long-held method of focussing a third into the scene isn’t going to get the best results when there is an object close to the camera. It’s not always possible or desirable to be carrying a tape measure to a scene. A better rule of thumb which works in the field is to set your focal point around 1.5 metres in front of the camera and you will get much sharper images from front to back.
The Edinburgh Photography Workshop Introduction to Landscape and Seascape workshop and the fabulous three-day West Highland Landscape workshop are great ways to practice your use of the hyperfocal technique.