July 17, 2018
Filter magic
Slow down time; increase dynamic range and see through water
Last week’s blog briefly touched on the dynamic range of a DSLR camera. This week we are going extend the dynamic range of photographs. Additionally, we can slow down shutter speeds and even make water more or less reflective. To do this we are going to look at how different types of filter can improve the pictures we take.
The first key thing is to mention that there are different types of filters you can buy. Some screw directly onto the front of the lens. This type of filter can have a number of issues, particularly if you want to stack more than then one filter as it will cause a vignette. This means that you will start to see the edge of the filters around the side of your photographs. Another downside to this type of filter is that you may have lenses that have different diameters, so you will need a filter for each diameter lens that you may want to use them on.
The alternative filter type is a system which allows you to drop in filters to a system that is attached to the lens via a filter ring. This means that you can use the same filters on lenses with differing diameters by buying a relatively cheap ring. There are a wide variety of systems ranging from very cheap to very expensive. I would stay away from the extremely cheap options that you can buy through sites such as Amazon or E-Bay and instead look at brands such as Cokin, Lee or NiSi. Generally, the more you pay for a filter the better quality it is, so the next section will help you decide which are the filters you will need.
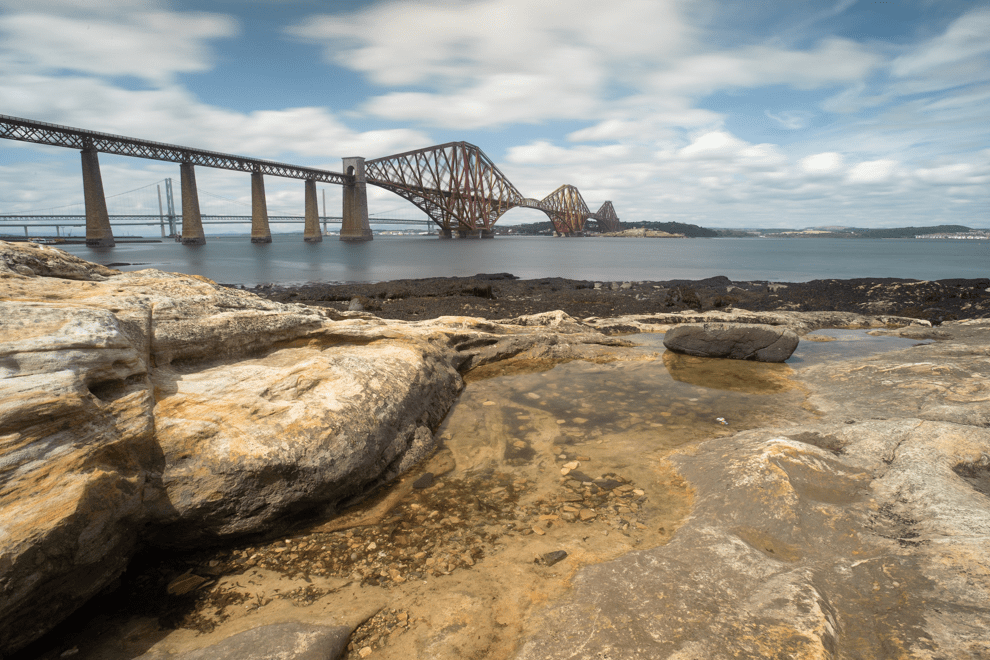
We are going to photograph the Forth Bridge in South Queensferry, close to Edinburgh. This shot has been taken without any filters or changes made in post-processing to the file. Whilst it looks a pretty good shot the dynamic range of the scene means that when we expose to the right, we have not captured some of the shadow detail in the bottom left.
Graduated ND Filter
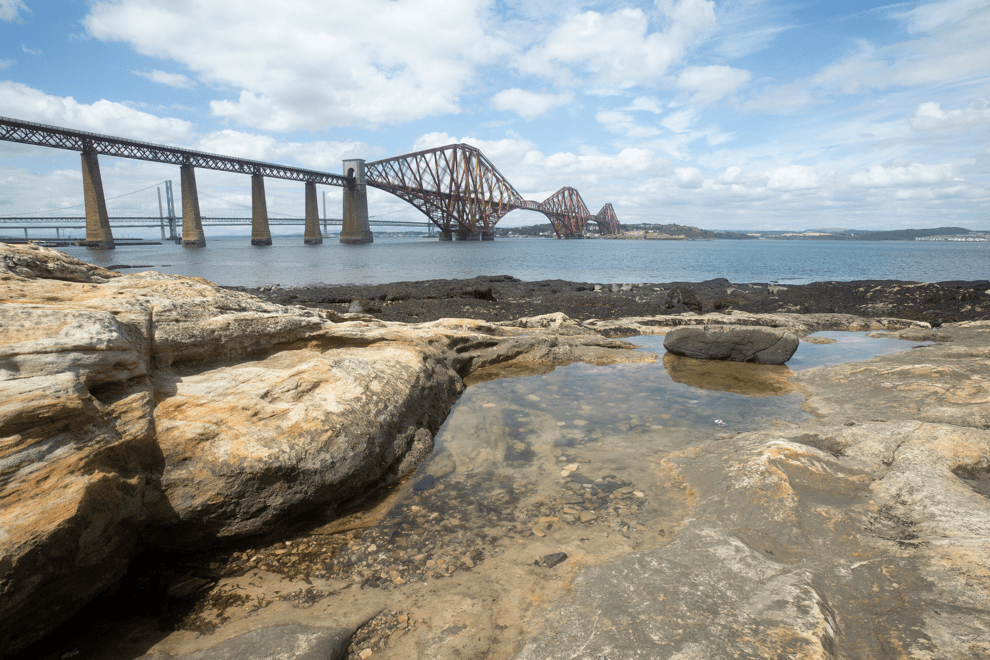
The first filter we are going to look at is the Graduated ND (Neutral Density) filter. The filter’s name comes from the design where the glass or PVC at one end of the filter is dark then gradually lightens until it is clear at the other end of the filter. Where the filter is darker the light coming into the lens will travel slower. The Forth Bridge image is a good example where this is useful. By lowering the dark part of the graduated filter to the water we are slowing down the light in the brightest part of the image. As a result, we can now ‘brighten’ the foreground by slowing the shutter speed by 1 stop and get more shadow detail.
This has improved the dynamic range of the photograph by not over-exposing the sky and getting more detail from the foreground. However, the waves in the river can be a little distracting. This is where the next type of can help.
ND Filter
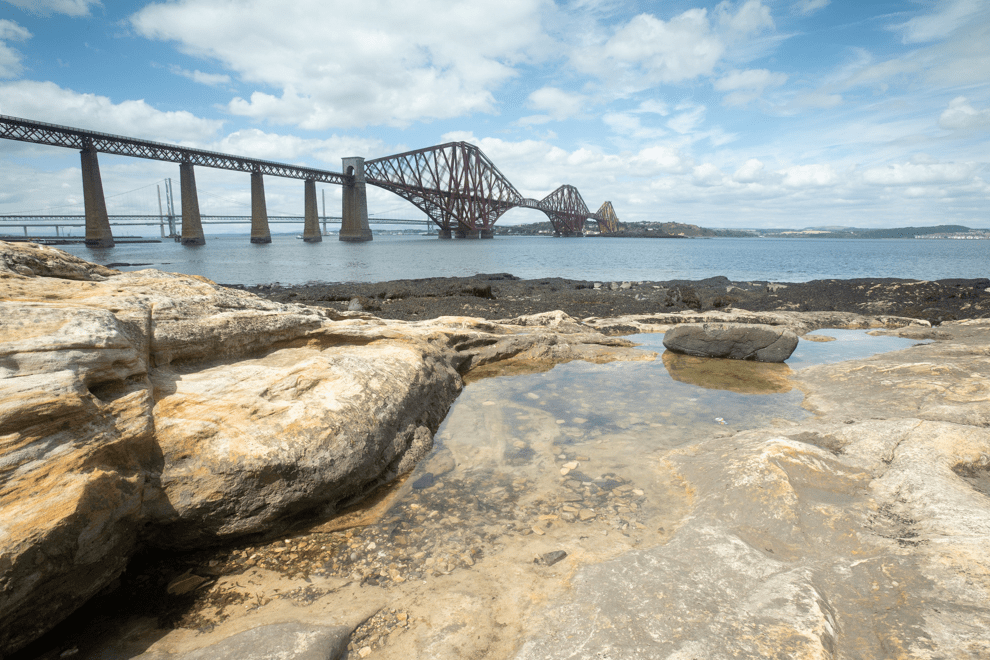
The ND filter, unlike the graduated filter, has a solid darkness to the glass or PVC. The entire filter slows down the light coming into the lens and allows longer shutter speeds. It is possible to get both the graduated and ND filters in varying darkness levels. They are described in terms of the number of stops of light that it slows down. This next image has been taken with a 10-stop filter in addition to the graduated filter. This has slowed the shutter from 1/40th of a second to 15 seconds. With this slower shutter speed, the waves have blurred so they look smooth.
The final filter we are going to look at is going to add some punch to the photograph and also allows us to be more creative in the end result of the photograph.
Circular Polarising Filter
A circular polarising filter can do a number of things to your end image by changing what kind of light passes through to the sensor. It works in a similar way to sunglasses that reduce the amount of glare from the sun.
Light travels in waves that are like a coil with both a vertical and horizontal movement. When the scattered light meets a horizontal surface, such as water, a large portion of the light is reflected with horizontal polarisation – this is what we refer to as glare. Sunglasses contain a layer of material which is a vertical polarising material and so this prevents the horizontal light coming through the lens and therefore reduces the glare.
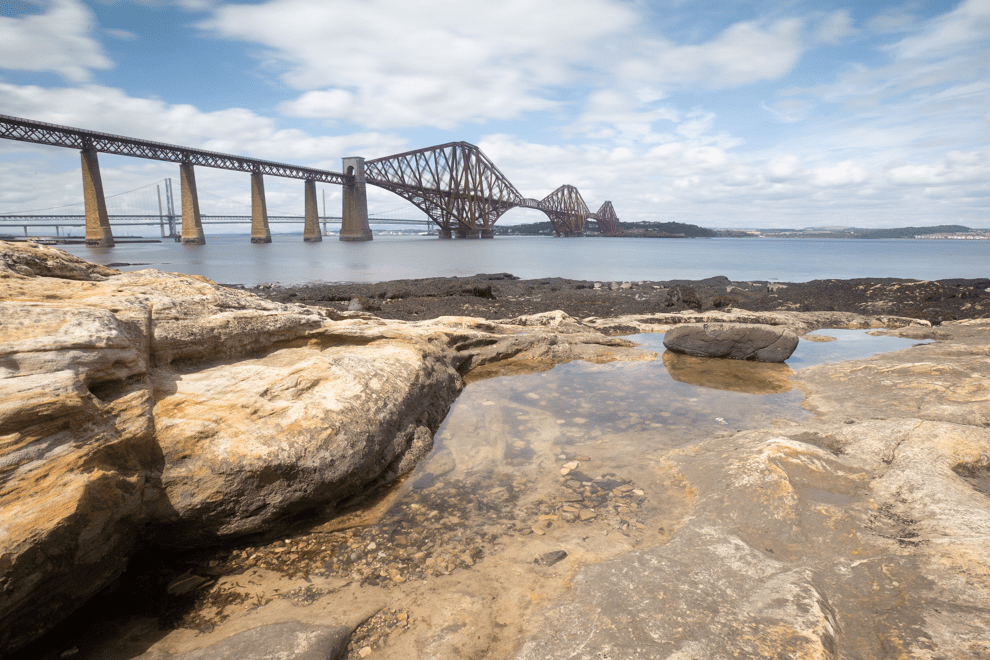
The circular part of the polarising filter is this same material and as it rotates it either increases or decreases the amount of polarisation that is applied. The effect can be seen in the two photographs below. They were taken with the circular polariser added to the ND and the graduated filter. The photo on the left was taken with the polariser twisted so that the vertical polarisation wasn’t being applied and the one on the right with a turn of 90% so it was. You can see the image on the right has intensified the blue in the sky. It has also made the water in the pool at the front disappear allowing us to see the rocks that were underneath.
The Landscapes & seascapes Workshop is a great way to start learning how to use your filters. They are full-day workshops from dawn to dusk running from September to March.