October 18, 2023
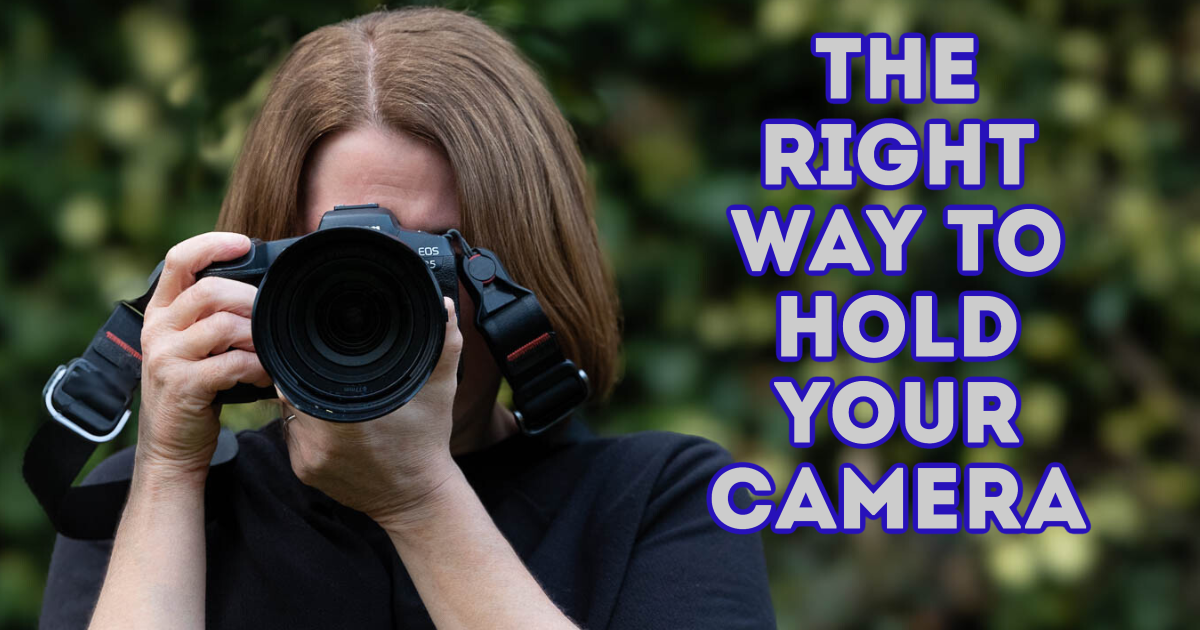
The Right Way to Hold Your Camera
Getting sharp photographs isn’t just about the settings you use. The way you hold your camera can also aid in getting great shots.
A couple of weeks ago, I was presenting my talk “The Great Myths of Photography” at a camera club. One of the questions was whether you should always use a tripod. Landscape photographers particularly like to use tripods, and they have many benefits in creating stability. Often, you want the flexibility of hand-holding, or the location you’re shooting in won’t allow the use of tripods. This is when knowing the right way to hold your camera will help provide a stable platform.
When can you hand-hold?
There’s a simple rule of thumb to determine if you can or cannot hand-hold. Take a look at the focal distance on your lens. There could be two numbers, such as 18mm – 45mm if it is a zoom lens. Alternatively, if you have a prime lens, there could be just one number (e.g. 50mm). Whichever it is, take the largest of the numbers and make that into a fraction by putting it under 1. In the first example, this would be 1/45th, and the second would be 1/50th. This is the slowest shutter speed that you can hold the camera without noticing camera shake. Your camera might not have the exact shutter speed available. In that case, select the next fastest shutter speed. Remember, this is the slowest shutter speed you can hand-hold at – you can always go faster, and on many occasions, it will be essential to go faster to freeze motion.
You may need to increase your ISO value or change the aperture used to ensure good exposure at the slowest hand-hold shutter speeds. If you aren’t sure which is the right one to change, you should book the Switch to Manual workshop to understand the fundamentals of exposure. Now, let’s look at the right way to hold your DSLR or mirrorless camera.
The Foundation: Grip and Stance
When holding a DSLR, it’s crucial to have a secure and comfortable grip. Here’s how to do it:
Place your right hand around the grip, resting your index finger on the shutter button. Your remaining fingers should curl comfortably around the grip. Use your left hand to support the camera from underneath. Your fingers should lightly cradle the lens. Avoid blocking the lens with your fingers, as this can affect the focus and composition.
Stability is key to getting sharp images. Stand with your feet shoulder-width apart and slightly bend your knees. Tuck your elbows in close to your body for added support. This stance helps minimise camera shake, especially in low-light conditions.

In most cases, you’ll want to ensure the camera is parallel to the ground. This will ensure that any vertical lines in the scene are straight. Keep your grip firm but not too tight to avoid any unintended button presses.
Try to get used to changing your shutter speed, aperture and ISO without removing your eye from the eye-piece. An excellent way to practice this is to spend a few hours while watching the TV at night by training your fingers to move from each button or dial. It’s similar to how military people train to strip and put together a shotgun. If you can do everything without looking, you’ll need to think less about the mechanics of taking a picture.
Shooting in Portrait Orientation
Sometimes, you may want to shoot using a portrait orientation instead of landscape. In this case, you should turn the camera 90 degrees anti-clockwise so the shutter button is at the top of the camera. The reason is that if the shutter button is at the bottom when you press it, the most unstable point of the camera is where your fingers are moving. With the shutter button at the top, you can stabilise the camera by resting your left hand under the body with your fingers again cradling the lens.

The curse of the left-eyed shooter
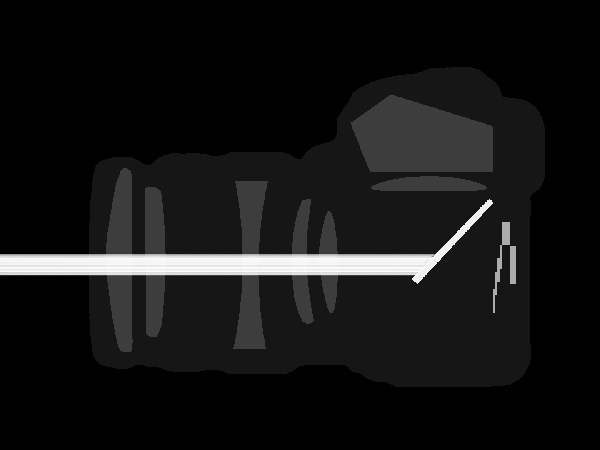
I’m sure most people know if they are left or right-handed. Did you know that people are also left or right-eyed? Think about it – when you put a camera to your face, do you naturally look through the eye-piece with your left or right eye? Just like many things in the world, cameras have been designed for right-handed people and, therefore, by accident, also for right-eyed people. The shutter button is operated by your right hand, as are most of the controls. Right-eyed people will find their nose, naturally sitting to the camera’s left side and can look directly through the eye-piece. On the other hand, left-eyed people will have their noses hitting the back screen or, even worse, the buttons that operate the shutter speed or aperture. Why is this important?
The reason is in the last three letters of the acronym DSLR. They stand for Single Lens Reflex. This means light enters the lens and hits a mirror angled at 45 degrees. It then hits another set of mirrors in the shape of a pentaprism. This projects the image into your eye, and then when you press the shutter button, the mirrors lift and allow the light to hit the sensor in your camera. If you don’t look directly through the eye-piece, then the image you “see” won’t be the one that will hit the sensor. So, if you are a left-eyed shooter, take extra care to ensure that your nose position isn’t affecting what you see through the eye-piece.
Please give us your feedback.
If you’ve got any questions or comments, leave them below. You can sign up for the Edinburgh Photography Workshop monthly newsletter, where you’ll get regular updates on exciting things happening in photography and some great tips. Sign up by clicking here.
About the author
As well as running Edinburgh Photography Workshop, Rich Dyson is a professional photographer. His photographs are regularly used in newspapers such as The Times, Guardian and Daily Telegraph. He also had two solo exhibitions and was featured in a members-sponsored exhibition in the Scottish Parliament. You can see and buy his photography at richdysonphotography.com.