March 4, 2020
Smoke Photography
In this week’s blog, we let chance create out-of-this-world shapes with smoke photography
It’s week four of being stuck inside recovering from the broken ankle. I have had some really great feedback on the last few blogs from readers of the monthly newsletter. This week we are going to create some abstract images using smoke photography. They make great images straight out of the camera. We’ll also do some Photoshop processing to give a colourful look as well.
Shooting Smoke Photography
The set up to capture smoke photography images is another quite simple one. We are going to create the smoke with an incense stick. We’ll place the stick about a metre away from a black background. About 30cm from the stick I placed a flash using a Rogue Grid Diffuser so that the light is targeted where the smoke will rise from the incense stick. The camera is on a tripod and is about 60cm from the incense stick and is manually focussed onto the stick. You can see the set up below.

The camera settings will start to become fairly familiar with the previous posts. We’ll set the aperture to f/11 so that we get a reasonable depth of field. The ISO needs to be set as low as possible so we reduce the amount of noise. We can then balance the exposure using the shutter speed. Remember, motion is going to be frozen by the flash, not the shutter.
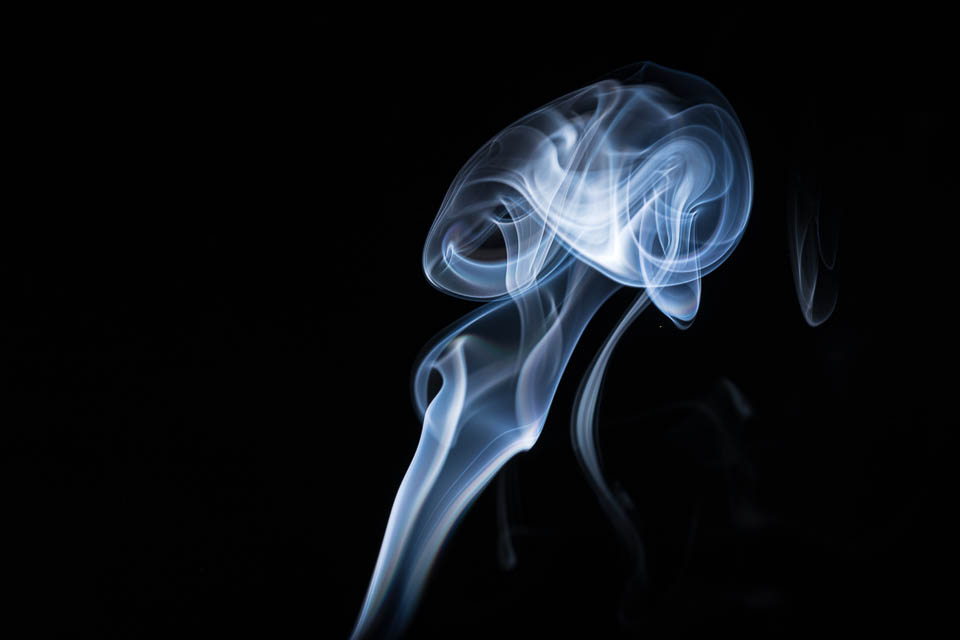
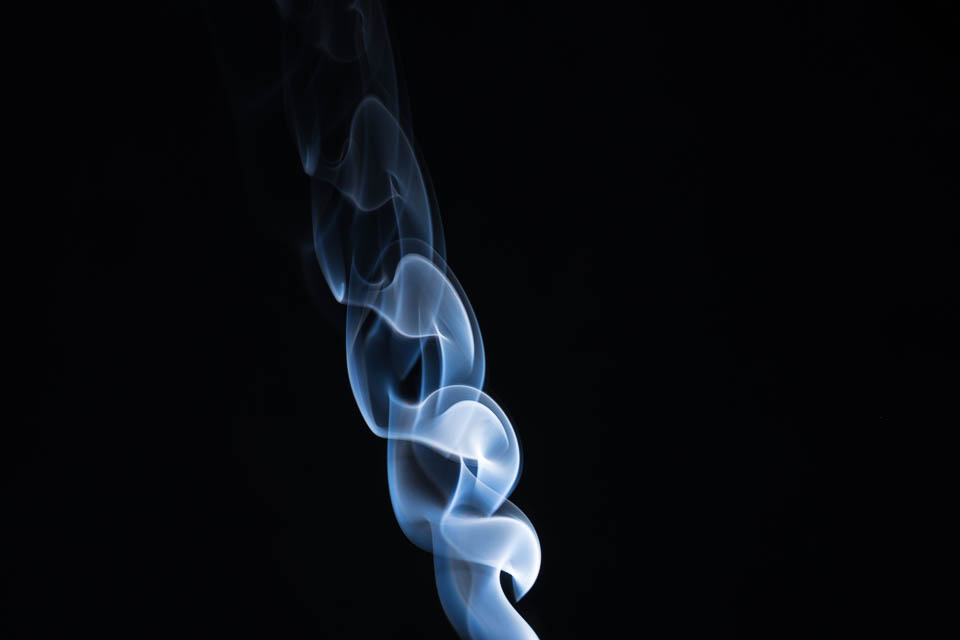
Once you are ready to go, light the incense stick and start to have fun. Waving your hand around the smoke creates some interesting shapes. You’ll soon find which movements create different shapes. There are a few examples of the type of results that you can get below.

Photoshop Processing
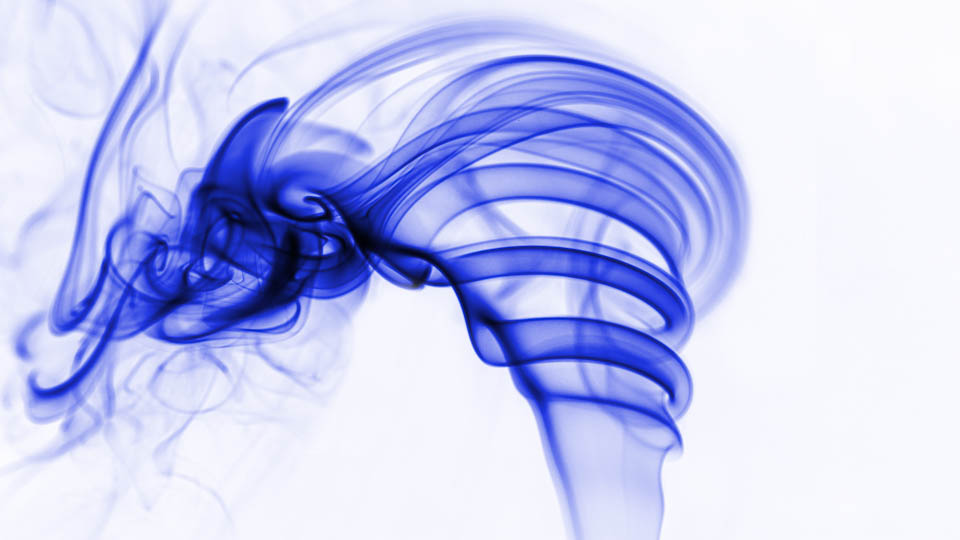
The smoke photography photos look really interesting out of the camera. Now, we are going to do some simple processing to create a colourful version on a white background. We’ll take the photograph into Adobe Photoshop. We are going to create a couple of Adjustment Layers. You can do this in two different ways. The first is to use the Adjustment Panel which should be visible on the right-hand side of the screen. If it isn’t there then go to the Window menu in the toolbar and tick the word Adjustment. The second way is to go to the Layer menu in the toolbar and take the option New Adjustment Layer.

The two layers we are going to add are Hue/Saturation and Invert. You’ll see that as soon as you add the Invert layer we have a white background. We are halfway there! To change the colour of the smoke we need to double-click on the circle to the left of the words Hue/Saturation in the Layers panel. This opens the properties box.
The first thing we are going to do is to make sure that we are going to make a monotone image by clicking on the Colorize box. Now you can use the Hue slider to change the colour of the smoke. The Saturation and Lightness sliders will change the intensity of the colour.

I finished off the editing by cloning any areas of the smoke that I didn’t think worked. This gives us a really great clean image that you can see at the top of this blog.
Give us your feedback
If you’ve got any questions or comments, leave them below. You can sign up for the Edinburgh Photography Workshop monthly newsletter where you’ll get regular updates on interesting things happening in photography and some great tips. Sign up by clicking here.