August 31, 2022
Moving photos in Lightroom
How to keep your Lightroom catalogue tidy as well as free up space on your computer hard drive

This week I was asked by someone to help resolve a Photoshop problem. They were unable to edit images as their scratch disk was full. Understandably, they wondered how to move the scratch disk to an external hard drive with lots of space on it so they could edit again. However, the problem wasn’t the scratch disk itself, but the internal hard drive had hardly any room because it was full of photos. To resolve the issue, we moved the photos to the external drive, but in a way that ensures the images in the Lightroom catalogue didn’t lose their connection.
How not to move photos
Before we look at the right way to move photos as a Lightroom user, it’s worth knowing why not to do it the ‘easy’ way. I am sure many people would go into Finder on a Mac or File Manager in windows and click and drag from the internal to external drives. Whatever you do, don’t do that unless you like lots of manual work on the back end of your task.
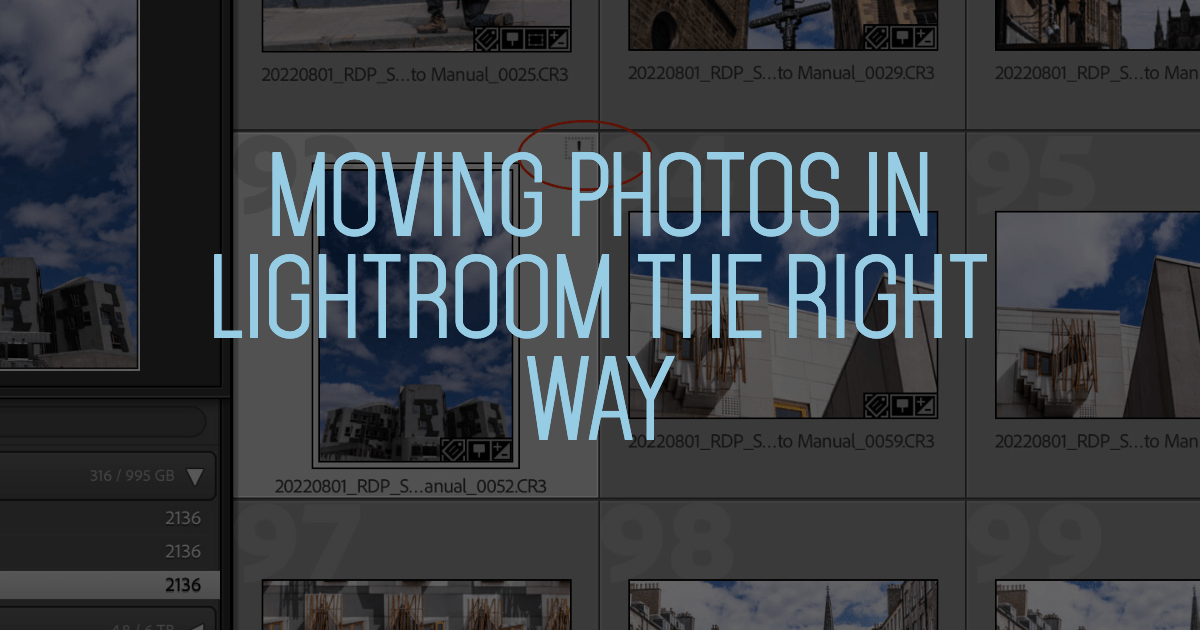
The reason for this is that Lightroom is actually a cataloguing system and doesn’t have any pictures inside it. The software links the picture stored on your hard drive and a catalogue that records any changes you subsequently make in Lightroom. If you move the photo without telling Lightroom where you have moved it to, it loses the link, and you can no longer ‘see’ the images you’ve edited in the past. You can tell when the link has been broken as an exclamation mark is visible in the Library module as circled below.

If just one photo is missing, you easily re-link it by clicking on the exclamation mark, and you will be asked to locate where the file is now being stored. Once you have pointed Lightroom to the new file, the new location will be added to your catalogue, and you can start editing the image again.
If an entire folder is missing, which will more than likely be the case if you have moved lots of images in Finder, then you need to tell Lightroom the new location slightly differently. This time right-click on the folder in the Library module and take the option Update Folder Location.
Both these methods are time-consuming ways to fix pictures being moved outside of Lightroom, but there is an easier way.
And now, the right way
The better way to move photos from your internal drive to external ones is to let Lightroom do the re-linking work for you. In the Library module in Lightroom, you can move pictures from one place to another by dragging and dropping the folders. Simply select the folder you want to move and then drag it to the new destination.
If your external drive isn’t visible in Lightroom, you can add it by clicking on the ‘+’ sign at the top of the Folders section and taking the option Add folder. Navigate to your external drive and then click Choose, and you’ll now be able to move photos to the drive inside of Lightroom. Moving items this way retains the links in the Lightroom catalogue and keeps your library of images nice and tidy.

Please give us your feedback.
If you’ve got any questions or comments, leave them below. You can sign up for the Edinburgh Photography Workshop monthly newsletter, where you’ll get regular updates on exciting things happening in photography and some great tips. Sign up by clicking here.
About the author
As well as running Edinburgh Photography Workshop, Rich Dyson is a professional photographer. His photographs are regularly used in newspapers such as The Times, Guardian and Daily Telegraph. He also had two solo exhibitions and was featured in a members-sponsored exhibition in the Scottish Parliament. You can see and buy his photography at richdysonphotography.com.