November 20, 2019
Lightroom Profiles
The quick way to convert your photos to give a different look and feel
You may now know it, but Lightroom has a really easy way to give your photos a different look. Lightroom profiles are slightly hidden in the Develop module. Once you find them you’ll be able to choose from a whole set of looks. You can decide on a variety of black and white treatments or even recreate the feel of film.
Where do I find Lightroom Profiles?
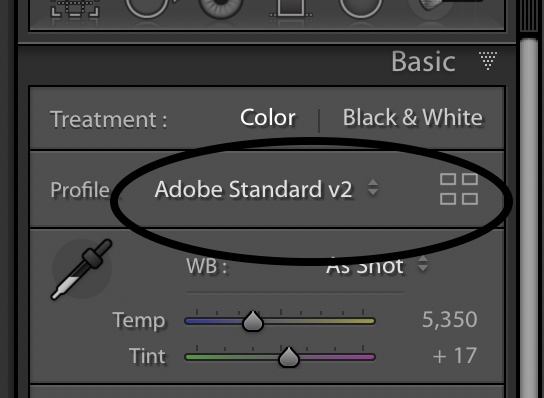
On the right-hand panel in the Develop Module, click on the Basic section and you’ll see the profiles at the top of the panel. By default, Lightroom will show the Camera Profile that was applied by your camera. Your camera will allow you to decide to set a combination of Sharpness, Contrast, Saturation and Colour Tone In a Canon Camera the default profiles are Faithful, Neutral, Landscape, Portrait, Standard and Monochrome. These are only useful if you are shooting in jpeg format (which I wouldn’t recommend) as you have always been able to change the profile in Lightroom.
Recently, Adobe added more profiles to this section and you now have the capability to start your editing process with some different looks. To see the range of Profiles available, click on the four rectangles to the right of the current profile name.
There are now six new sections that are available when you click on the All button at the top of the new Profile Browser. The top two sections offer some basic profiles. The Adobe Profiles section is a set of profiles that Adobe thinks generically suits the particular styles. The next section contains profiles that match the camera the selected picture has been taken with. For example, if you took a picture on a Canon camera using the Neutral Profile, you could change it in the Camera Matching section to any of the profiles that would be available in the camera menu system.
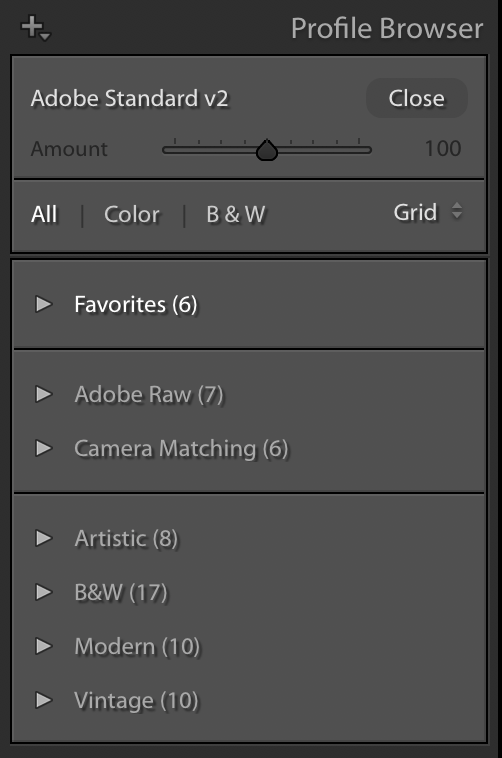
The final three sections are creative profiles and allow you to apply either Artistic, Black and White, Modern or Vintage profiles. IN the next section we’ll see how they can change the photograph you have taken.
The effect of Lightroom Profiles
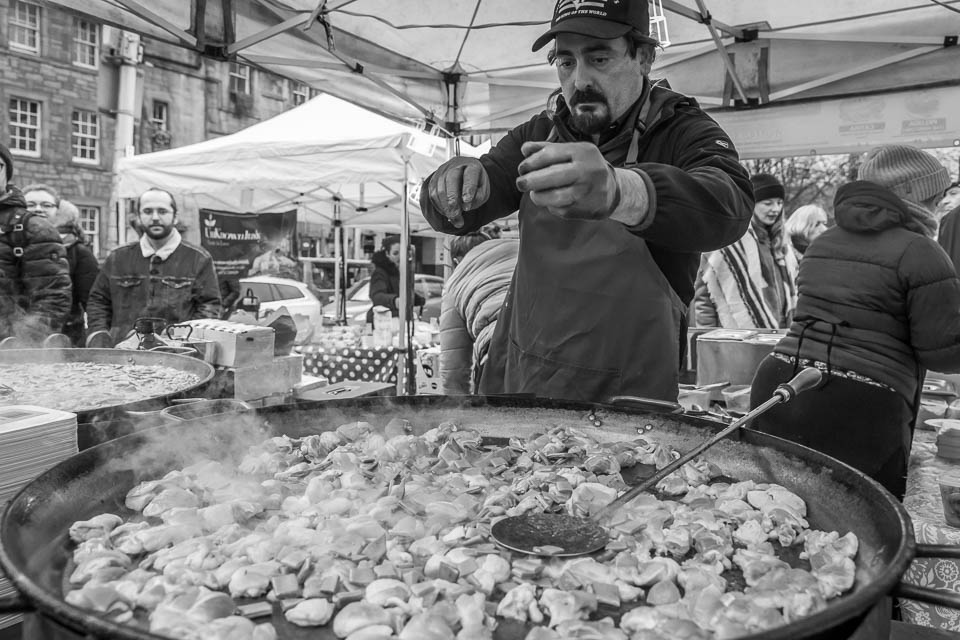
Let’s look at how each of the profiles can change the look of your camera by using a photograph taken during one of the recent Switch to Manual photography workshops. You can see a preview of the changes that will be applied to a photograph by hovering over the various profiles in the window and it’s only when you click on the profile that it’s applied to the photograph. Don’t forget you can always step back to the previous look by clicking in the History panel on the left of the Develop module.
I’ll just show a selection of the four creative profiles but you can try them for yourselves.
Artistic Profiles
B&W Profiles
Modern Profiles
Vintage Profiles
Aren’t Profiles just like Presets?
The straight answer is yes they are. However, they are a bit more clever for two reasons.
Firstly, a preset applies a series of changes to various sliders that are on the right side of the Develop module. Profiles, don’t make any changes to the sliders so this means that you can apply your own changes after the profile you select has been applied.
Secondly, you can decide how much of the Profile effect to apply by sliding the Amount slider at the top of the Profile Browser window. This gives you lots of control of the style that you want to apply to your photographs before you start editing.
Give us your feedback
If you’ve got any questions or comments, leave them below. You can sign up for the Edinburgh Photography Workshop monthly newsletter where you’ll get regular updates on interesting things happening in photography and some great tips. Sign up by clicking here.
![]()