May 8, 2019
Headshot lighting with two lights
Create a professional looking headshot with just 2 lights
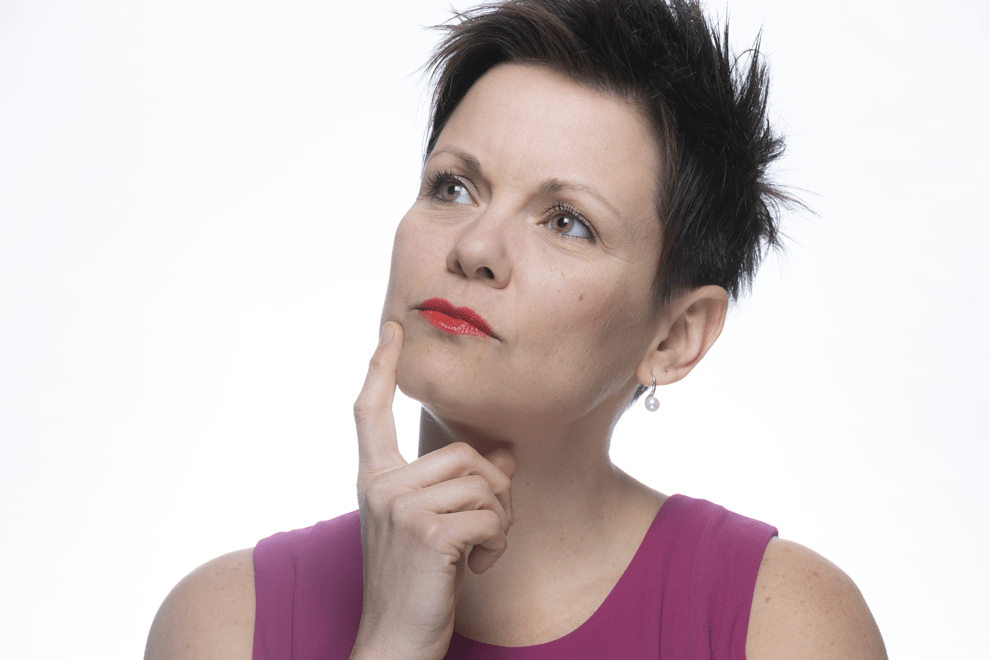
When you see a headshot with a pure white background and nicely lit, you probably think that it was taken in a large professional studio. It could have been, but you don’t need to have a large studio and big lights to create a professional looking headshot. We’ll show you how to create a great looking portrait with just two lights in your own living room.
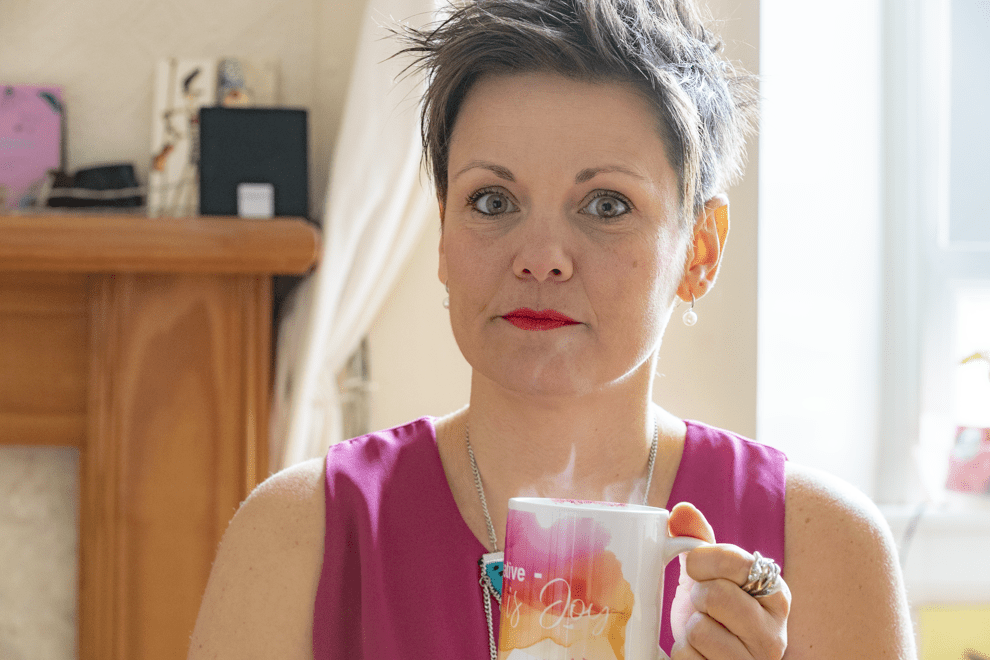
Let’s start off with the environment that the headshot is going to be taken in. The model for today, is a good friend, performer and creative coach called Saras Feijoo. We have used her living room to take the photo – it’s a space about 3 metres by 4 metres. In this first shot, you can see her relaxing with a cup of tea and lit naturally, behind her is a large window and a painted wall. This doesn’t feel like the place that you could take a professional portrait headshot but it will be.
Headshot lighting – key light
The first light we are going to introduce is what is known as the key light. It’s going to light up the models face and will provide most of the lighting for the subject. I’m not using an expensive studio light. This is the relatively cheap Speedlite by Yongnuo, the model I used is the YN600EX-RT II. I then trigger the flash with the Yongnuo YN-E3-RT wireless trigger. You can buy these from Amazon or E-bay for around £250 for two Speedlites and the trigger.
I have placed the Speedlite behind a soft-box on a lighting stand with a boom arm above the model so it is pointing to her face at an angle of about 45 degrees. This is a great angle to shoot at as it creates natural looking shadows, similar to what we see when illuminated by the sun. The softbox is a Lastolite EzyBox which retails for around £120 – there are cheaper options available on E-Bay but they may not be as sturdy as the Lastolite versions. You can see this initial set up below. On the left, is the overhead view as a diagram and on the right is the actual view at the location.
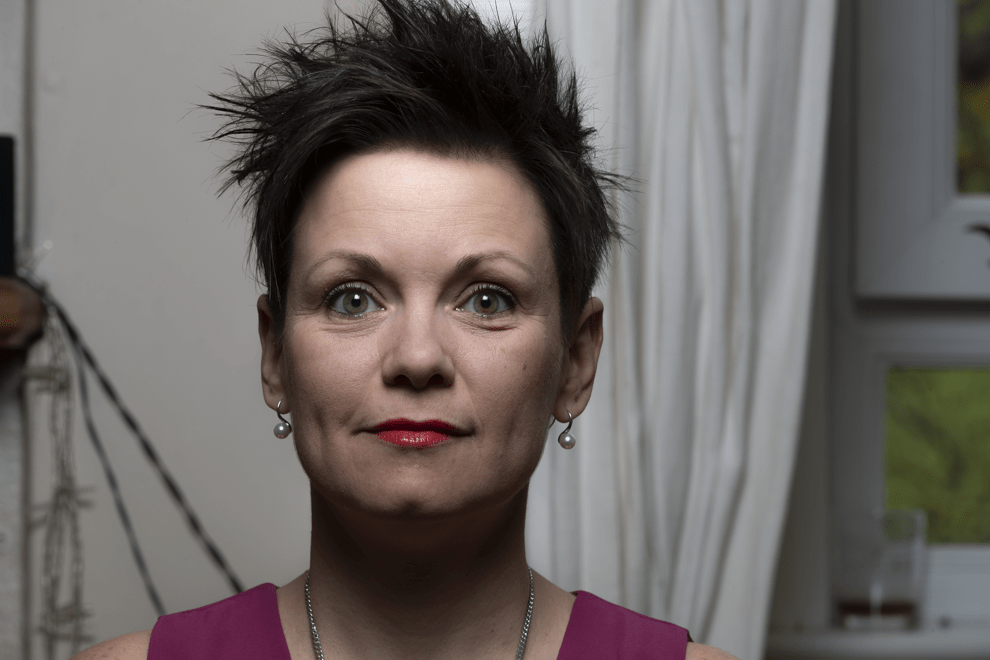
The resultant picture has lit up Saras’ face well but there are a number of issues. Firstly, the background is quite untidy so we need to replace that somehow. Secondly, there are some really harsh shadows below her chin as the light is sitting above her. Let’s see how we can now make some changes with just one more light to fix both these issues.
Headshot lighting – background light
The first issue we are going to fix is to replace the background. To do this we are going to use another softbox. This time, I have a 120cm Octagonal softbox by Neewer. You can pick these up for around £30 from Amazon. I have placed the softbox behind Saras with the other Speedlite pointing toward her. One of the benefits of the Yongnuo trigger is that I can control the amount of light put out by each Speedlite independently. The key light has been set at twice the power of the background light. You can see the set-up below.
With this set-up, we now have a nice white background without spending a fortune on seamless white paper and without taking up a lot of space. However, there are now a couple more issues that we have to deal with. The harsh shadows are still there which we’ll fix next but we also have the background light making the models’ ears almost translucent.
Headshot lighting – reflector
We are going to sort out the shadows under the chin in a very simple way by reflecting light. To do this I am going to use a reflector – the one I am using is something I picked up at the Photography Show in Birmingham. It’s called the Lastolite HaloCompact Reflector and is great for me as it folds up to something the size of a hot-dog, yet is 82cm wide when expanded! There are cheaper options such as a large piece of white card with silver foil on the other side. You don’t need to spend big to get professional results. I have placed the reflector almost on the knee of the model as close as I can to her face without it being in the frame.
In the two images below I have shown the difference between the reflector being used on the white and silver side. The left image uses the white reflector and does help to fill in the shadows, reducing the intensity. The right image uses the silver side of the reflector and you can see how it really improves the balance of the light onto the models face.
Headshot lighting – rim light
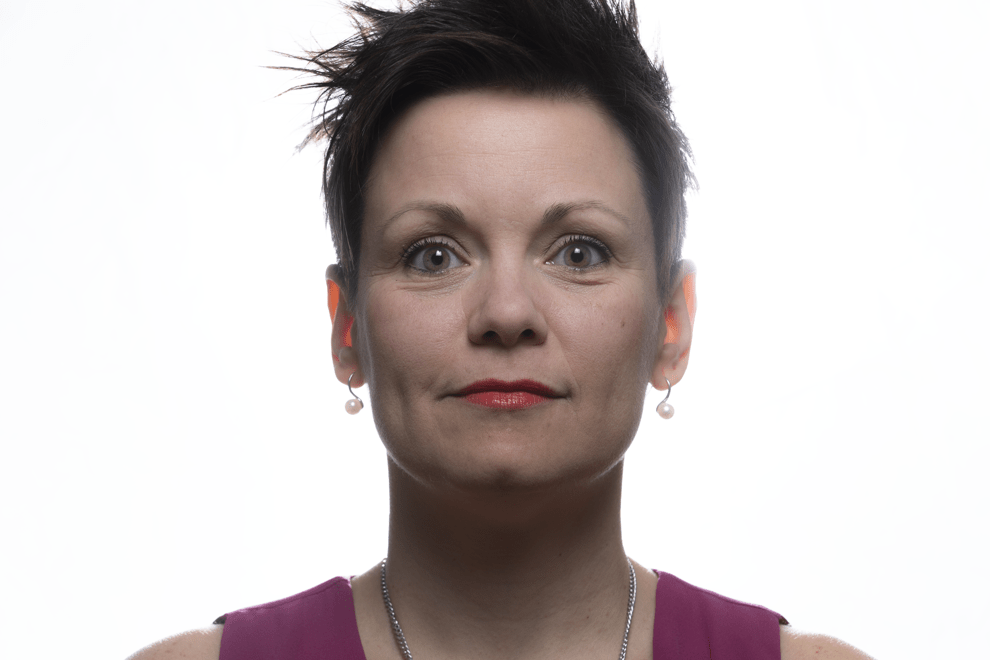
We are going to finish the lighting set-up by fixing the harshness of the background light and create a really subtle rim light. The fix for this is really easy! At the moment, the Speedlite in the background light is pointing to the back of the models head. Instead, I am going to rotate the head of the light so it bounces off the reflective inside of the Neewer softbox and then through the diffuser on the front. Because, we have made the distance the light has to travel, I have had to turn the power of the light up by a notch or two. The end image gives us the professional feel that we are looking for.
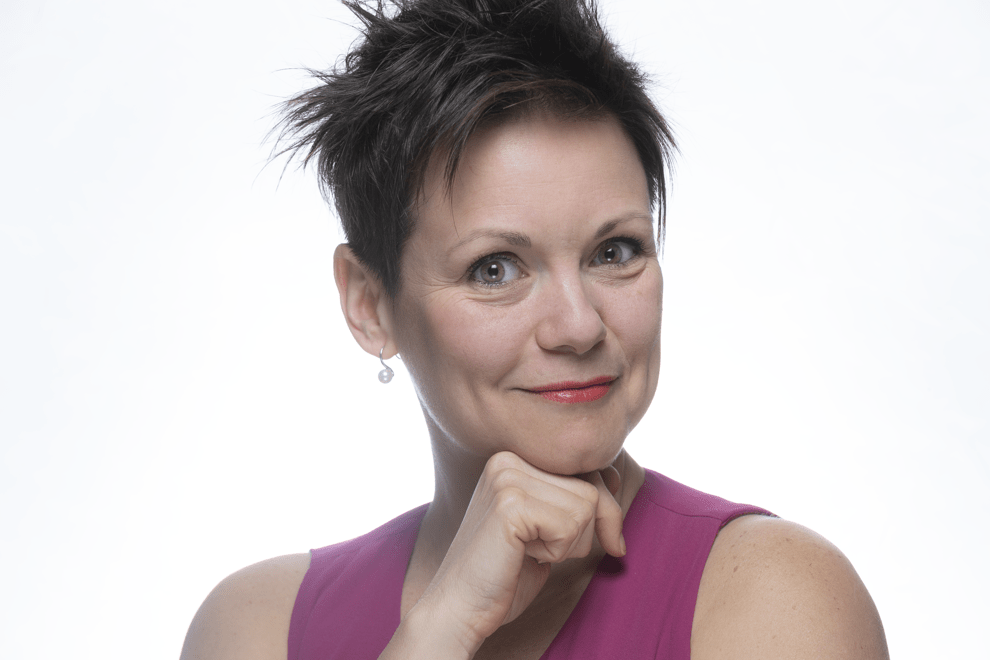
The models face is nicely lit, the background is pure white and her great cheekbones and jawlines have been emphasised by light from the rear light – this is why this final change is called a rim light. The rim of the models’ features has been highlighted by light wrapping itself around her face. Hopefully, this makes it really easy to see how you can create a professional studio like image with a couple of lights and not much space.
With just two lights and a very small space, we have created a professional looking headshot that would be a great image on a social media site such as LinkedIn. If there are any questions, you’d like to ask or suggestions for future blogs drop us a mail to contact@edinburghphotographyworkshop.com Don’t forget that you can sign-up to our monthly newsletter which gives you access to some exclusive members-only features.