January 13, 2021
Photographing framed art
How do you photograph a piece of framed art behind glass? Read on to find out the tricks of the trade
I’ve just finished an engagement with a major gallery to photograph some artworks that are going to be in an exhibition later in the year. Some of the works were unframed, but some was art framed behind glass. The gallery needs high-quality imagery that shows the art exactly as it is in real life. The photographs can’t have reflections in the glass, and the colours need to be precisely as the art was painted or printed. Two tricky tasks if you don’t know how. In this week’s blog, I’ll share the trade tricks to photographing framed art.
Removing reflections
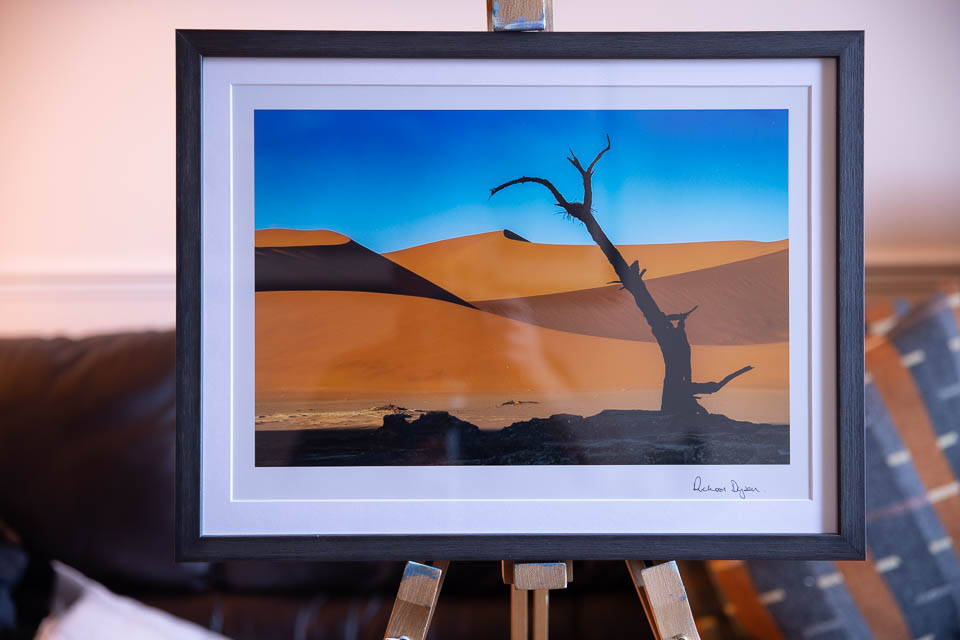
Let’s first of all solve the really tricky issue; shooting some framed art that is glazed. If someone wants to pay a lot of money, it is possible to buy anti-glare frame glass. It’s advantageous in areas where lighting causes issues with reflections. However, even the best anti-glare glass only reduces reflections by between 70% and 95%. Many of the works I was shooting didn’t have this glass, and the gallery certainly wouldn’t be paying to have it fitted to make my job easier. An alternative solution was required. I’ve taken a shot of one of my own framed prints (which are available to buy at richdysonphotography.com) to show an example of the reflections you can expect to see.
Let’s talk about what doesn’t work first. Do a quick search on the internet, and the solution will probably be to use a polarising filter. I use some of the best filters around from Kase. There’s a link at the bottom of the blog to see their range of filters. You can see from the two photographs below that using a polariser doesn’t remove the reflection. The shot on the left has made the frame darker and reduced some reflection, but it is clearly still there.
The best way to remove the reflection is actually to make the reflection all the same! That sounds silly until you see the solution. I have added a large black frame made from two muslin pieces between the camera and the framed art. The material suspends over a couple of studio stands, creating a black wall facing the artwork. Using two muslin pieces, I can push the camera between them and then close the gap. The only thing that isn’t black now is the glass in front of my lens. When I take the shot now, the ‘reflection’ in the glass is a black wall and isn’t visible in the end shot. You can see the set-up diagram below as well as a photograph of the set up in action.
This simple solution cost less than £30 and provides the perfect result of shooting framed art without reflection. The next step we need to do is to ensure that we have the correct colours.
Getting the colours right
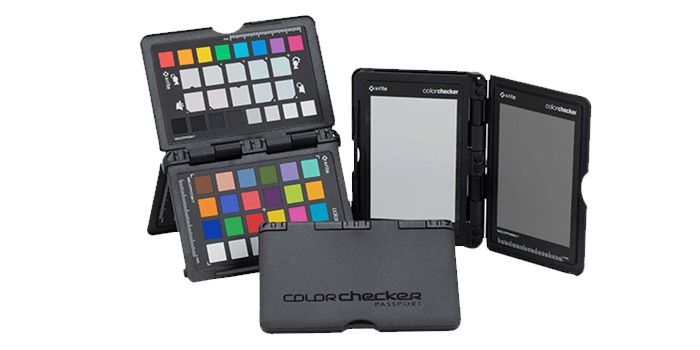
The first stage of the process turned out to be a budget solution. Unfortunately, colour management needs some financial outlay. It costs around £100. If you are serious about shooting products, then this is money well-spent. The magic bullet is a piece of equipment called the X-Rite ColorChecker Passport.
The ColorChecker products’ principle is that colours will appear different depending on the light you are seeing them in. Think about the difference a sandstone wall would look like at sunset compared to the harsh noon sun on a summers day. There would be a warm yellowness to the wall at sunset instead of the cool grey at noon. The wall is always one colour but appears different in changing conditions. To ensure that we have the correct colours in different situations, the ColorChecker uses reference colours on the colour card and then corrects them accordingly. When you buy the ColorChecker product, there will be a link to software integrated to Adobe Lightroom. You will need to install this before correcting colours.
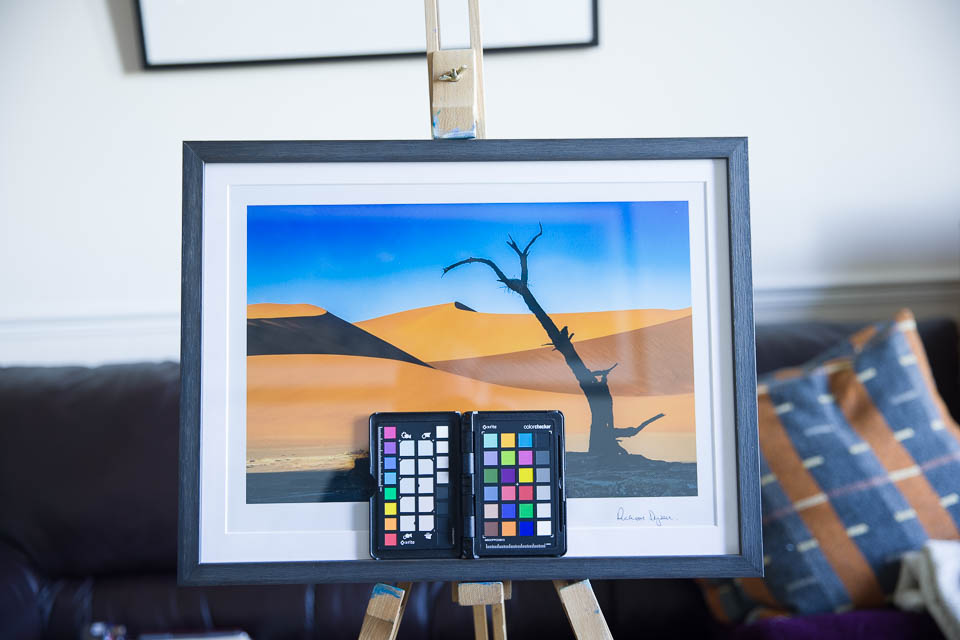
After shooting the framed art, I take a final shot which includes the ColorChecker Passport. We’ll use this later to allow Adobe Lightroom to correct the camera’s colours to reflect the artist’s actual colours.
When the photographs have been imported into Lightroom, we first need to create a colour profile that can adjust the camera colours to those used in the artwork. Select the photograph that includes the Passport and then Press cmd+shift+E to bring up the Export Dialog. Alternatively, in the Library module, take the option Export in the left-hand panels. We want to change the option in Export To at the top of the dialog box to X-Rite Presets, and the export box will change to look like the one below;

Give the profile you are going to create a meaningful name. I’ve called mine Office Daylight. It is worth remembering that we are calibrating the colours that an individual camera has taken. If, as I have, there are multiple cameras, you’ll need to calibrate each camera separately and then name the profiles to know which profile relates to which camera. When you’re ready, press the Export button and the X-Rite software will do some clever stuff to create a profile that will automatically change the colours. You’ll get a notification when it has completed, and you’ll then need to restart Lightroom for the profile to be added.

Applying the correct colours
When Lightroom has restarted, we now need to tell it to change the photograph’s colours to use the profile we’ve just created. To do this head into the Develop module and in the Basic section of the right-hand panels, you’ll see an area called Profiles. Click on the four boxes to the right of this section, and we see a list of profiles that are available to be added to your pictures. Scroll down slightly, and you’ll see the profile created. Click on it, and you’ll see a small shift in the colours from the ones shot. I’ve added a before/after view below so you can see the difference between the two.
With these relatively simple steps, we have achieved professional results. The principle here is to show how to photograph framed art. However, it can work for pretty much any reflective surface
Give us your feedback
If you’ve got any questions or comments, leave them below. You can sign up for the Edinburgh Photography Workshop monthly newsletter where you’ll get regular updates on exciting things happening in photography and some great tips. Sign up by clicking here.
About the author
As well as running Edinburgh Photography Workshop, Rich Dyson is a professional photographer. His photographs are regularly used in newspapers such as The Times, Guardian and Daily Telegraph. He also had two solo exhibitions as well as being featured in a members sponsored exhibition in the Scottish Parliament. You can see and buy his photography at richdysonphotography.com
![]()