March 31, 2018
Black is Black, White is White (or is it?)
Getting the exposure right when shooting things that are black or white
When you start to shoot using the manual mode in your camera you will start to use the light meter. It will tell you if you have the ‘right’ amount of light being recorded on the sensor. However, there are some occasions when to get the right exposure you shouldn’t just go ahead and shoot when the meter is reading in the middle.
When should I ignore the light meter?
When it snows you will often see photographs that come out with the beautiful, white, crisp flakes looking kind of dull. This is where the light meter fails, and you need to know how correct the exposure so that you see snow that looks like snow. Similarly, if you are photographing something that is mainly black then you will see the end image is lighter than your eyes are seeing.
Why is this happening?
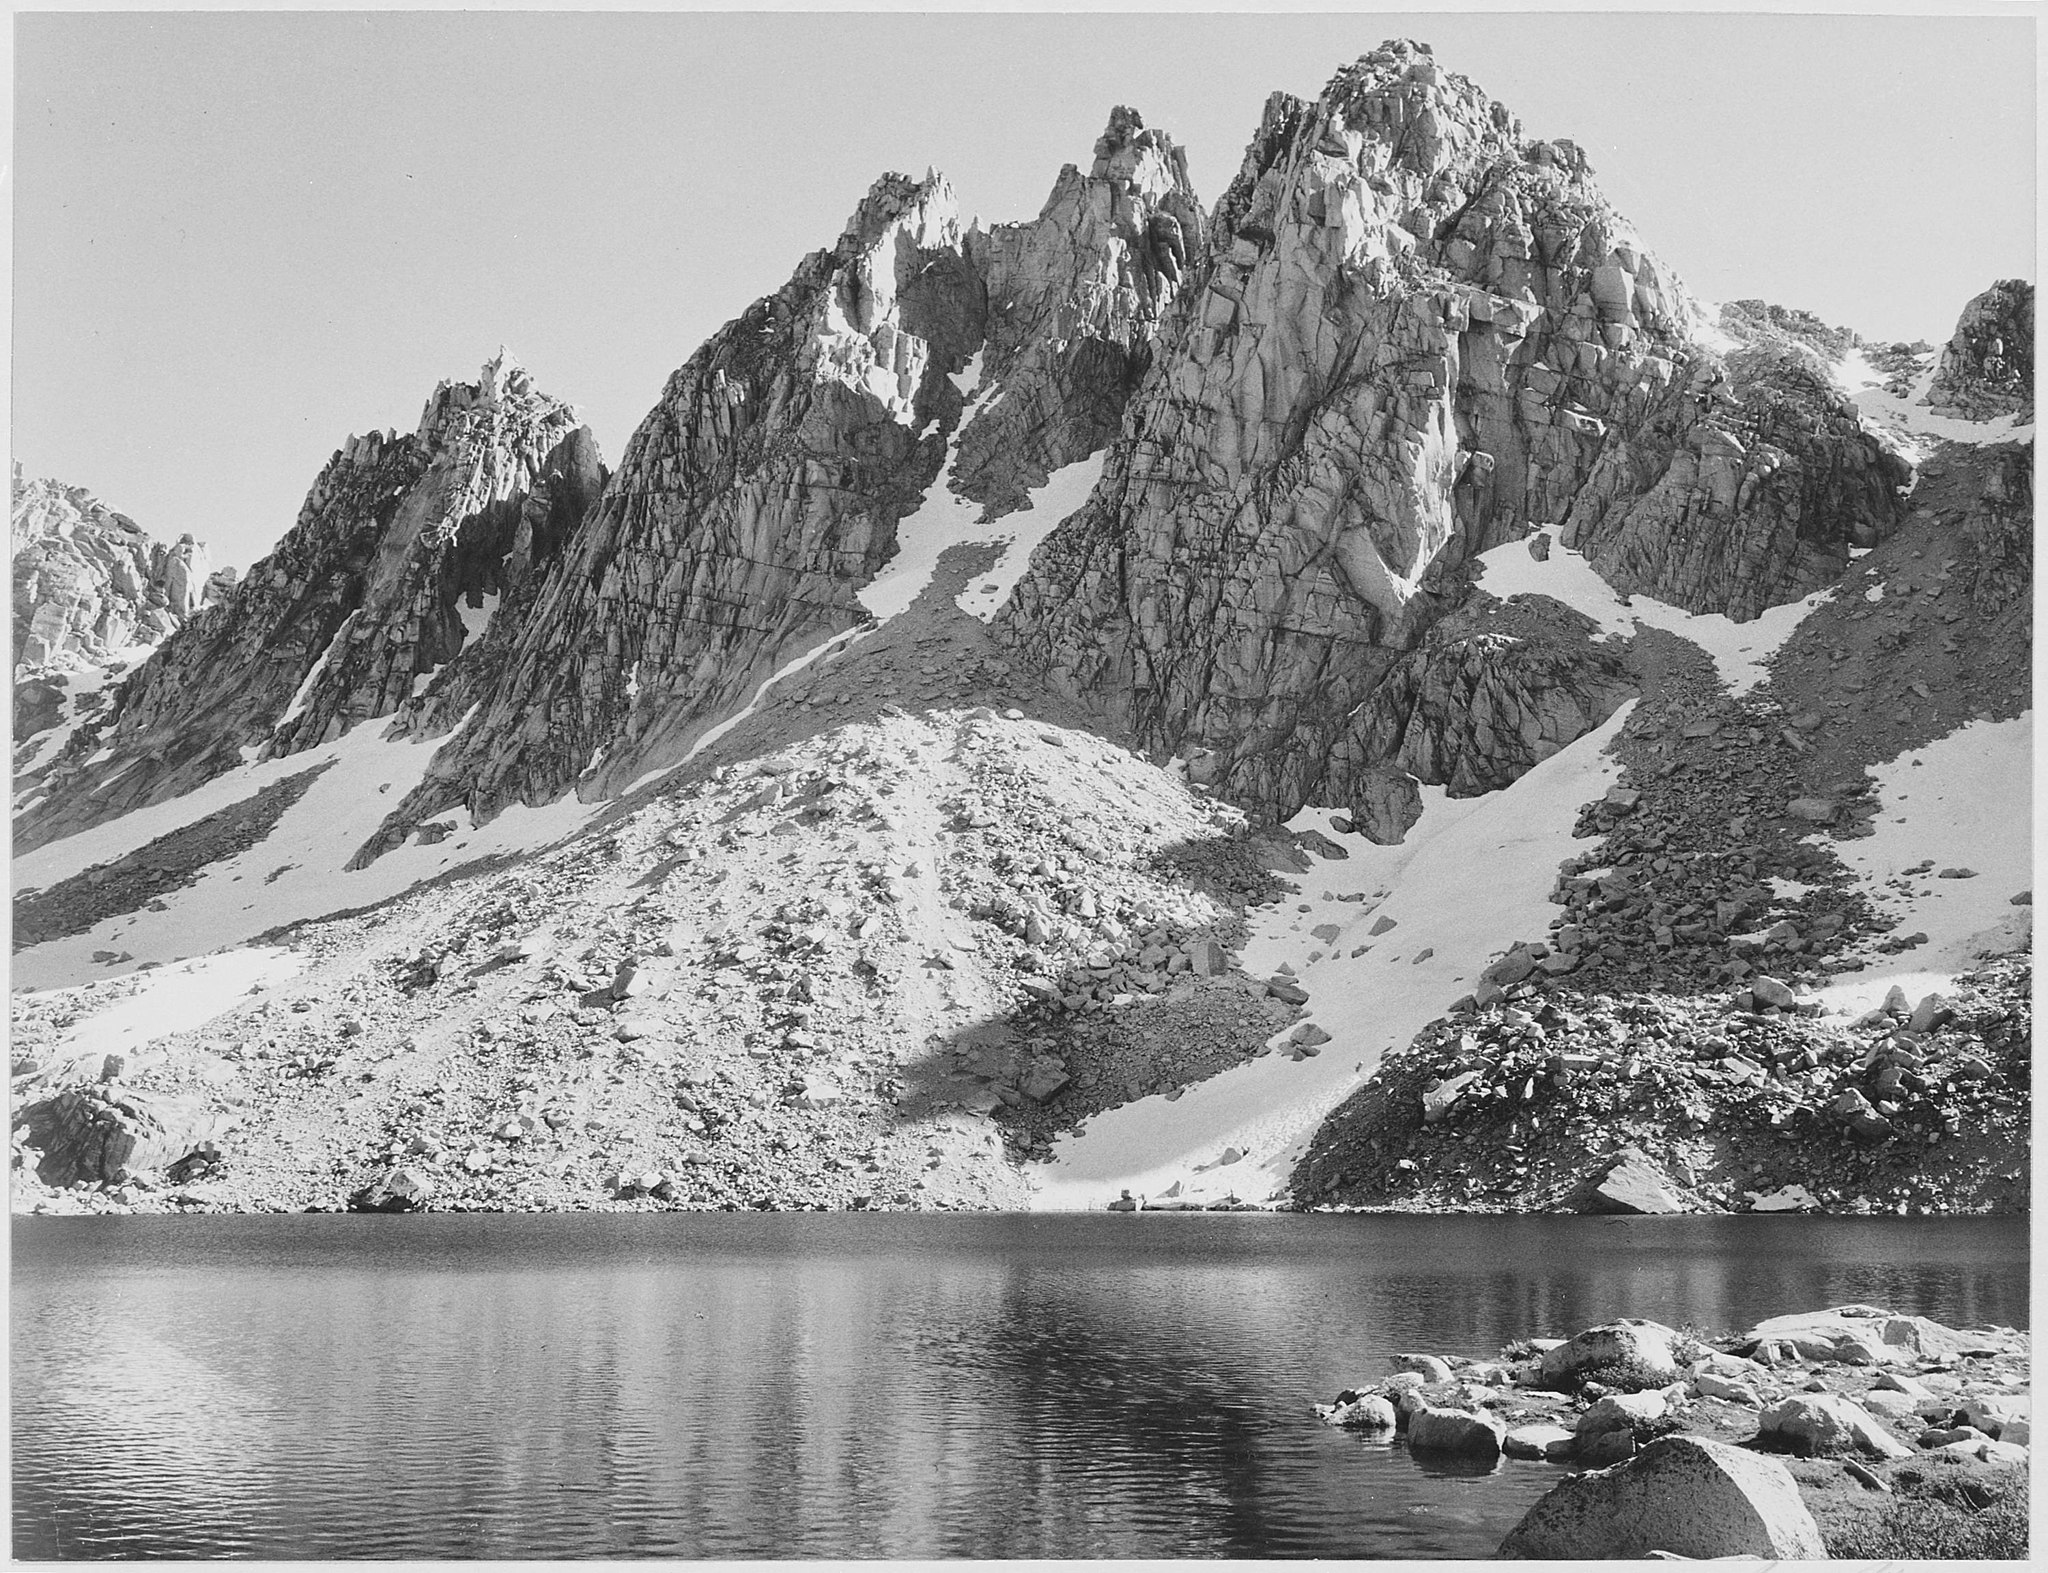
The reason for these ‘wrong’ readings is because of the way cameras try to measure light. A very famous photographer, Ansel Adams, developed a system called the ‘Zone System’. Adams photographed in black and white and separated the spectrum of greys from pure black to pure white into eleven zones and numbered them using Roman numerals. The middle zone, Zone V, is what is known as “Middle Grey” and would have been the shades of grey that would be a clear North sky when Adams was photographing in Yosemite. As colour photography developed, so did the zone system but there was still a Zone V which was the middle tones such as tanned skin or averagely weathered wood.

As camera manufacturers developed light meters inside the camera they set their systems to seek out the tones that make up Zone V and then measure the exposure from this baseline. When the scene is a typical landscape or wildlife shot there will be tones across the dynamic range and the metering system generally works. However, when the scene is either mainly black or mainly white then the metering system needs some help.
Let’s use the scene of a small part of the Robert Ferguson statue on Edinburgh’s Royal Mile. The light meter is trying to find something which sits in Zone V and it can’t find it so instead the meter will assume that the black is actually Zone V and as a result the picture comes out lighter than you would expect.
So how do we fix the exposure?
This is the benefit of controlling exposure manually, you can counter the way the light meter is measuring by applying compensation to the exposure. If it’s a cloudy day, then about 1 stop of light less in the exposure will give you an image closer to the one you see with your eyes. If it’s a bit brighter then add an extra third or two of a stop of ‘under-exposure’ to get the black looking properly black.
In the first image where the light meter is showing the ‘correct’ exposure, the settings were aperture f11, shutter speed 0.8 seconds and ISO 100. The second image where we have compensated for the light meter has the same aperture and ISO but we have a shutter speed twice as fast at 0.4 seconds which is one stop of light less.
The reverse is true for white images. The light meter is going to convert white to the middle grey tone and so it will appear dull and grey. This time the settings of the image on the left are aperture f8, shutter speed 1/60th and ISO 100 and the light meter has recorded the ‘correct’ exposure. By doubling the ISO on the image in the right to 200 we have made the exposure 1 stop over-exposed and we get perfect whites.
Now, when you are out shooting in snow or photographing something black you can get the exposure correct first-time by knowing how the camera is going to measure the light and adjust for it.
If you’d like to learn how to expose and compose your photographs better you could attend Edinburgh Photography Workshop ‘Switch to Manual’ workshop.