August 22, 2018
Dust spot spotting and cleaning
How to find dust spots in your photos and fix them
I have got an exhibition coming up in a couple of months. One of the more annoying things is sending your images away to be printed only for them to return with a dust spot or two visible. This means fixing them and sending back to the printers with more cost. However, you can use Adobe Lightroom to identify and fix the pesky dust spot really easily.
Finding the spots
There are a number of reasons why you’ll get a dust spot and the best way is to prevent rather than cure. Try to hold your camera downwards when switching lenses so dust can’t get into your sensor. Have a good cleaning regime for your lenses and filters. Don’t shoot at really small apertures as any dust on the lens will fall in the depth of field and become visible.
If you do have dust on an image, then you want to be able to find it really easy. This is where Adobe Lightroom has some handy functionality to help you.
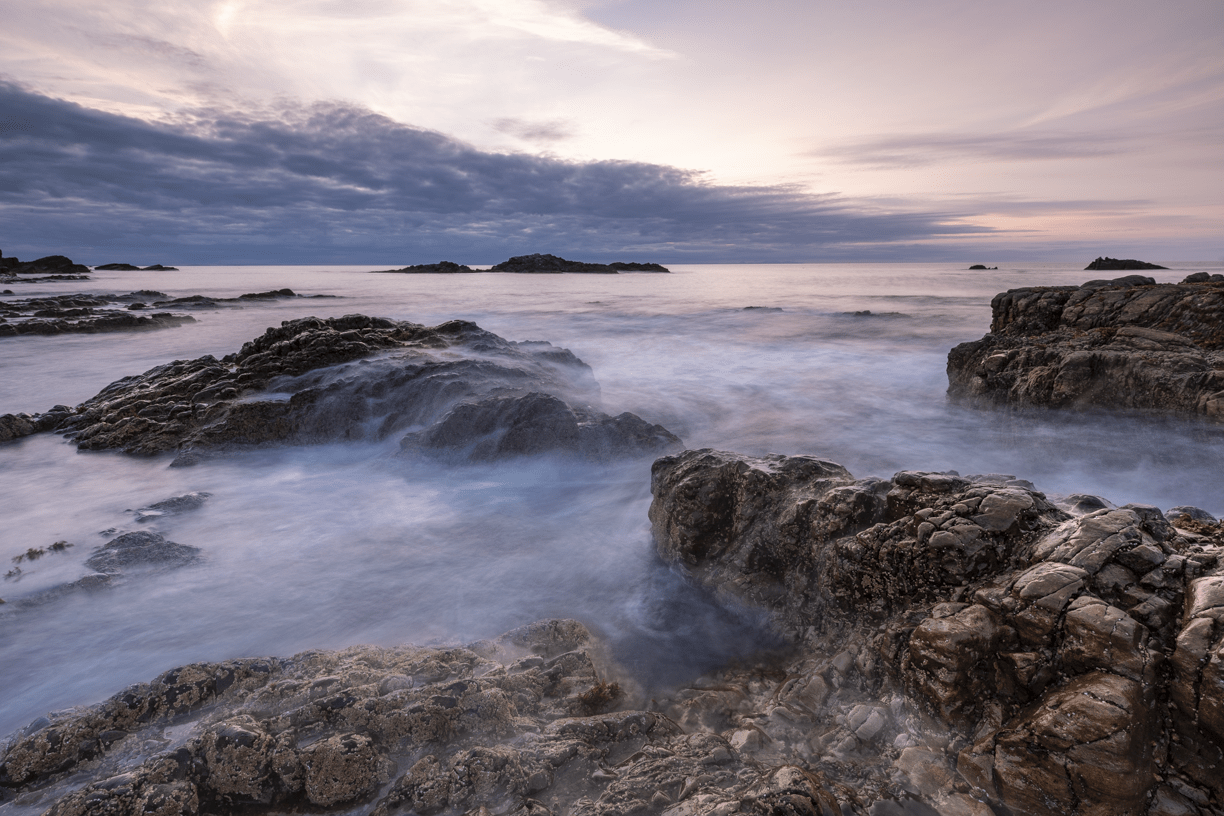
This picture was taken on a recent trip to the Moray Firth. We had been camping the night before, so it wasn’t possible to do a full clean of my lenses and filters. As a result, there is a tiny amount of dust visible in the picture. I’ve highlighted in the image below the ones I could see on my 27” monitor. However, you’ll see shortly that there are more that I didn’t initially spot.

In the Develop menu of Lightroom click on the Spot Removal tool (which is the second symbol along below the Histogram) or simply press Q. Just below the photograph you are editing you will see the toolbar has a checkbox with Visualise Spots nest to it and a slider. Click this box and you photograph will change to a black and white line image.
If you move the slider to the left the mount of white will reduce as it is looking at less contrast between shapes. Moving it to the right will increase the contrast and show you more white. The best place I have found for the slider is just past halfway. This gives you a good level of detail to work with to find spots without being too overwhelming.

Cleaning the dust spot
You can identify the spots as being little white circles usually with a hole in the middle. To remove the spots simply move your mouse over the spot. Resize the cursor so it is slightly larger than the spot by using the [ key to make smaller and the ] key to make larger and then click. Two circles will appear, one where the spot was and one where Lightroom has sampled visible. If, as sometimes happens, Lightroom has sampled another spot you can click and drag the second circle to a clearer location. Once you have cleaned all the spots, click on Done in the toolbar and you now have an image ready for printing.
Want to learn how to take great Seascape images like this one? The monthly Landscape and Seascape workshop is perfect for learning how to use filters to get beautiful photographs of the coastline.