February 29, 2024
Creating light trail photos
Find out how to create light trail photos in the city with a great technique that can make a quiet street look busy.
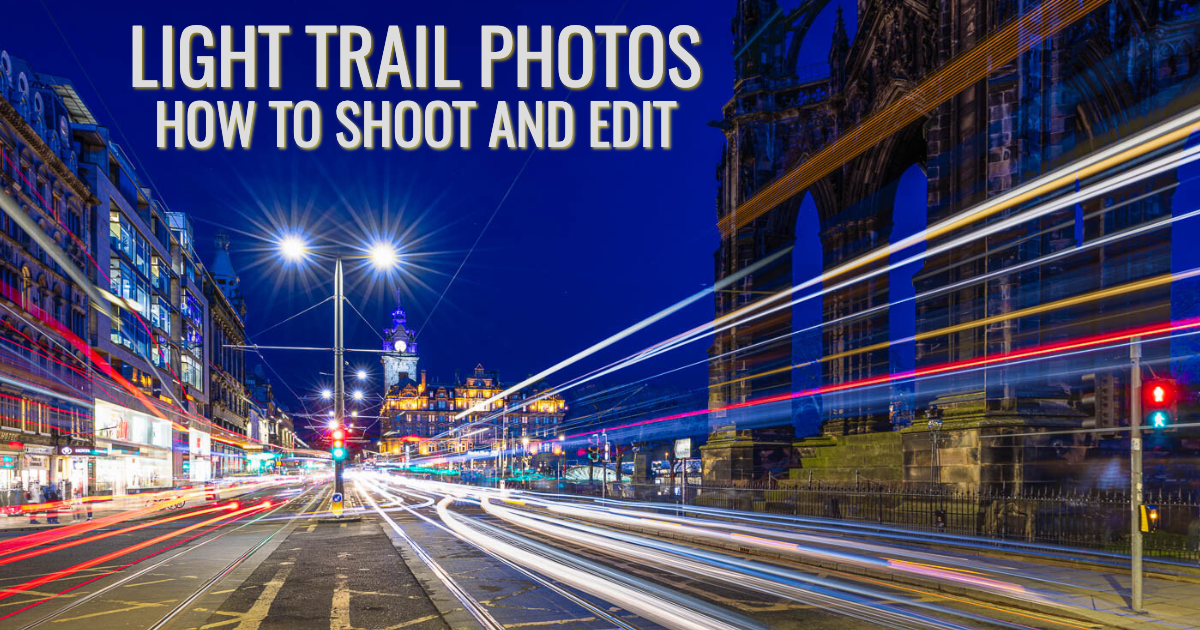
The days are getting longer, and for those in Scotland with a 9 to 5 job, it’s just starting to get dark as you leave the office. That’s a great time to shoot light trail photos. The blue hour, the sixty minutes after sunset, gives us an inky blue sky, which works well against the red and white lights on the front and back of cars. The only problem is that we can’t always guarantee to get cars driving past on either side of the road. This handy technique will let you create an image that looks like the road was busy, just at the point when the sky turns the most pleasing dark blue hue.
Shooting light trail photos
To create a busy street scene, we need to build a library of light trail photos at our shooting location. The most important thing to ensure is that every photo we take is in the same position. For this, you will need a sturdy tripod and, ideally, use a shutter release. The latest mirrorless cameras tend to link to an app on your mobile phone, so you don’t need to physically touch the shutter button on the camera. Older cameras may need to use a mechanical shutter release that plugs into the side of the camera.
To get a long light trail, we need a long shutter speed. Most cameras allow you to shoot for 30 seconds. At the start of the blue hour, this shutter speed will likely over-expose your photos. Close the aperture down as much as possible (make the f-number as big as possible) and reduce the ISO to the lowest available number. It’s also a good idea to use back-button focusing, as this will stop the camera from trying to focus each time you start an exposure. Alternatively, you can always switch the lens to manual focus after focusing the shot for the first time.
Now, all we need to do is open the shutter as vehicles start to pass the camera. Over 20 minutes or so of shooting, you’ll have created a small database of images that we’ll process next in Adobe Lightroom and Photoshop. Before we leave the scene, I always like to get a final shot taken with a better aperture setting. Somewhere between f/8 and f/11 works well. Remember, as the aperture has allowed more light into the scene, you must also make the shutter speed faster to get a good exposure.

Processing light trail photos
You can see from the shots above that cars were passing on either the left or right of the road. However, the traffic light sequencing stopped us from getting shot on both sides of the road. The technique we will use to make the scene look busy uses layers. Layers aren’t available in Lightroom. So, for this photo, we will dip into Adobe Photoshop. There are similar functions in other processing tools, such as Capture One.
Select all the photos taken on the street and right-click. Hover over the Edit In menu and choose Open as Layers in Photoshop. The photos transfer into Photoshop; however, instead of being in separate files, all the images are layered into one screen. You can see them on the right of the screen in the Layers panel (highlighted below).

Before editing the image, let’s describe how Layers work in Photoshop. Imagine that each photo taken has been printed on acetate and laid on top of each other. When the images are first added, we see the image printed onto the top acetate. The rest are hidden behind and aren’t visible. You can see the content of each layer below by clicking the eye symbol next to each layer thumbnail to switch the layers above on and off.
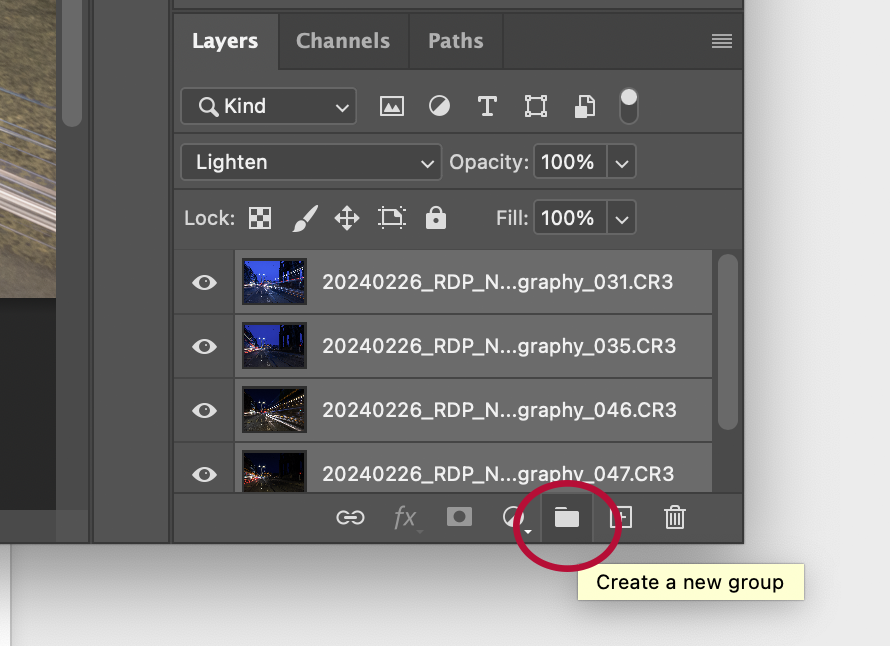
The first thing we will do is make all the light trails visible. To do this, we will use a function called Blending Modes. The blending mode selected by default is ‘Normal’, which shows whatever is on the top layer. You can see the mode at the top of the Layers panel. Select all the layers, then click on the dropdown box and select the mode ‘Lighten’. As if by magic, all the light trails are brought to the top. The Lighten blending mode finds the lightest thing in the selected layers and makes it visible. We now have the busy street effect we were looking for.

The issue with the Lighten blending mode is that it has also identified the lightest sky and made this visible. We want to see the fantastic inky blue sky. To achieve this, we will use another feature called a Layer Mask.
Layer Masks in Photoshop
Before we start using a Layer Mask, we need to isolate our light trail photos from the inky blue sky image. We’ll do this by creating a Layer Group. Select the light trail thumbnails in the Layers panel and click the folder symbol. The light trail photos are now included in a folder, which you can view by clicking on the arrow at the side of the group folder.
Before we add the layer mask, we need to select the sky. Adobe introduced a sky selection tool recently. However, I find it doesn’t always select all of the sky, particularly in the case we have here. There are sky elements inside the arches of the Scott Monument and around the tree line. Instead, we are going to select the sky by selecting the colour. Click on the Group, then go to the Select menu and choose Color Range.

The pop-up box allows us to select colours in an image. I’ll not go through every option in this box but concentrate on the ones we will use. Moving the cursor over the image turns it into an eye-dropper tool. Click on any element of the sky. At the moment, this is positively selecting the sky; however, when we apply the layer mask, we need to select everything EXCEPT the sky. To do this, we’ll click on the Invert checkbox. In the Selection Preview, I find it best to have the option Quick Mask selected. This shows us the selected area in a pinky/red colour.

You can see that this current selection isn’t catching all of the sky, particularly around the trees. We can create a more accurate selection by sliding the fuzziness value to the right until you are happy with the selected area. Clicking the OK button shows us the ‘dancing ants’ around our selected area. Now, all we need to do is apply the Layer Mask to the Group. At the bottom of the Layers panel is a rectangle with a circle inside. Click on the icon, and a layer mask is applied to the Group. The principle of layer masks is that anything in white retains what is in the top layer or group. Anything in black brings whatever is below the top layer to be shown in the image. You can change the foreground colour to black or white and paint in or out any areas of the selection that may be ‘wrong’.
Before we save the final image, we need to save some hard drive space. Currently, the file in Photoshop has several layers plus a layer mask. Each layer would be saved as individual images in the file, making the end file huge! We can reduce the file size by going to the Layer menu and choosing Flatten Image.

I’ll finish the edit using the Spot Healing Brush tool to remove some elements that I think take away from the final image. When that’s complete, take the option to close the image in Photoshop and save the image. Once the shot is back in Lightroom, I have finished the edit by applying some straightening using the Guided transformation. I think you’ll agree; the final image looks spectacular. Now it’s your turn to go out and shoot light trail photos.

Please give us your feedback.
If you’ve got any questions or comments, leave them below. You can sign up for the Edinburgh Photography Workshop monthly newsletter, where you’ll get regular updates on exciting things happening in photography and some great tips. Sign up by clicking here.
About the author
As well as running Edinburgh Photography Workshop, Rich Dyson is a professional photographer. His photographs are regularly used in newspapers such as The Times, Guardian and Daily Telegraph. He also had two solo exhibitions and was featured in a members-sponsored exhibition in the Scottish Parliament. You can see and buy his photography at richdysonphotography.com.