September 7, 2022
Creating a calendar
Now is a great time to go through your back catalogue of photos and make a calendar for you to enjoy next year
About this time of the year, I go through the process of designing and printing a calendar for me to sell to customers. However, the planning for the 2023 calendar started in the September of 2021. This week I’ll share the process I go through to make the job of producing my calendar an easy one.
Selecting your photos
The day I produce one year’s calendar, I start selecting the photos for the following year. Adobe Lightroom has some great tools to help make it easy. I will share the method I have developed, but you could adjust it to suit your workflow (or feel free to copy it).
The starting point is to decide how you are going to identify a photograph that is calendar worthy. Adobe Lightroom has three tools you can choose from: Picks, Ratings, and Label Colours.
Picks are a binary choice of either being selected or not. You can add a pick by selecting a photo in your library and pressing the ‘P’ key (for pick). You can see that a photograph has been selected in the Grid view of the Library module with a white flag shown in the top-left corner of the frame around the photo. If you’ve selected a photo by mistake and want to remove the pick, press the ‘U’ key (for unpick), and the flag is cleared.
Ratings allow you to assign a number from 1 to 5 for a photograph. Unsurprisingly, you add a rating by pressing the relevant number. If you’ve added a rating by mistake, give it a rating of 0. You can see the rating in the Grid view with the number of stars representing the rating. If you can’t see the stars below the image, pressing the ‘J’ key will cycle through the three views in the Grid view.
Labels add a colour tag to your photos. There are five different colours available. Red, Yellow, Green, Blue and Purple. You can add the first four colours by pressing the keys 6 to 9. The final one can only be added by selecting the photo and then going to the Photo menu in the top menu bar, picking Set Color Label and taking the Purple option.

I have chosen to identify a potential calendar photo by giving it a Green colour label. So, every time I process a photo that I think may find its way into my calendar, I press the ‘8’ key, and the label is added.
Finding the photos
Now, I have gone about selecting my photos; I need an easy way to find them in the future and to do this, we’ll use Collection Sets and Smart Collections. Collections are a little bit like Albums that you’ll find on your mobile phone. They allow you to bring together photos taken on different days that share a common theme. We will eventually have a couple of collections that will get us to the final set of images that will make up the calendar. We will use a Collection Set to house the various collections in.
To create a Collection Set, click on the ‘+’ sign at the top of the Collections Panel and choose Create Collection Set. Give the set a name (say, Calendar 2024) and press the Create button.
We could add a standard collection to the collection set and drag photos into the collection when we think they are a calendar candidate. Alternatively, we can use the Picks, Ratings or Labels we have added to automatically add them to a Collection by using a Smart Collection. Right-click on the Collection, and take the option Create Smart Collection. From here, you can add criteria to identify photos that have specific attributes. In the example below, which identified the long list for the 2023 calendar, I have added a date range when the pictures have to have been taken between, and they must also have a Green label added.

Choosing the final images
Now I have a collection of my favourite photos from the year, and I can then start to narrow it down to the final images in the calendar. I am fortunate to have a wife who is an art curator, so I included her in the decision-making process. Sit down with a glass of wine and start looking through the photos. There will be some that you will definitely know will be in the camera. I mark these with a five-star rating and have a smart collection identifying the same criteria but with the addition of a rating criteria.
You’ll find that you’ll probably have around 8 or 9 definite photos for inclusion. This is where you’ll need to think about how the calendar hangs together during each month. Unlike the folders where your photos are stored in Lightroom, you can drag images into different orders inside collections. Start thinking about where pictures may logically fit. For instance, when the leaves are starting to turn to oranges and browns, the images will work in the months of September to November. Photos of blazing hot days are more likely to represent the summer months from May to August. You can start to fill in the gaps by selecting images that either fit the seasons or are different from the previous month. Finally, don’t be afraid to remove one of your initial five-star picks if it doesn’t fit in with the flow of the calendar.
Printing your calendar
You’ve selected your final 13 images; now, all you need to do is add them to a calendar. There are two options, self-printing or sending your images away and letting someone else do the hard work. Personally, I went for the latter option. Self-printing can be fulfilling, but you will need to design a template for each month, print the pages on good quality paper and then find a way to bind them, particularly if you want to sell your calendars.
Choosing an outsource printer will depend on your budget and the amount of customisation required for the calendars. A high-street printer such as Tesco Photo will give a straightforward interface that can have a reasonably nice-looking calendar produced in a couple of minutes. However, the ability to add things like company names and contact information is limited.
An alternative solution is a company such as Colour Calendars, which offers a range of designs you can use as a starting point. Customisation is straightforward using their design screens. The pricing model deployed by the company gives you a more significant discount the further out from the end of the year that you place the order. Place the order in February, and you’ll get a 60% discount, reducing to 40% if you order in December. This is a clever marketing technique for the sharp-eyed as you’ll never pay full price, but you can still save up to 20% by buying early. Similarly, the more calendars you purchase of a design, the cheaper the price falls. An order of 100 calendars is about 10% of the cost as if you order just a single copy.
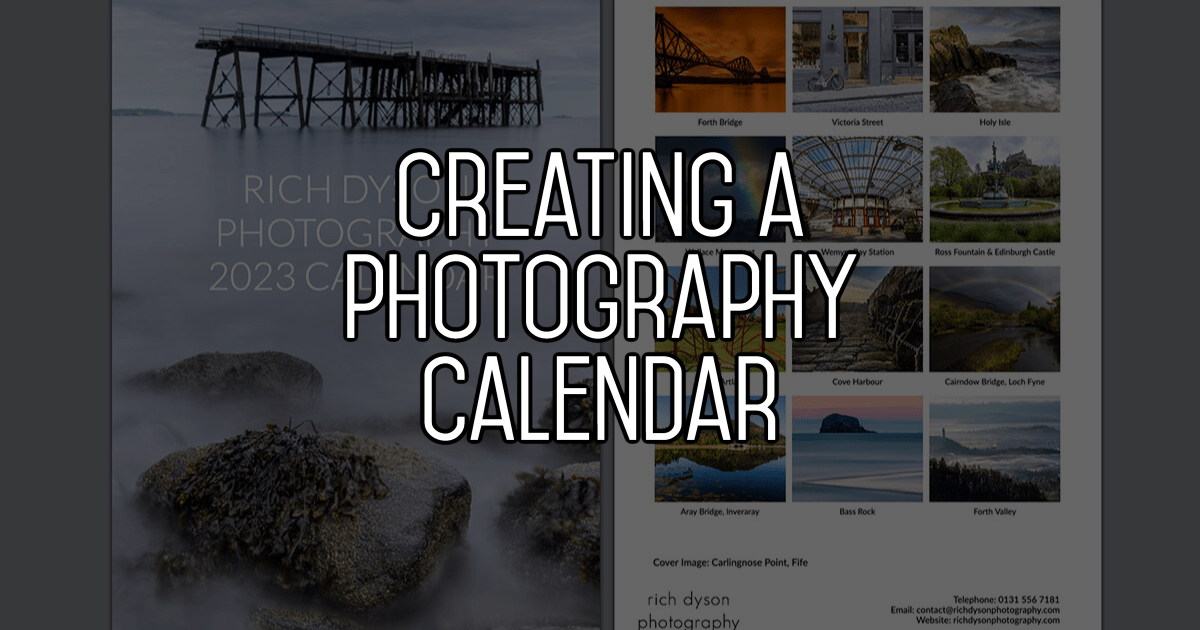
You can check out (and buy) the 2023 Calendar I have produced, which as usual, is of great quality and superbly printed. This year’s calendar is A4-sized after responding to customer demand last year and is just £8.99 plus postage and packaging.

Please give us your feedback.
If you’ve got any questions or comments, leave them below. You can sign up for the Edinburgh Photography Workshop monthly newsletter, where you’ll get regular updates on exciting things happening in photography and some great tips. Sign up by clicking here.
About the author
As well as running Edinburgh Photography Workshop, Rich Dyson is a professional photographer. His photographs are regularly used in newspapers such as The Times, Guardian and Daily Telegraph. He also had two solo exhibitions and was featured in a members-sponsored exhibition in the Scottish Parliament. You can see and buy his photography at richdysonphotography.com.