January 17, 2024
Exploring Black-and-White Photography
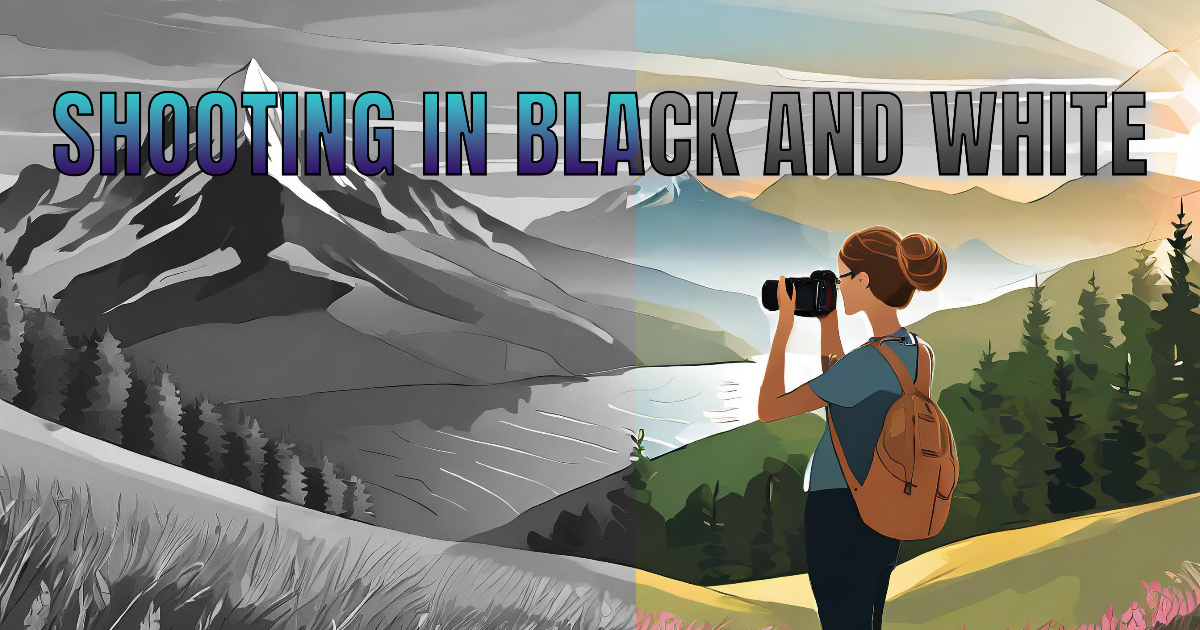
Black-and-white photographs can have the effect of increasing the emotion or impact of the image. A guide to creating monochrome images.

Black-and-white photography has a timeless and artistic appeal that can captivate viewers with its dramatic contrast and emphasis on textures, shapes, and tones. Creating a captivating black-and-white image requires careful composition and attention to detail. Here are some elements that contribute to a successful black-and-white photograph:
Contrast: Strong contrast between light and dark areas adds depth and visual interest to black-and-white images. Look for scenes with a wide range of tones to create a striking visual impact.
Texture: Black and white photography can bring out the texture in subjects, such as the roughness of a weathered building or the fine details of a flower petal. Pay attention to the surface qualities of your subjects to enhance the overall impact of your image.
Composition: Composition plays a crucial role in black-and-white photography. Simplify your composition by removing distracting elements and focusing on the main subject. Pay attention to lines, shapes, and patterns to create a visually pleasing image.
Emotion and Mood: Black and white images have a unique ability to evoke emotions and set a specific mood. Experiment with different subjects and lighting conditions to convey the desired feeling in your photographs.
What is the Difference Between Black and White and Monochrome
While black-and-white and monochrome photography may seem similar, there is a subtle difference between the two. Black and white photography strictly uses shades of grey, from pure black to pure white, while monochrome photography encompasses images created using a single colour or a limited colour palette.
Black and white photography often represents scenes as they appear in reality, emphasising the tonal range and contrast. Conversely, monochrome photography can include images with a single hue, such as sepia-toned photographs, or images with a limited colour range, such as cyanotypes or duotones.

Should You Shoot in Black and White or Shoot in Colour, then Edit?
Deciding whether to shoot in black and white or capture images in colour and convert them later is a matter of personal preference and the desired level of control over the final result. Both approaches have their advantages:
You can train your eye to see and compose images specifically for this medium by shooting directly in black and white. It allows you to focus on the interplay of light and shadow, contrast, and texture. However, if you shoot using the RAW format, whilst you can select a monochrome profile, the image is still recorded as a colour photograph, and it will need to be processed to black and white on the computer. Shooting as JPEG on camera will lose the colour version of the image, so if you change your mind and prefer it in colour, then your options are limited.
Capturing images in colour and converting them to black and white during post-processing provides greater flexibility. You can experiment with different conversion techniques, adjust the tonal range, and selectively enhance specific areas of the image. This approach allows you to explore both colour and black-and-white options for the same image.
Ultimately, the decision depends on your artistic vision, the subject’s specific requirements, and the final output.

Ways to Edit in Black and White
When editing black-and-white images, there are several techniques and tools you can use to enhance the visual impact:
Adobe Lightroom has a number of built-in black-and-white profiles to give various different black-and-white conversions. In the Develop module, click on the four squares at the top of the Basic section in the left-hand panel. Scrolling down to the B&W section provides 17 different options to convert the colour image to a monochrome one. Sliding the Amount slider at the top of the panel, increases or decreases the amount the effect is applied.

The second method of monochrome conversion in Lightroom is to use the Colour Mixer panel in the Develop module. The two sections we will be using are saturation (the amount of colour) and luminance (the amount of brightness). Sliding all the saturation sliders to the left will remove all colour and create a black-and-white photograph. The luminance sliders can then be used to change the brightness of the original colours in the image.

The final method for creating black-and-white images through Lightroom is to use software made for the job. DxO’s Silver Efex Pro is a great tool for achieving monochrome conversions. As shipped, there are 64 different conversions available, which are all customisable. You can also create your own recipes (or presets) to edit your photos in a consistent way.

Things to think about when processing
Contrast Adjustment: Fine-tuning the contrast can help you bring out the details and create a more dynamic image. Experiment with curves, levels, or dedicated contrast adjustment tools to achieve the desired effect.
Tonal Adjustments: Adjusting the tonal range allows you to control the distribution of tones in your image. Enhance or reduce highlights, shadows, and mid-tones to create the desired mood and atmosphere.
Selective Editing: Use selective editing tools to draw attention to specific areas of your image. This allows you to darken or lighten certain regions, emphasising the focal point and creating a more balanced composition.
Grain and Noise: Adding grain or noise can simulate the aesthetic qualities of traditional film photography. It can add character and a vintage feel to your black-and-white images.
Black and white photography opens up a world of creative possibilities. By understanding the key elements of a captivating black-and-white image, distinguishing it from monochrome photography, and exploring different shooting and editing techniques, you can unleash your artistic vision and create stunning black-and-white photographs.