May 6, 2020
Autofocus – Staying Sharp
Understanding the various autofocus operations and modes are going to help to get your photographs super-sharp
When you look on the side of most lenses, there is a little switch marked AF and MF. The initials stand for Autofocus (AF) and Manual Focus (MF). The two values suggest that there are just two settings, on and off. In reality, there are lots of variations of autofocus modes that can help you to capture sharp photographs.
When the MF switch is selected, you will need to use the focus ring on the front of the lens to set where you want the lens to be the sharpest in the frame. Switching to AF means that the camera will automatically focus where you have set the focus point. Cameras have two settings that allow you to define how the focus point reacts. The camera manufacturers all have different names for these settings so I’ll initially use Canon’s vocabulary and then give the Nikon, Sony and Fuji equivalents.
Autofocus Operations
The first setting we will look at is known in Canon-speak as autofocus operations. Nikon, Fuji and calls them autofocus modes. They all do the same thing, which is to define whether the focus points will optimise for an object that is static or moving.
The first of the two options is AF-S. The ‘S’ stands for single and means that when the shutter button is press half-way down the focus point locks onto a single point and will remain fixed. Using this setting makes it easier to focus on an object that isn’t moving.
Next, we have AF-C. This time the ‘C’ stands for Continuous. The focus position will change as the subject moves while using the half-way press on the shutter button. Use this autofocus operation when shooting a moving object.
Both of these modes are applicable when using the half-way button process of focusing. If using the back-button method, then it is best to leave the camera in the AF-C position. Press and release the back button to shoot static objects and press and hold the same button to capture moving objects.
Autofocus Method
Now we have selected which mode or operation we will use; we now have to decide how much of the frame we are going to use to focus. To do this in the Canon world, we are going to select the autofocus method. In Nikon and Fuji language, it’s the autofocus area mode. Sony prefers to use the simple term of the focus area. Again, they all do the same thing but mess with the terminology to make my job that little bit harder when teaching.
On your camera, there is usually a dial and button combination that allows you to set either all the focus points to be active or a single focus point. I tend to find it easier to set the focus point right in the middle of the frame as a starting point. The reason I do this is that if something is happening quickly, then I don’t want to be hunting around the frame to find where my focus point is. Now that’s set, let’s look at the various methods and areas that we can use.
Every camera manufacturer will try and add different variations of autofocus methods and areas. They have to do this to justify the money you’ll pay for the latest model. In practice, there are just four methods, one of which we will talk nothing more of – the auto mode where the camera decides what to focus on.
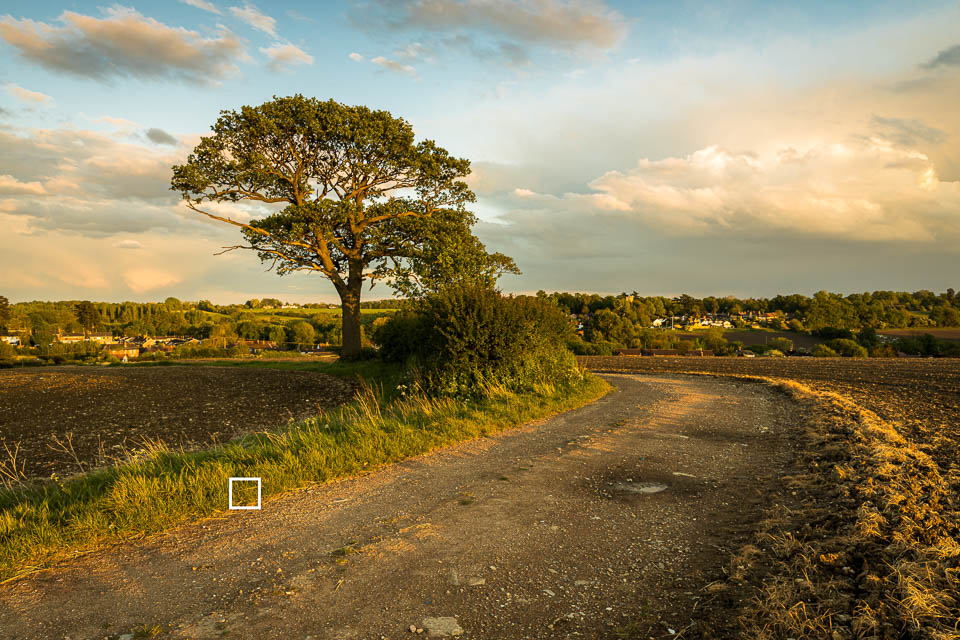
Single Point autofocus
When you look through the eye-piece of the camera, there will be a single square or cross. Using the half-button focus process put the square over the key subject in the frame and hold the button half-way down. You can now re-position the camera to the composition you want, and the camera will remain focussed on the original point. The single point autofocus is perfect for static objects as you can define what is important in the shot and ensure that the viewer focuses on it.
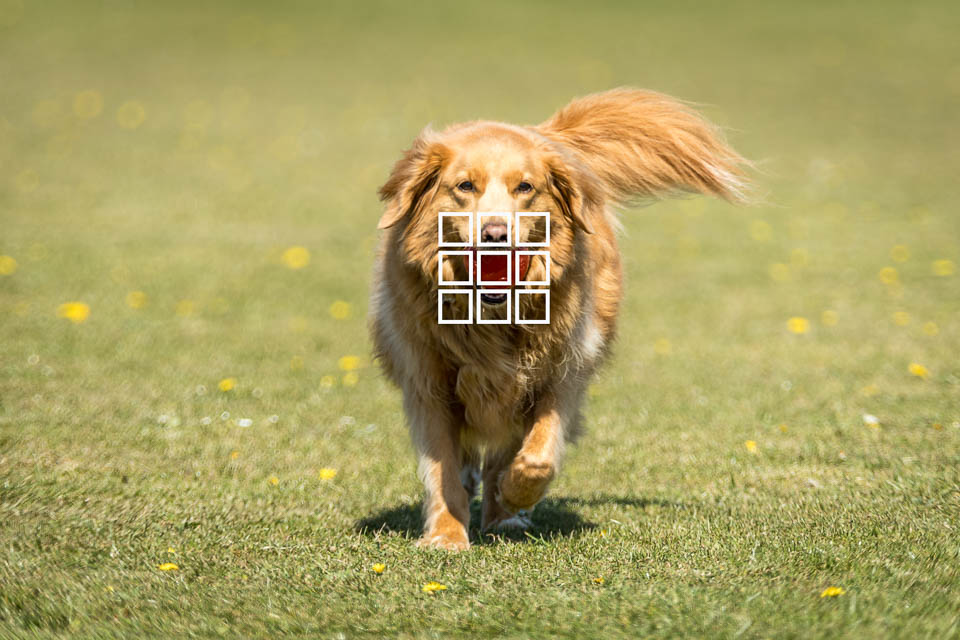
Expanded autofocus
The second method extends the area around the focus point, usually in the shape of a cross or a square. The camera will now try and determine the best position to focus depending on the subject. The expanded autofocus is useful for subjects which may move slightly, such as flowers blowing in the wind. If the camera had locked onto the flower using the centre focus point and then moved slightly in the wind, it would track the movement to one of the adjoining areas. However, if the subject moves away from the extended focus area, then the camera will focus on something else in the same region.
Nikon users will know this method as Dynamic-area autofocus. Sony cameras call it the expanded flexible spot. Fuji names it the focus zone. The reality is that regardless of the name, they are all extending the focus area.
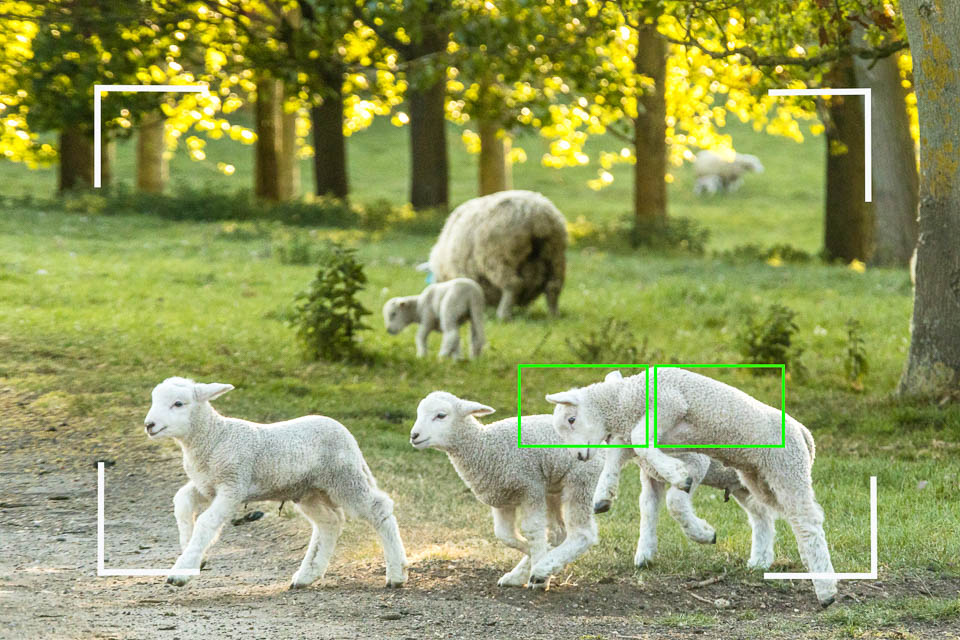
Zone autofocus
Rather confusingly, Canon names the third method in the same way as Fuji names the second one. I do think that the Canon naming convention better describes what it’s doing. This time the camera will have a defined zone in the frame that it will track a moving object. Typically it will be the entire frame, but it could also be either a horizontal or vertical zone depending on the movement direction of the subject.
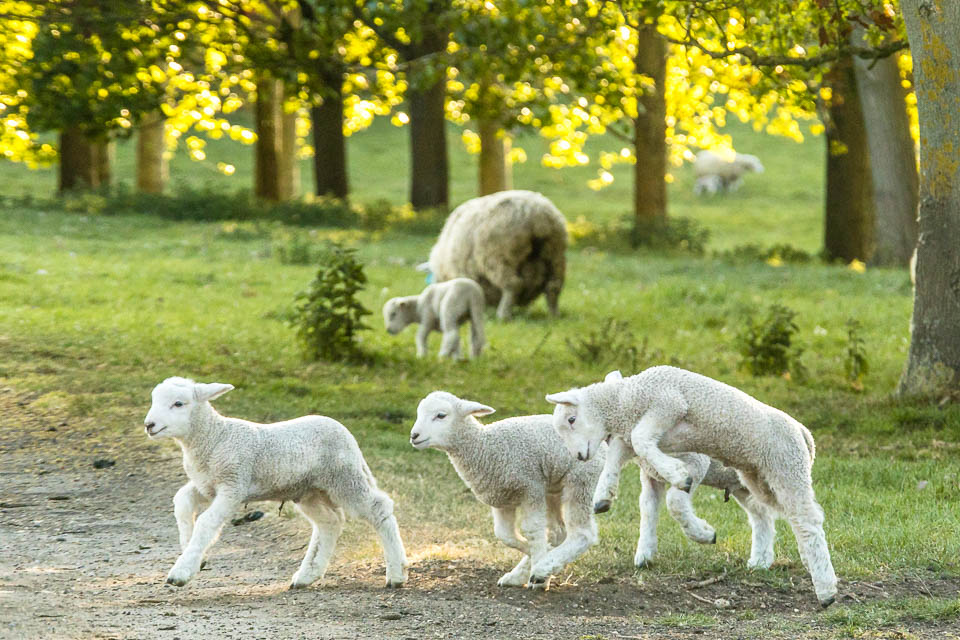
Once the focus has locked onto a subject, it will continue to track it across the frame. Sophisticated zone autofocus systems will be able to track things that are moving in inconsistent directions such as a tennis player or an excited lamb.
The variations across manufacturers are 3D tracking for Nikon, Zone for Sony and Tracking for Fuji.
Read the manual
In my blogs, I try and translate the camera manual into something that is more understandable. In this one case, I really do suggest that you read the manual to understand the latest developments your camera manufacturer has added. The EOS R that I am using at the moment has seven different variations of the autofocus methods, including an eye-recognition algorithm. Canon allows you to set cases that define how the auto-tracking works when using the zone autofocus method. It’s all in the manual, and every camera model is going to be slightly different.
Coronavirus shut-down
We are going to have an extended period of lock-down so it would be great to have suggestions for blog-posts that you would like to see. Don’t forget; I have set up a Virtual Classroom on the Edinburgh Photography Workshop website. You can book a personal one hour webinar to help you with any aspect of your photography, including camera advice, Photoshop and Lightroom tips or portfolio reviews.
If you’d like to buy one of my limited edition prints, they are available at richdysonphotography.com
Give us your feedback
If you’ve got any questions or comments, leave them below. You can sign up for the Edinburgh Photography Workshop monthly newsletter where you’ll get regular updates on exciting things happening in photography and some great tips. Sign up by clicking here.