September 1, 2021
Adding space to a photograph
Help to add space in a photo by using the content-aware fill tool in Adobe Photoshop
Last week I was running a Switch to Manual session, which went off at a slight tangent, but as always, flexibility led to an opportunity. During the session, the person attending felt unwell, so we agreed to meet again later in the week to cover the final part of the workshop where we edit photographs. However, before catching up later in the week, we agreed that the client would go to a few locations and take some photos to review.
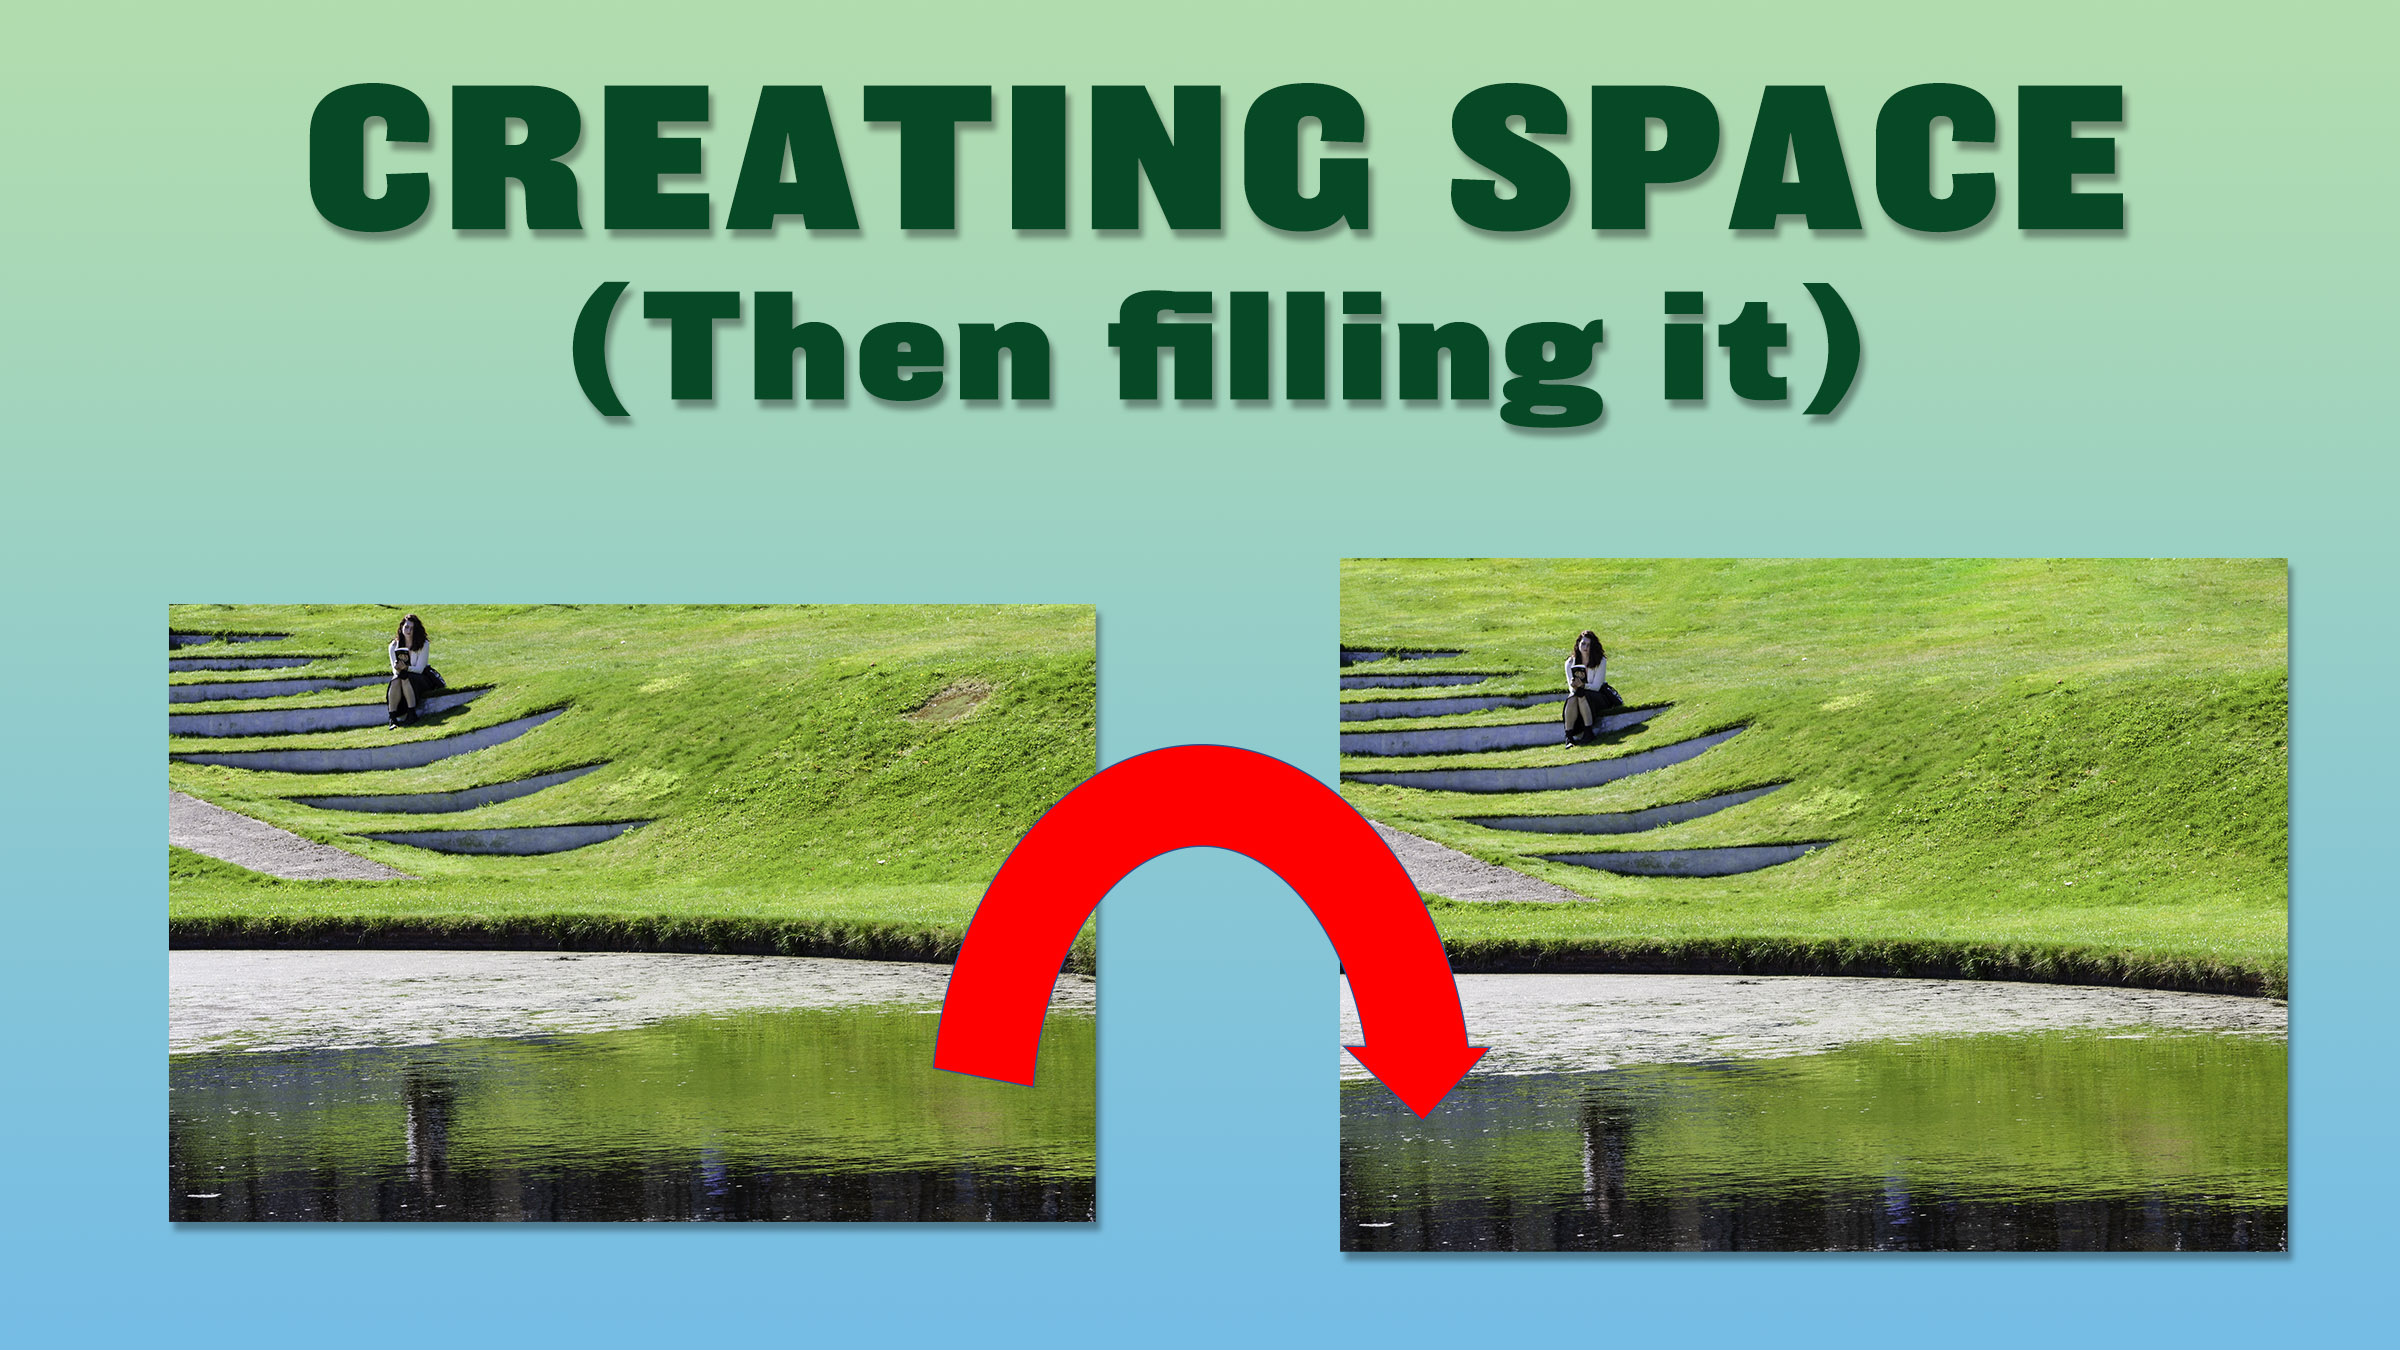
One of the places they visited was the Scottish National Gallery of Modern Art. They took a photograph of a woman sat by the Landform installation on the front lawn. The line of steps leads nicely down to the water and the reflection of the scene. However, I suggested that it might have been nice to take the shot with a little more space at the top. Obviously, the photographer can’t go back to the scene with the same woman, sat in the same place. Instead, we’ll use Photoshop to add some space to the top of the image and then fill it with grass to give us a natural effect.
Adding Space to a photo
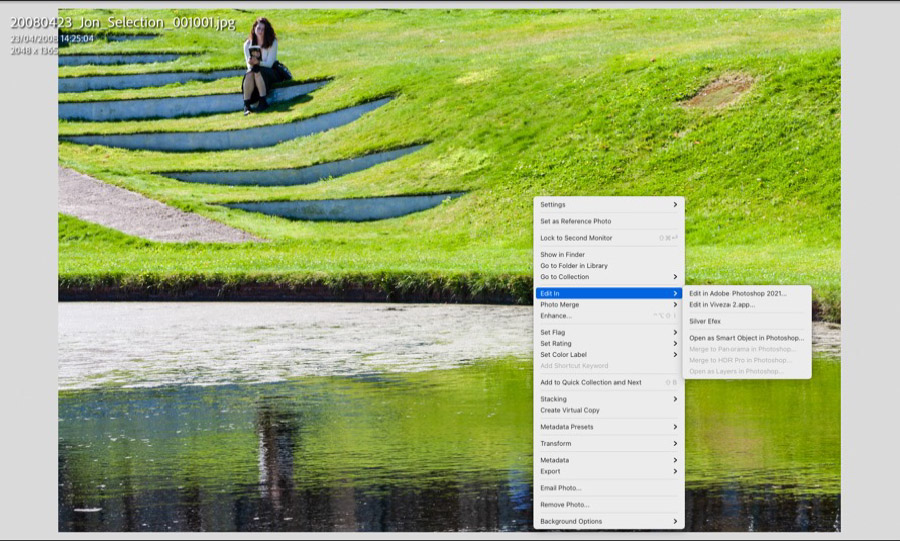
Right-click on the photograph in Adobe Lightroom and take the option Edit in Adobe Photoshop
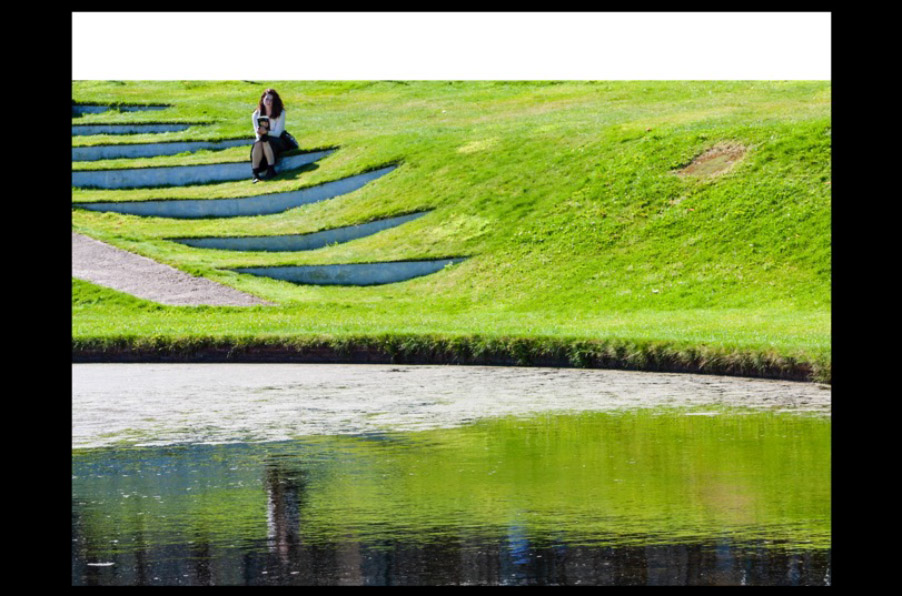
In this example, we need to create more space at the top of the picture. So, we will make some additional space above the photograph by changing the size of the Canvas.
Click on the Image menu at the top and take the option Canvas Size. A dialog box opens.
The Anchor section of the dialog box is where we tell Photoshop where to add the space. It is pretty confusing until you get the principle of how it works. Click on the bottom row of the nine arrows, and the anchor will change to what you see on the right (above). The arrows are showing where the additional space is going to be placed. If we wanted to add space at the bottom, click the top row, and all the arrows will be pointing downwards and similarly if we’re going to add space on the sides.
Now we need to tell it how much space we are going to add. Ensure that the box marked ‘Relative’ is unchecked as this will increase the width by the same proportion as the height. Now over-type the Height value from 1365 to something bigger; I’m going to go for around 1550 – this is a matter of taste as to what you think is the correct amount. Remember, if you don’t like the result, you can press CTRL and Z, and Photoshop will go back to the step you’ve done before the last one. We now have a white band at the top of the image.
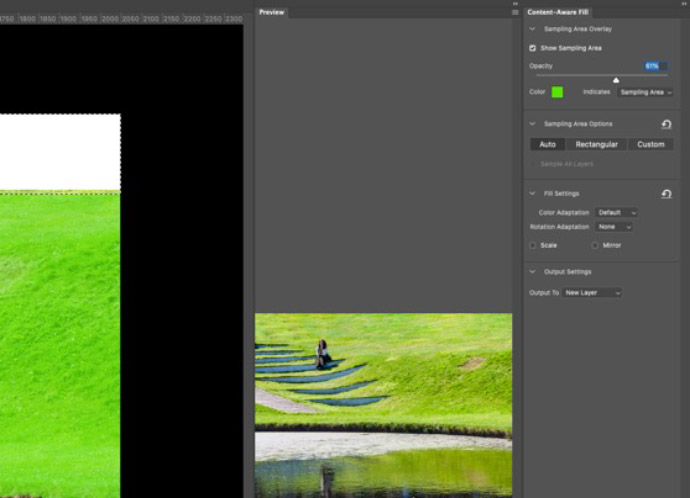
Now, we need to fill the white band with grass. To do this, select the area in white and a tiny amount of grass using the selection tool. That’s the dotted rectangle on the left-hand side of the screen – take care not to include the girl in the selection. Next, go to the Edit menu and take the option Content-Aware Fill.
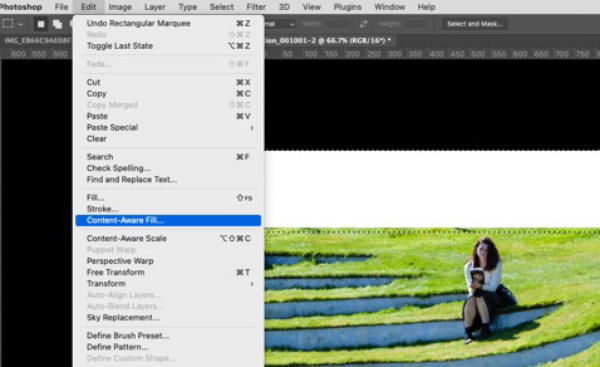
A panel on the right-hand side opens, which gives a preview of how the fill will work. The default options do a pretty good image on the photograph of the girl, so press OK, and the panel will disappear and show the edited image with more grass at the top. If you want to remove the selection from the photo, type CTRL and D.
To get the photograph back into Lightroom, simply go to the File menu and take the option Close, then Save.
Give us your feedback
If you’ve got any questions or comments, leave them below. You can sign up for the Edinburgh Photography Workshop monthly newsletter, where you’ll get regular updates on exciting things happening in photography and some great tips. Sign up by clicking here.
About the author
As well as running Edinburgh Photography Workshop, Rich Dyson is a professional photographer. His photographs are regularly used in newspapers such as The Times, Guardian and Daily Telegraph. He also had two solo exhibitions as well as being featured in a members sponsored exhibition in the Scottish Parliament. You can see and buy his photography at richdysonphotography.com