July 7, 2021
Spot Metering in practice
When should you switch to spot metering? How to use the spot-metering setting to achieve creative results in your photography
One of the most powerful tools in your DSLR or mirrorless camera is one that manufacturers don’t boast about too often. Probably the reason for this is that it has been available for years and if you know how to use it, it works well with no real opportunity to make it better. The thing I am going to look at this week is spot metering. You’ll find it in the shooting menu and described as either Metering Modes or Photometry settings.
What is spot metering?
Your camera will have maybe three or four metering modes. Some cameras have more, but I tend to just use two. The default metering mode is called Evaluative on Canon, Matrix in Nikon world and Multi with various other manufacturers. It’s great for landscape type scenes where we want to expose the sky and foreground correctly. The other one I use is Spot metering (thankfully, all manufacturers seem to use the same name!).
Matrix/Evaluative/Multi metering works by evaluating the amount of light at several points across the sensor to determine the correct amount of light. Spot metering instead uses just one point, usually around two to four percent of the sensor area, to determine what the right amount of light is. It’s great for scenes where the subject is either much brighter or darker than the rest of the scene. The example I use during the Switch to Manual workshop is photographing the moon.
When it’s a full moon, and it’s a clear evening, people pull out their mobile phones and take a shot of the enormous moon, revelling in the detail of the craters on the lunar landscape. Sadly, the resultant photo is less impressive. The moon is a blob of white, while the sky is correctly exposed. The reason, of course, is that the phones are using the equivalent of the default metering mode. It’s evaluating several points across the image, the majority of which are dark. As a result, the camera estimates that the ‘correct’ exposure is for the dark areas and therefore over-exposes the moon. Using spot metering and measuring the light emitted from the moon gets a much better exposure, with all the craters captured. The sky is darker, but in this case, that’s not the thing we are interested in capturing.
Spot metering in portraiture
The moon example is a simple one to understand, but there are many more creative ways to use spot metering. The first is in portraiture. I use a superbly gritty location during the Switch to Manual workshop to show the benefit of spot metering. The closes off Edinburgh’s Royal Mile are often great natural softboxes, particularly the ones that lead to the south. In a photography studio, a softbox softens the light sent from a light source. In the closes of Edinburgh, the same effect occurs by the light bouncing off the walls and reducing its intensity.
The alleyway I use during the workshop lights up the face with beautiful soft light. Behind the subject is a dark walkway, leading to light at the other end of the alley. It would be tricky conditions if using the default metering mode, especially if you want to include the dark alley in the picture. The photograph would over-expose the model’s face, and the wall would be ‘correctly’ exposed.
A more pleasing (and in my opinion, dramatic) result comes from using spot metering. I find the best way to measure the light correctly in this mode is to zoom in as close as you can so the models face is as large as possible in the frame. Measure the light falling on the cheek of the model and setting your aperture, shutter speed and ISO to get the correct exposure. Now the light is measured, you can now zoom out to get the composition you want.

I think this is a really lovely photo, achieved without any artificial lighting. The models face is nicely lit, and the darkness in the alley helps to make her stand out—all done by understanding a better-suited way to measure light.
Spot metering with nature
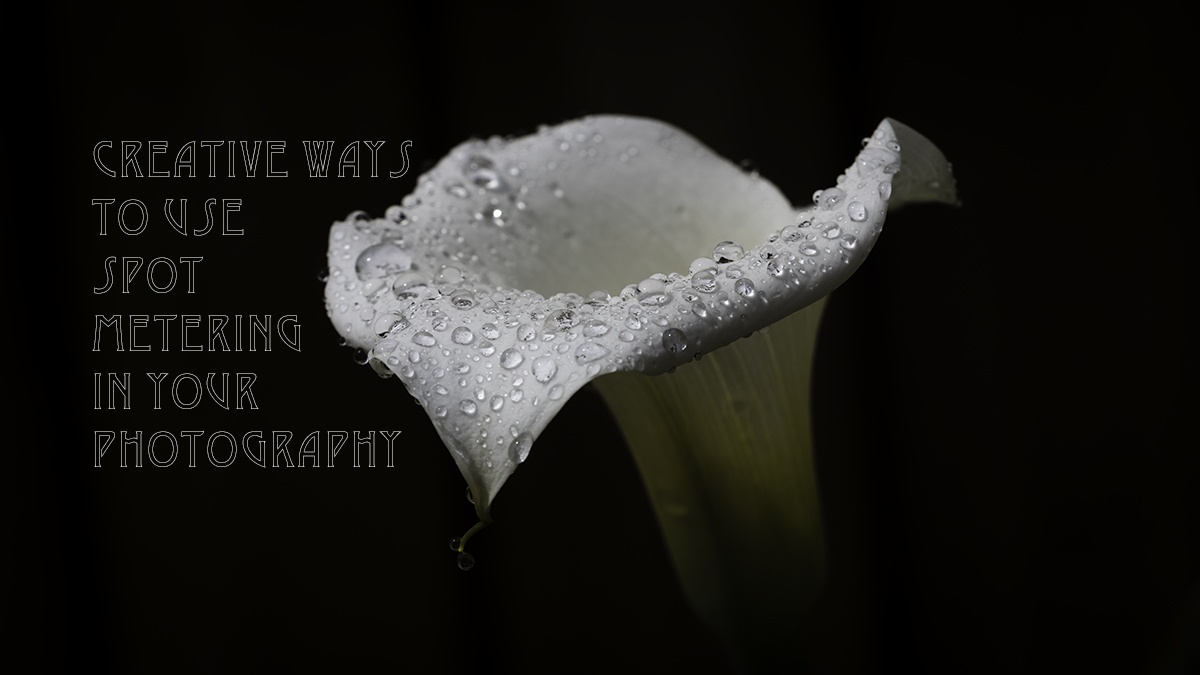
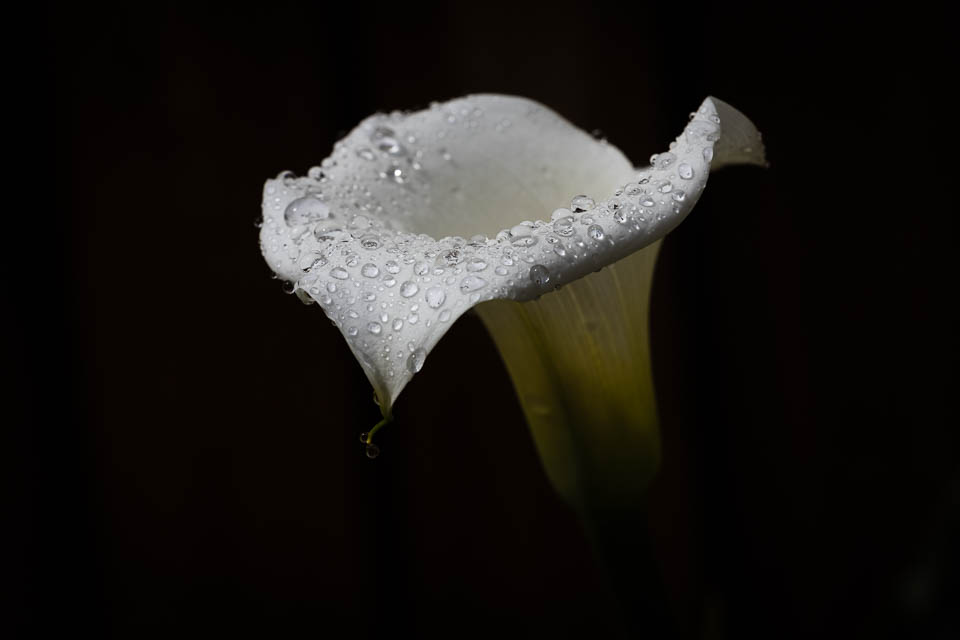
The next example I will demonstrate is taking a shot of a lily in broad daylight. Using spot metering gives the appearance that it’s shot in a studio with complex lighting. I was down in England yesterday visiting my mum – she grows beautiful white lilies in her garden, and they look particularly stunning just after it has rained. I had these exact conditions when visiting, and like all good photographers, I had my camera with me.
There were a few things that could have prevented me from taking a beautiful fine art shot. Number one is that my mum didn’t want me to cut the flower off the plant – it’s a fair challenge. The second is that about 18 inches behind the flower is a fence fitted a few months ago – the wood is fresh and has been stained red with creosote.
Again, spot metering is our friend and ally. This time I measured the light falling on the flower. Because we measure a bright object with spot metering, anything dark in the photograph will get darker. The result is a detailed shot of the lily’s head appearing to appear out of the darkness. That’s precisely the effect I am looking to achieve.
These are just a couple of practical examples of using spot metering. It would be great to see the inventive ways that you have used this powerful metering mode to capture great photos. Add a shot in the comments below.
Give us your feedback
If you’ve got any questions or comments, leave them below. You can sign up for the Edinburgh Photography Workshop monthly newsletter, where you’ll get regular updates on exciting things happening in photography and some great tips. Sign up by clicking here.
About the author
As well as running Edinburgh Photography Workshop, Rich Dyson is a professional photographer. His photographs are regularly used in newspapers such as The Times, Guardian and Daily Telegraph. He also had two solo exhibitions and featured in a members sponsored exhibition in the Scottish Parliament. You can see and buy his photography at richdysonphotography.com
![]()