September 30, 2020
Making a Calendar
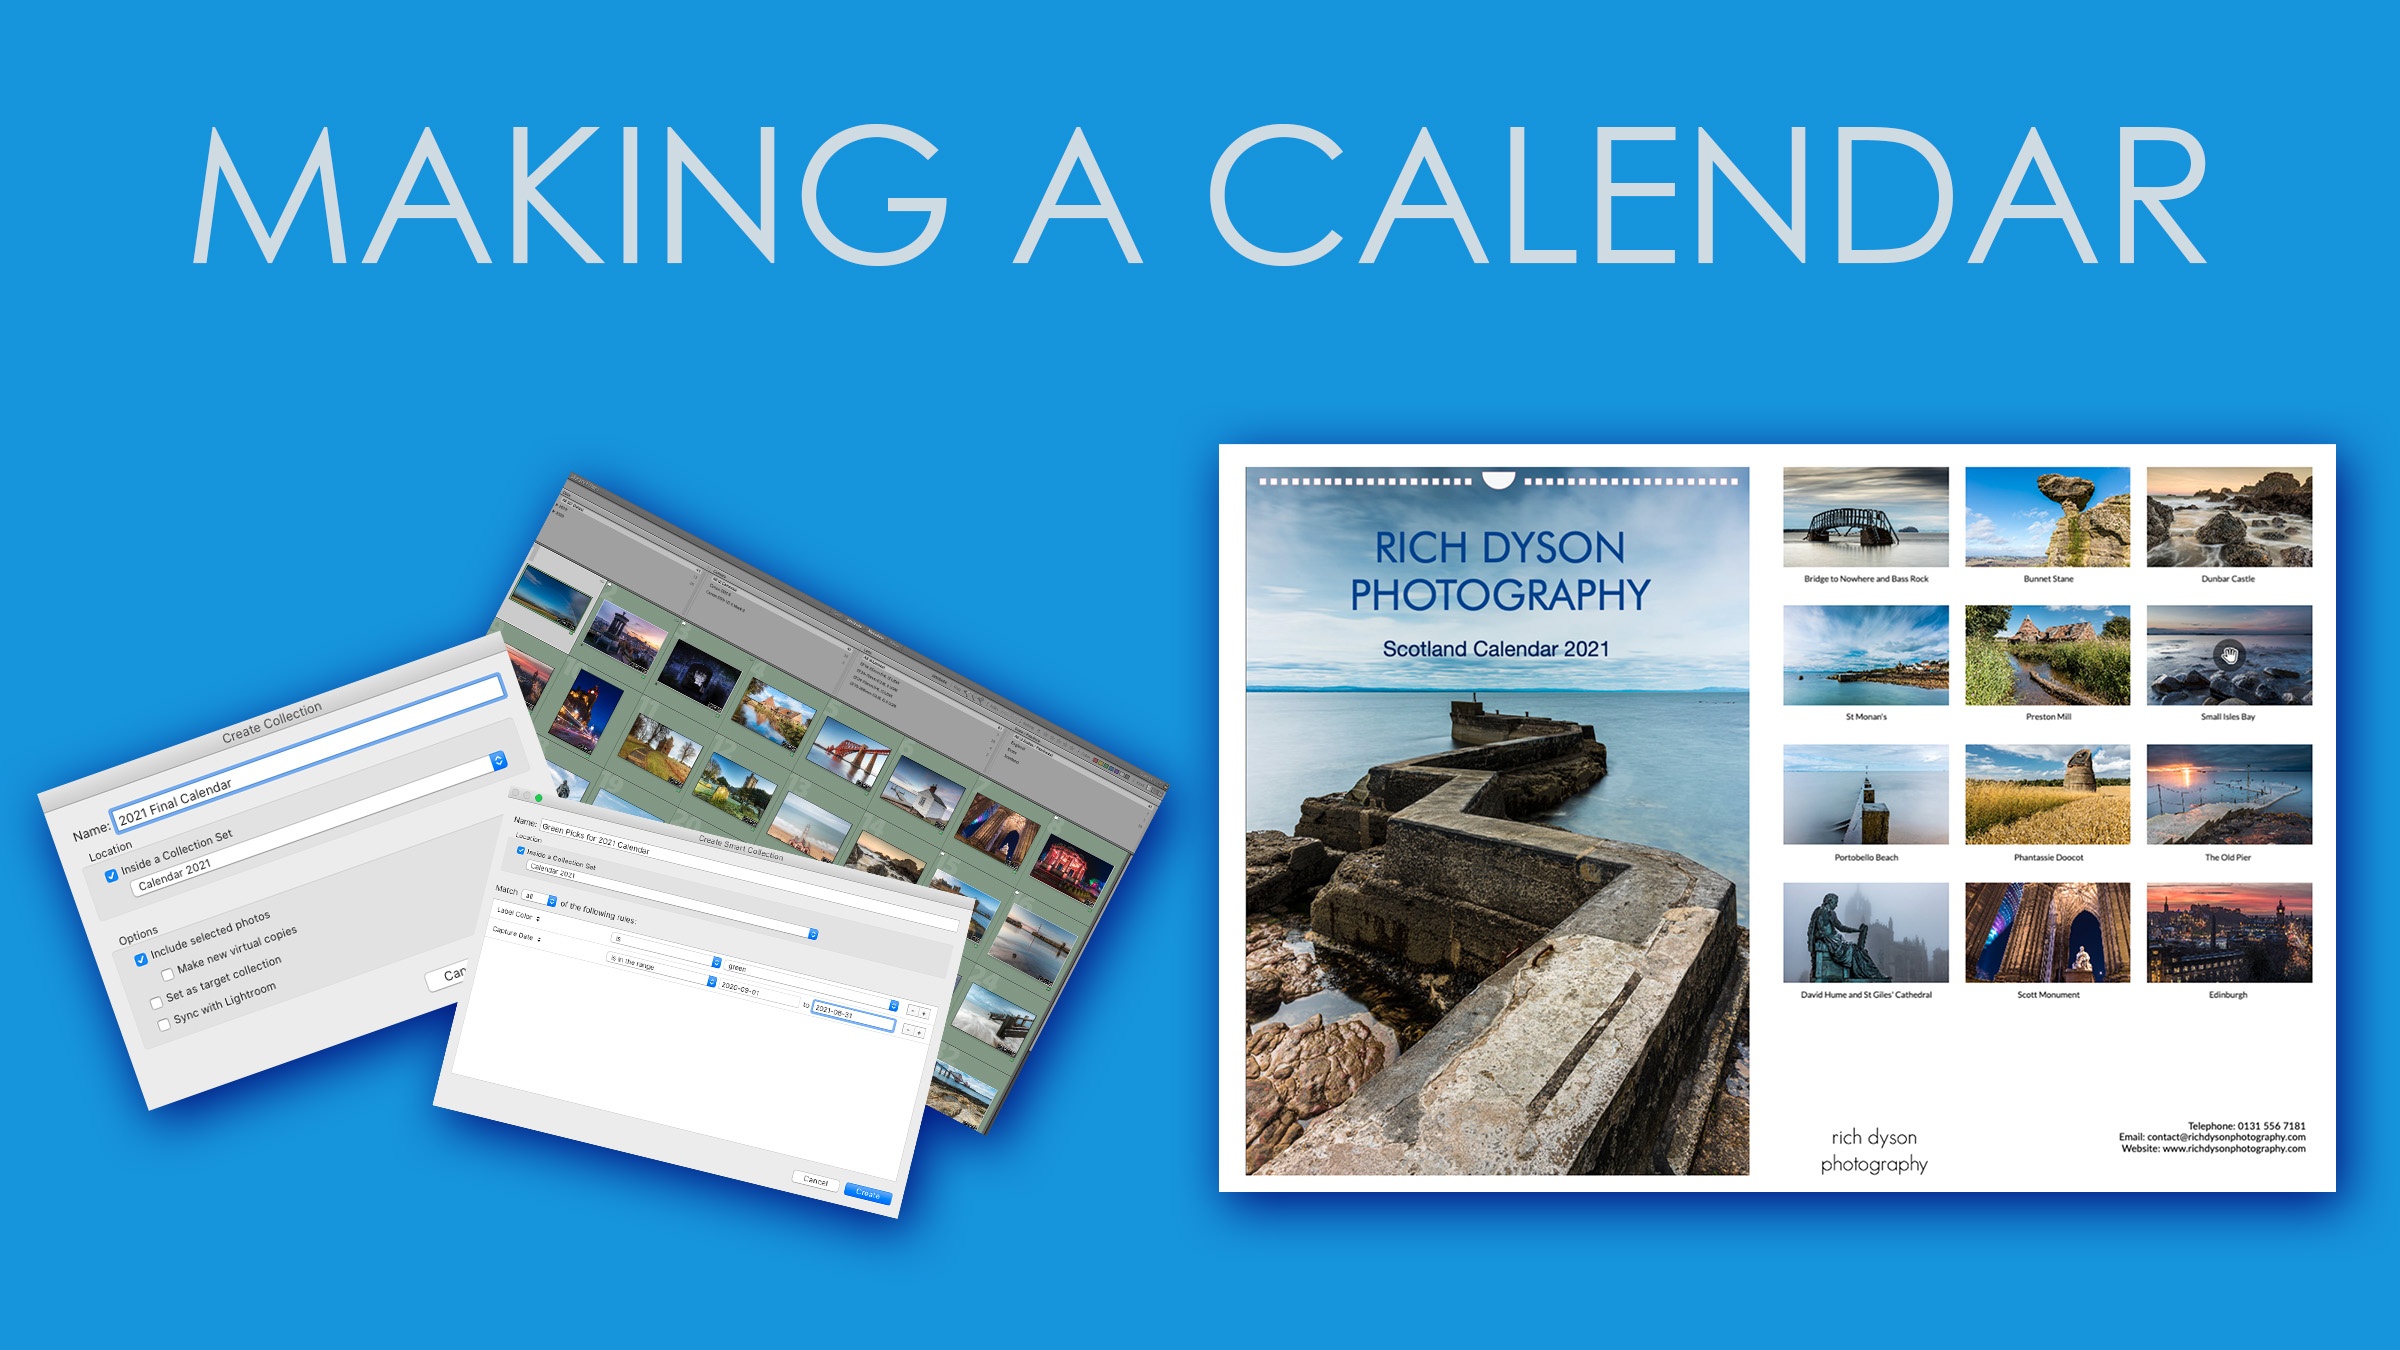
My 2020 calendar has made its way to the printers. How you can make your calendar process slick for next year
I’m going to have to start this week by making a bit of an apology. For the first time in almost two years, I just didn’t have enough time to write a blog or latterly record a podcast. I have been so busy running workshops, taking photographs for a forthcoming book and finalising the print run for a calendar. Something had to slip, and I made the call to let the blog slip. To help myself, I am going to move to a fortnightly blog and podcast for the time being to try and ease the strain. This week, I am going to go through the process that I follow each year to produce my calendar. I find that putting processes in place to help at the start reduces the amount of time that you’ll spend on the activity.
Building a library of photos
Rather than using my back catalogue of photographs, I like to make my calendar from pictures taken during the previous twelve months. You can imagine that it has been quite tricky this year with various lockdowns, but I still managed it. I put some of that down to identifying a ‘calendar-worthy’ photograph as I edit it and then use some of the features in Adobe Lightroom.
You can customise this process, but I’ll share the one I have developed and seems to work. It uses Smart Collections and the various flags or labels that are available to be added to your images.
When I think that I’ve taken a photograph that could be a contender for the calendar, I will apply a Green colour label. There are two ways that you can do this. The first is to right-click on the photograph and navigate to ‘Set Color Label’ and then select the Green option. You can also just press the ‘8’ key, and it will also apply a green label.
Now we have identified the photographs that may make the cut we need to find an easy way to discover them in the future. To do this, we will use the Smart Collection feature. I tend to finalise the selection of images in early September, so I’ll want to look at green labelled photos between the start of September in the previous year and the end of August in the current year. Lightroom can automatically find these photos for you by building the criteria into a selection.
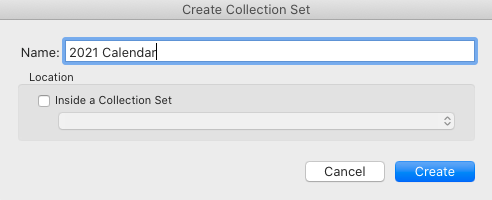
Click on the plus sign next to the Collections tab on the left-hand panel in the Library or Develop panel. Take the option to create a Collection Set and give it a name, for example, Calendar 2021. Doing this allows you to store a series of collections in one folder.
We are now going to add the Smart Collection to the Collection Set. The easiest way to do this is to right-click on the Collection Set you have just created and take the option ‘Create Smart Collection’. It will automatically add the Smart Collection to that set. You can also, just press the plus button again, but you may have to select the 2021 Calendar Collection Set manually.
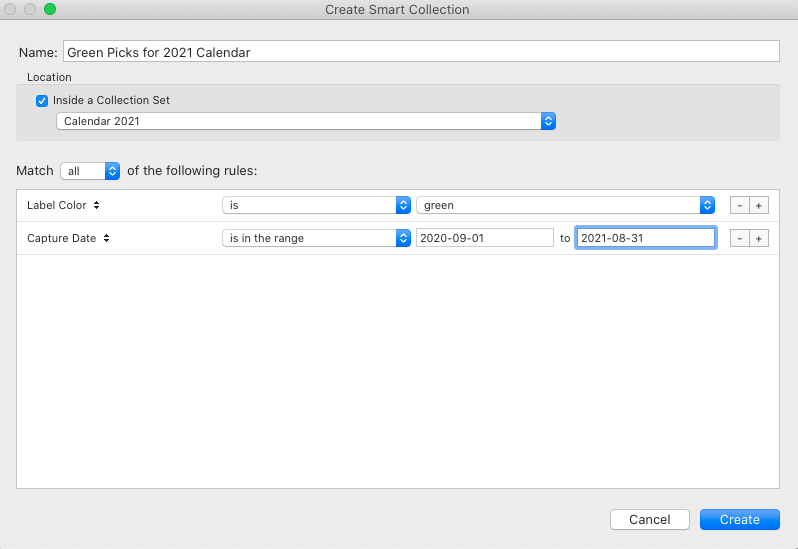
In the dialog box that pops up, you can give the Smart Collection a descriptive name. Let’s say “Green picks for 2021 Calendar’. We’ll then add the criteria in the bottom part of the dialog box. Initially, you’ll have one line of criteria which I would amend to Label Color is Green. Now we need to add the date criteria, which we do by clicking on the plus sign at the end of the line selecting green labelled photos. Now we can add the second criteria to choose images with a Capture Date in the range of 1 September 2020 to 31 August 2021. Note that you have to use the date format of the year, followed by a hyphen, then the month with a second hyphen and finally the day.
When you press the create button, any photographs already meeting these criteria appear in the collection. The thing that makes it a Smart Collection is that Lightroom will continue to look for photos in the future that also meet the same criteria. When you come to create your calendar next year, you now have a pre-built library of images to select.
Selecting your final images
We’ve made the hard-work easy by grouping together all our best shots. Now comes, the challenging part which is narrowing down the short (or quite likely long) list of photos to your final 13 photographs. You’ll need a front-page photo as well as one picture for each month.
I started the 2021 calendar cull by deciding that this year’s calendar would only feature photographs taken in Scotland. If you spend your time during import to add useful metadata, this task can also be relatively easy. I always set the Country field to ‘United Kingdom’ and then set the Region field to the countries within the UK. I can find Scottish photos by using the Library Filter. To do this, go to the Library module and press the backslash key which will toggle between showing and hiding the filter. Click on the ‘Metadata’ section, and then you can select any combination of metadata items. If Region is not visible, just click on one of the four metadata item titles and you can choose it from there.

From now on in, it’s purely a matter of personal taste as to the photos you choose. I want to try and make the images in the calendar relate to the month they are representing, so this becomes part of my selection process. If I think a picture is destined for one of the months, then I’ll add a flag to the image. You can again do this in two ways. The easiest is to press the ‘P’ key while the photo is selected. You can also right-click the picture and navigate to ‘Set Flagged’ and then ‘Flagged’.
You could create another Smart Collection now to add criteria that look for images that are also flagged. Alternatively, you could also only display photos inside the smart collection that are flagged by using the Library Filter.
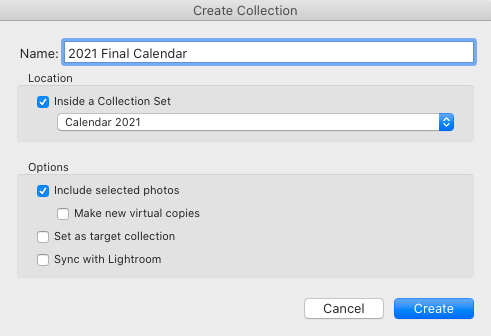
Once you have your final 13 images, I like to check that they hang together by adding the last step. A drawback of a smart collection is that the photographs get sorted using pre-defined values such as Capture Date. To sort in the order that we view the calendar, we need to copy the pictures to a standard collection. Highlight all the images and then right-click on the Collection Set for the calendar. Ensure that you have the option ‘Include selected photos’ checked and you’ll have a new collection with the final images.
You can now drag the photos into the order of the calendar. It gives you the comfort that all the photographs you have selected hang together as a group.

Getting the best quality print for your calendar
The final stage to producing a beautiful calendar that you’ll be proud of is in the production. I’ll assume that self-printing and binding isn’t an option for most people. Therefore, we’ll be looking at commercial printing options, and the ‘right’ one is going to be dependent on what you’re looking to do with the final article.
If it’s going to be just one or two calendars for yourself and family members, then it’s likely that you’ll have to use an option such as Snapfish, Photobox or supermarket photography sections. The calendars tend to be quite expensive, and there’s no guarantee that the colours printed will exactly match the colours you see on your screen. However, for low volume printing, they are a simple and easy way to create a lovely memory type of product.
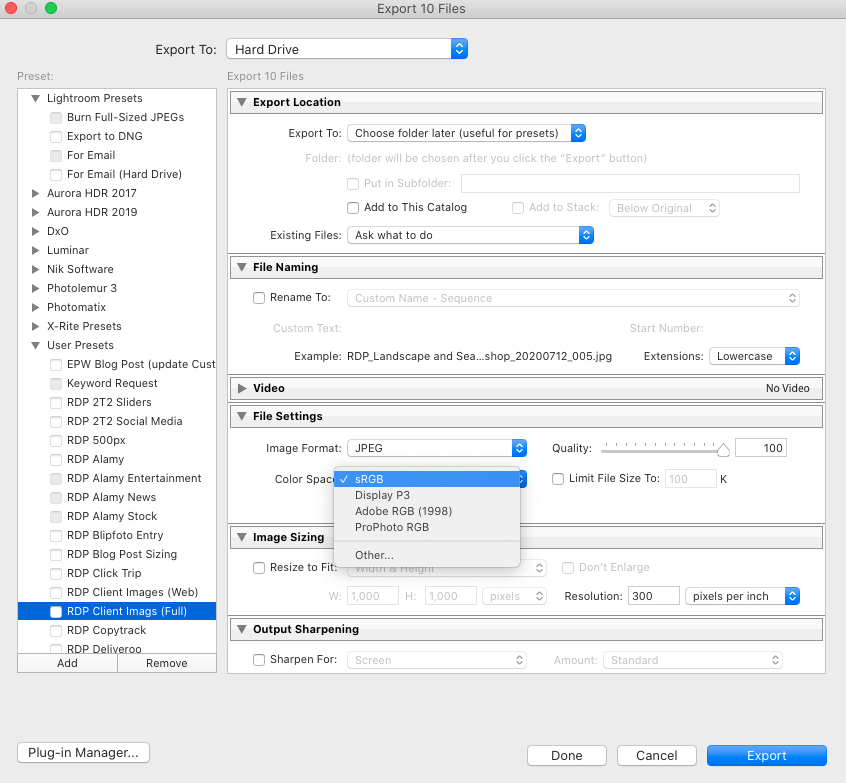
If you are looking at larger print volumes for sale, then it is worth investigating more specialist producers. The benefits are that the unit price will be lower, and the quality should be higher. Check on the website of the printer, and they will provide advice on the correct colour space that photographs need to have applied. You can set the colour-space when exporting the pictures in the File Settings section of the Export Dialog box.
Buying a calendar
If you think it’s too late to produce your own 2021 calendar but you’d like to have a great looking calendar on your wall next year then why not buy the Rich Dyson Photography 2021 Scotland Calendar?. You can order it online here at the cost of £8.99 plus £2 post and packaging. However, if you live near Edinburgh, then you can take an option at checkout to collect and save £2.
Listen along
If you don’t feel like spending time reading these blogs, you can now listen to them instead. Head to your usual podcast providers such as iTunes or Google podcasts and search for The Edinburgh Photography Workshop Podcast. If you do like listening, please subscribe to hear it every week and leave a review. That helps others to find the podcast as well.
Give us your feedback
If you’ve got any questions or comments, leave them below. You can sign up for the Edinburgh Photography Workshop monthly newsletter where you’ll get regular updates on exciting things happening in photography and some great tips. Sign up by clicking here.
![]()