October 13, 2021
Creative Bokeh
Some say Bokay, others Boker – this week, we get creative with Bokeh
This week’s blog’s inspiration comes from the theme I have set for the Facebook group I run to encourage creativity. Each month I set a theme for the 100+ members to take photographs to. October’s theme is Bokeh, a Japanese word meaning ‘blur’ or ‘haze’. There’s a continual difference of opinion as to whether to pronounce ‘bo-kay’ or ‘bo-ker’, but however you choose to pronounce it, it is the aesthetic quality of the blur produced in the out-of-focus parts of the image.
How to get good bokeh
As bokeh shows in the areas that are out-of-focus from the main image, we need to shoot with a shallow depth of field. You can look back at the blog from May 2018, where I went into detail about DOF. However, some particular tips will achieve a fantastic bokeh effect.
- Shoot at the widest aperture
- Use fast prime lenses, as they tend to have wider apertures
- Long focal length creates more extreme bokeh
- Increase distance between subject and background
- Move closer to your subject
- Take close-up portraits and macro images in nature
- Use a backlight, side light, or hair light
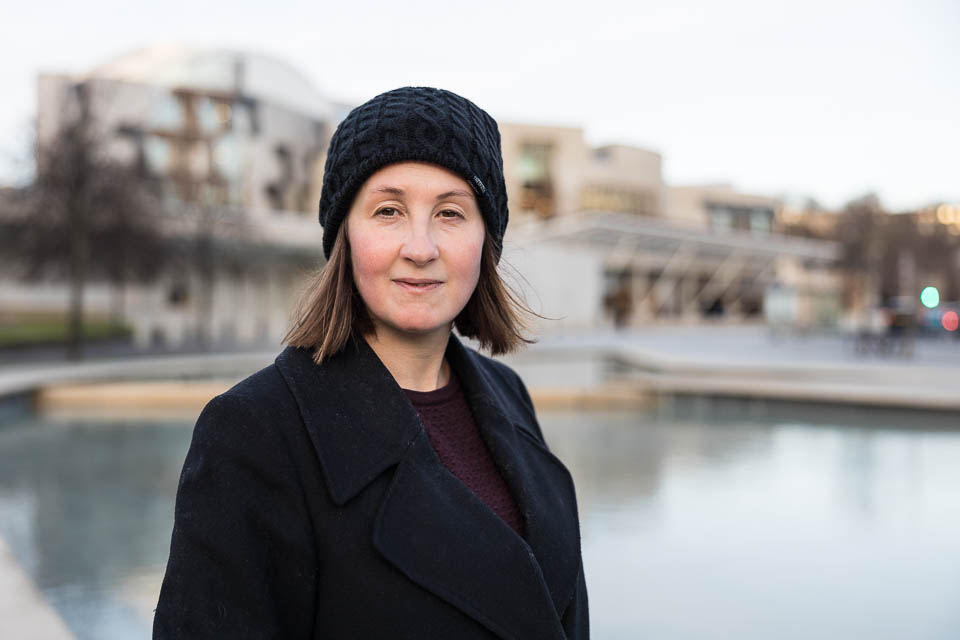
By following these, you can get a nice blur effect behind (or in front) of your subject. Portrait photographers often use this effect to isolate the sitter from the background.
Time to get pencil kits out
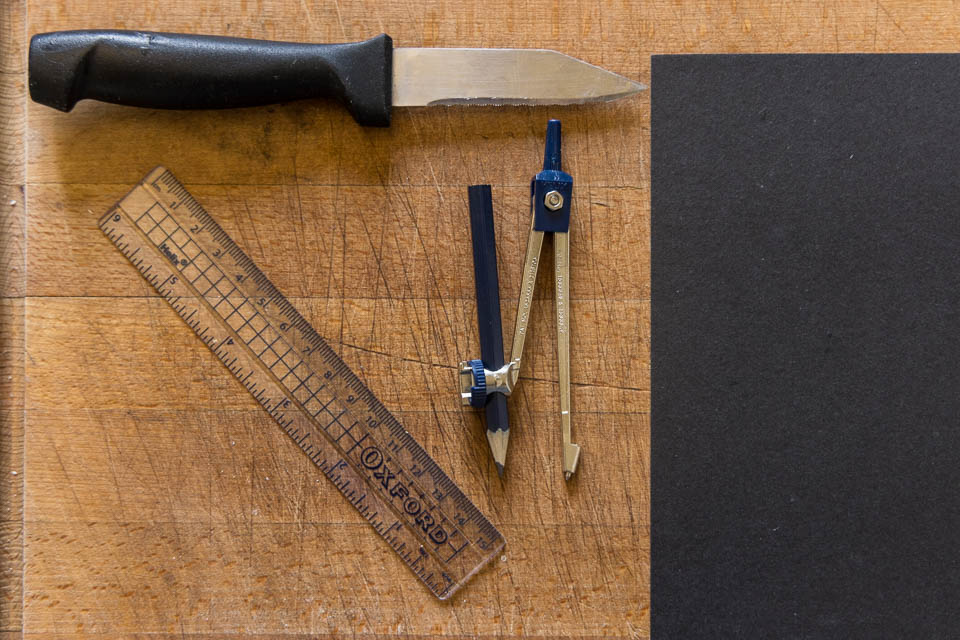
The example above shows how bokeh frequently appears in photographs. We’ll now look at how you can purposely affect how the shape of the bokeh appears in the photo. To do so, we’ll need to get into Blue Peter mode and get out some unusual tools. You will need black card, a drawing compass & pencil, a ruler and a sharp knife.
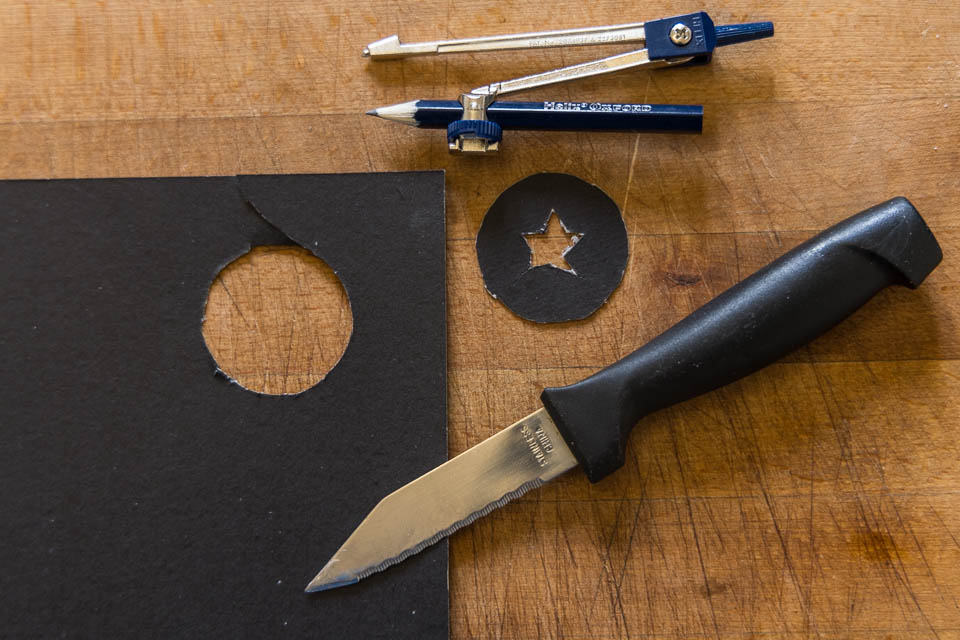
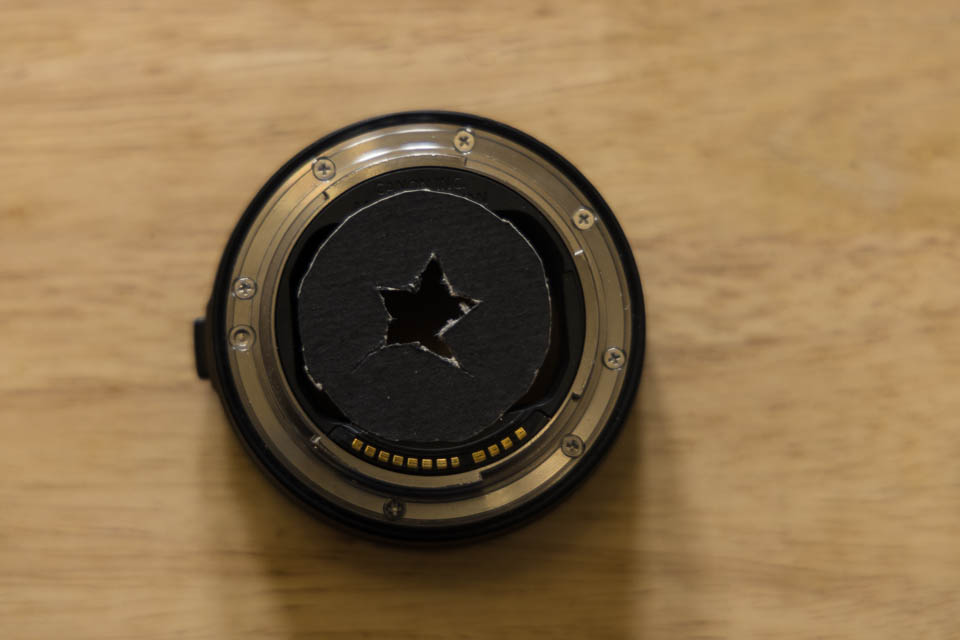
Measure the width of the hole on the part of the lens that would normally attach to your camera. There is usually a round area in the lens, which is the part that needs to be measured. Now you know the diameter of the hole, we will draw a circle on the card. You’ll need to set the compass to half the diameter so that the ring is the correct size. Cut out the circle with scissors or a sharp knife.
The fun, creative bit comes next. In the centre of the card circle, cut out a shape. I have chosen a reasonably simple star, but you can let your creative juices run free. That’s the end of the return to your school days. From now on, it’s back to adult, grown-up photography (kind of).
Shooting creative bokeh
Now we have created a template; we will get down to the nitty-gritty of shooting. Insert the cut-out into the lens, taking care not to cover the contacts between the lens and camera.
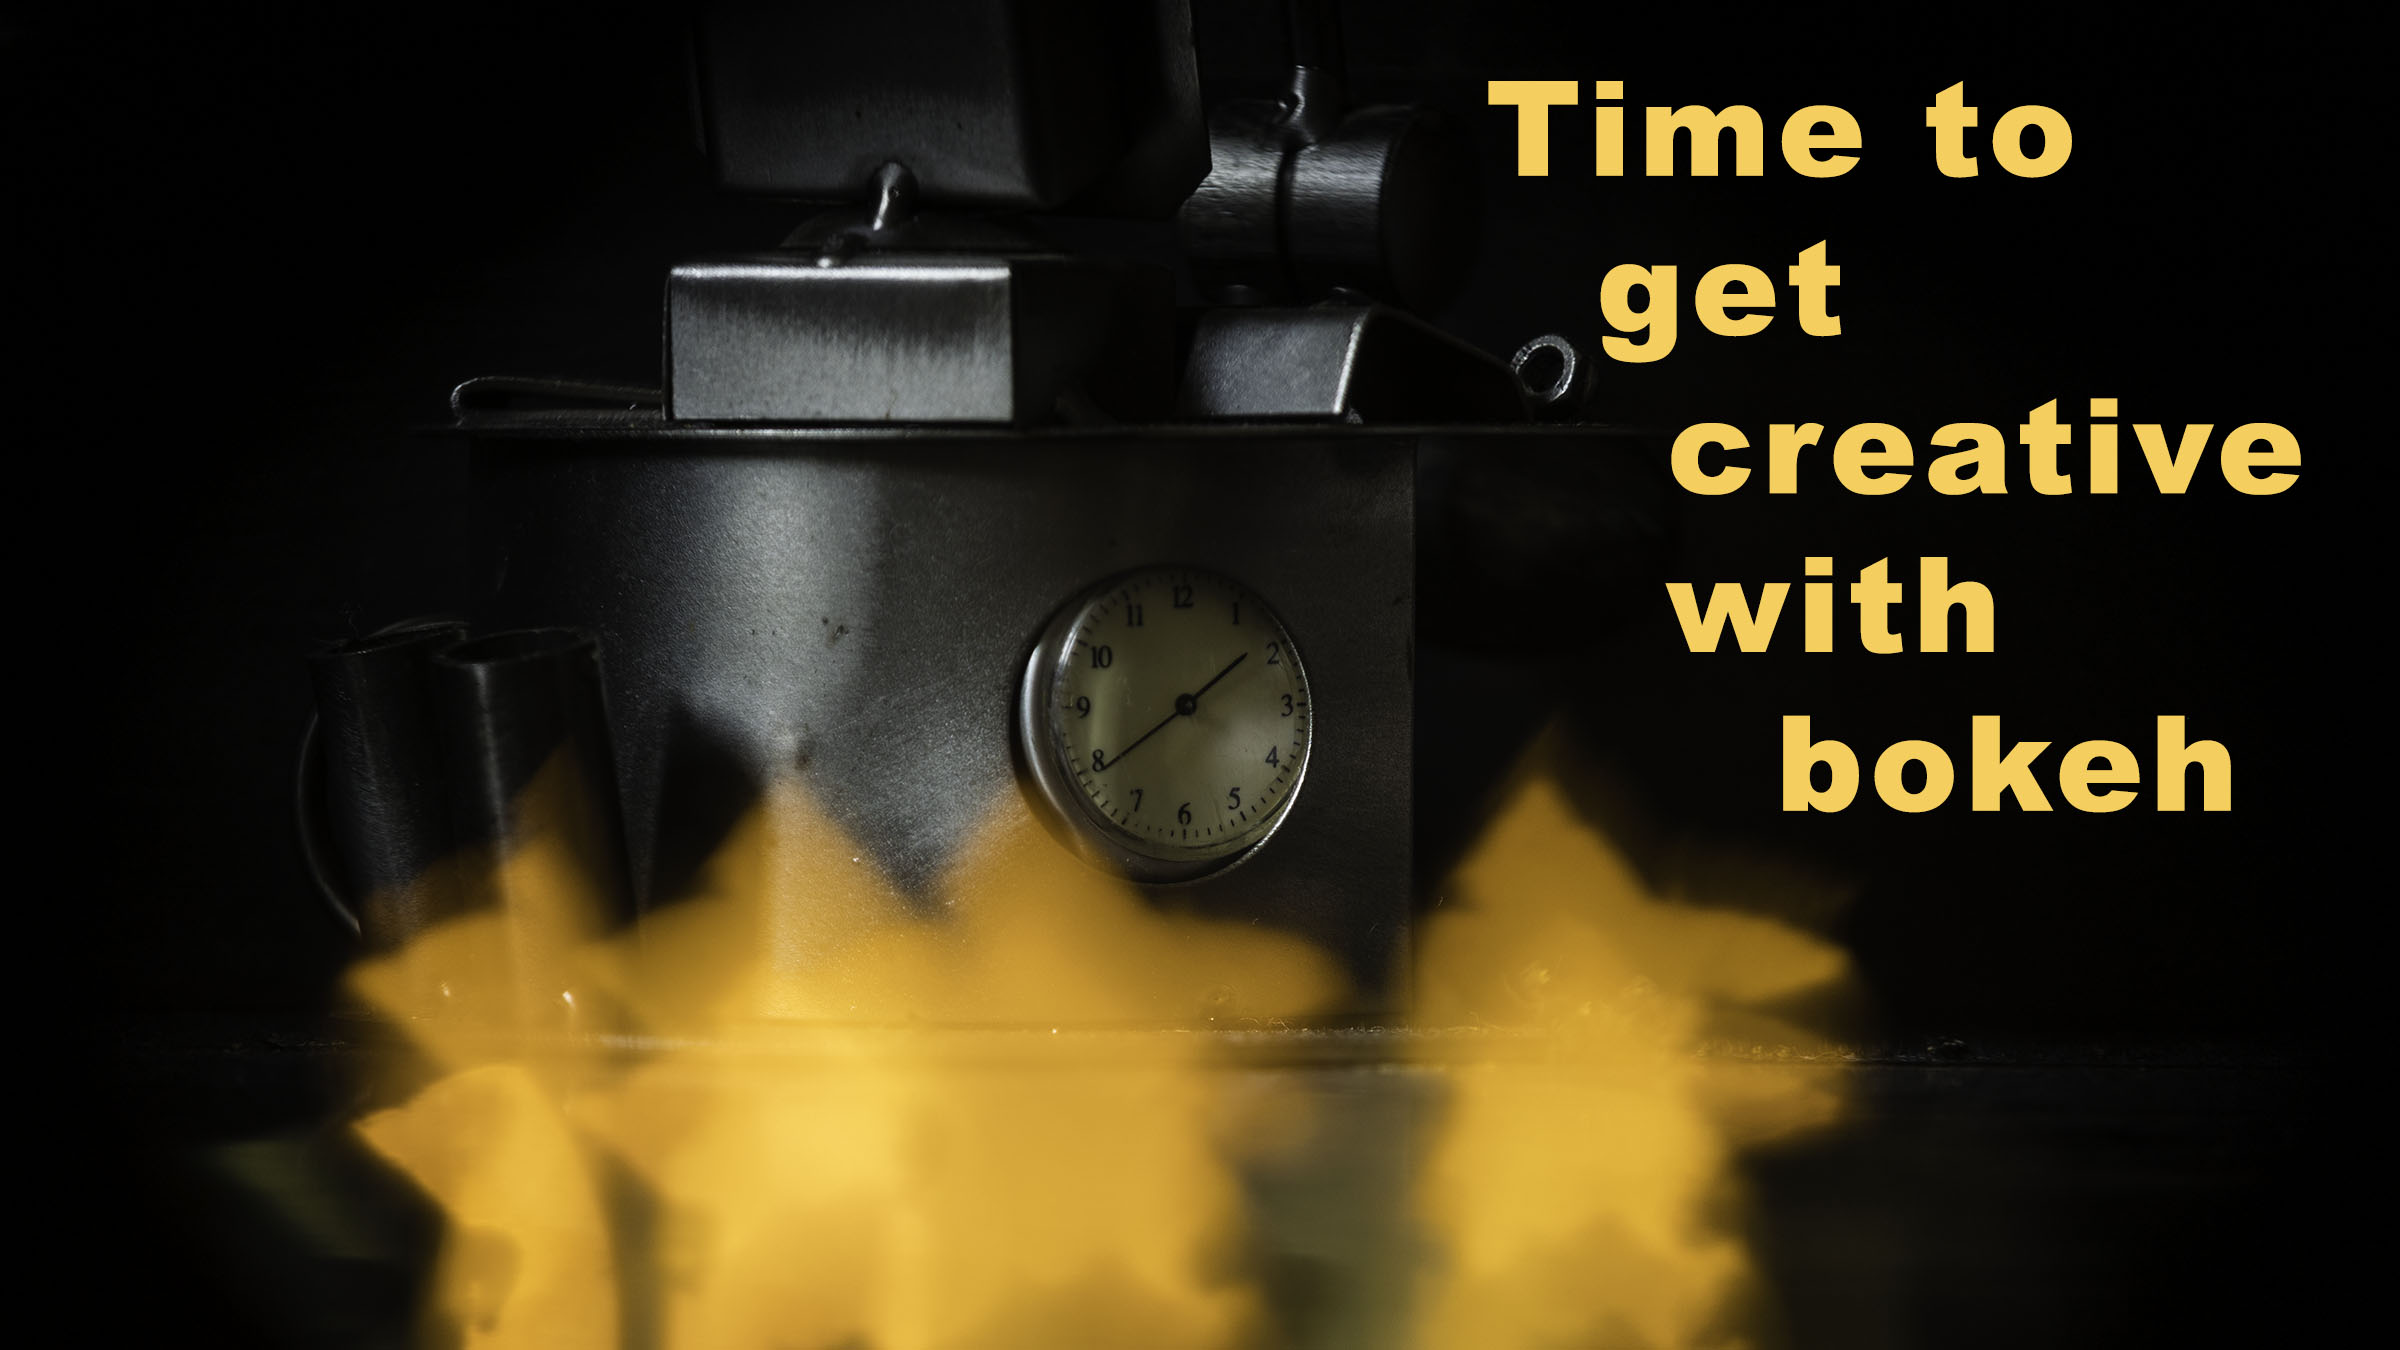
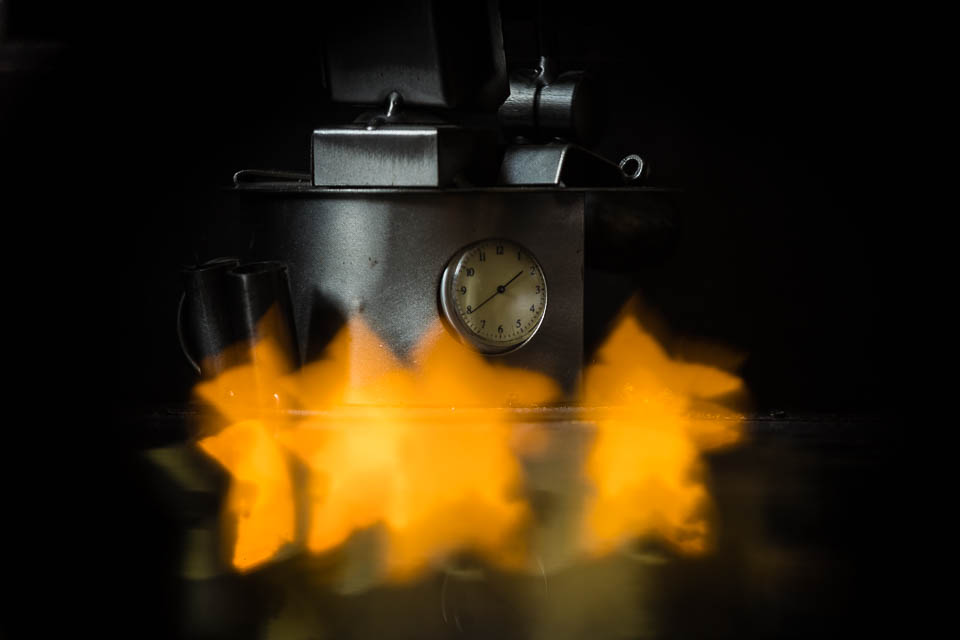
The effect will work best if we set up the scene with a strong subject and then lights either in front or behind. The greater the distance between the lights and the subject, the better. In the example, I have used a clock with some LED tea lights about 45-60 centimetres in front.
Set the aperture as wide as possible. Zoom in as much as you can on the subject and position yourself as close as possible to the subject. Ensure that the frame includes both the subject and the lights. Now, shoot. Because of the shape of the aperture we have created, the bokeh appears the same shape as the cut-out.
Now it’s your turn. Get creative with the shape of the cut-out and the thing that you use as the subject. Hallowe’en is an excellent time for playing with this effect, as is Christmas, so the next few months should give you plenty of opportunities. If you’d like to join the photo-challenge Facebook group, click here. You’ll need to accept some rules for being in the group, basically asking you to be respectful and only post your pictures. From then on, you can enjoy getting creative with others.
Give us your feedback
If you’ve got any questions or comments, leave them below. You can sign up for the Edinburgh Photography Workshop monthly newsletter, where you’ll get regular updates on exciting things happening in photography and some great tips. Sign up by clicking here.
About the author
As well as running Edinburgh Photography Workshop, Rich Dyson is a professional photographer. His photographs are regularly used in newspapers such as The Times, Guardian and Daily Telegraph. He also had two solo exhibitions as well as being featured in a members sponsored exhibition in the Scottish Parliament. You can see and buy his photography at richdysonphotography.com