February 19, 2020
Contemporary flower photography
Continuing the series of indoor photo projects, this week we create a contemporary flower photograph

In last week’s blog, we created a fine art photography image of a flower. This week we are going to stick with flowers, but this time we are going to create a modern contemporary flower image. The process is going to see us dipping into Lightroom, Photoshop and Silver Efex Pro.
Taking the photograph
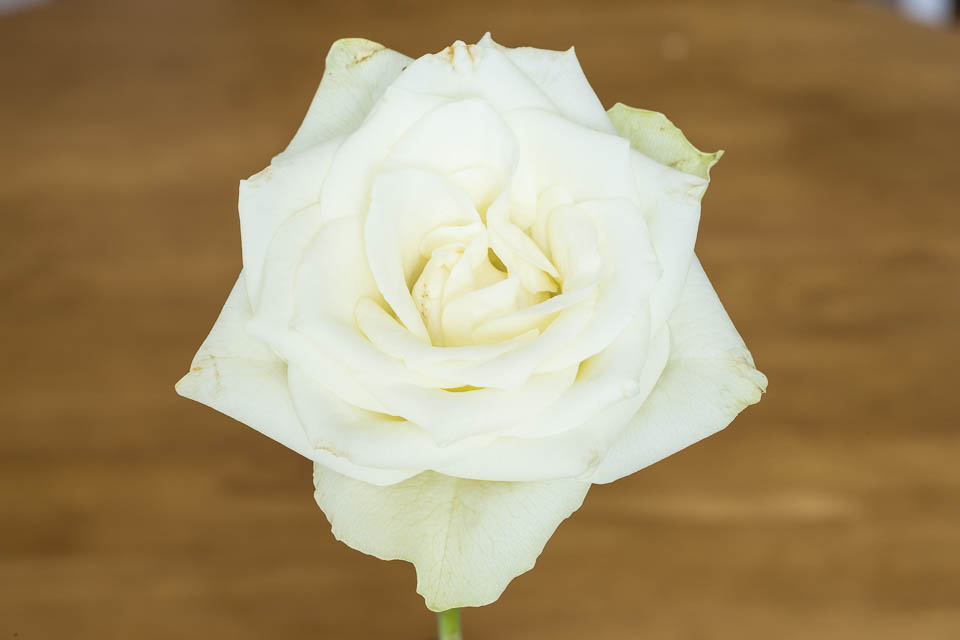
The set up for this image is a lot more simple. The flower has been placed in a vase facing towards a window. The camera is placed on a tripod so it’s looking down on the head of the flower. I have ensured there is a relatively clean background behind the flower head to make processing easier.
As I was shooting on a macro lens with a 90mm focal distance positioned around 30 centimetres from the flower, I have used an aperture of f/16 to get a nice depth of field throughout the flower head. I used the ‘expose to the right’ technique to ensure that I had the best possible exposure. I have added the image straight out the camera below.
Editing in Lightroom
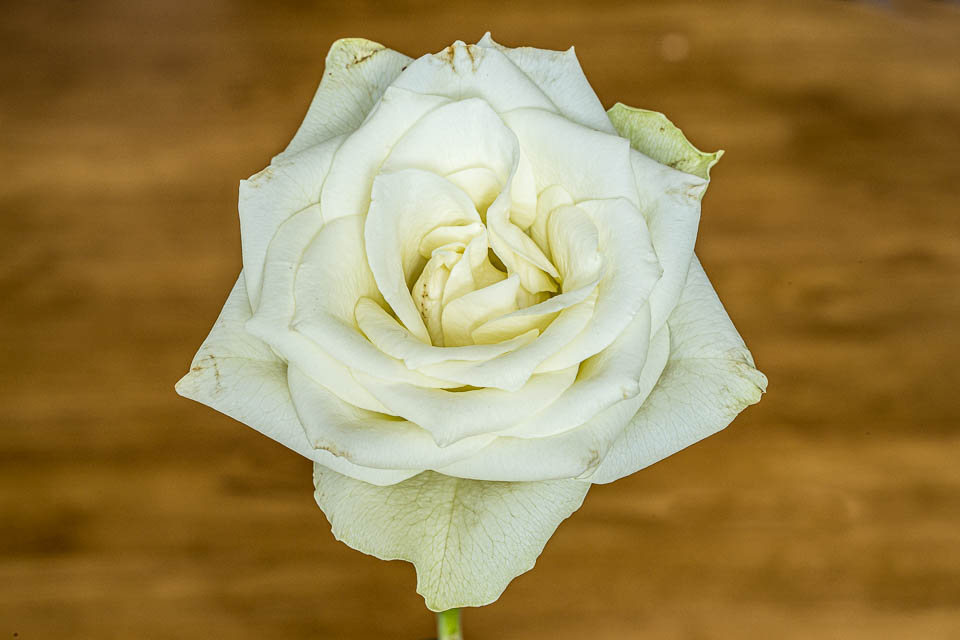
I try to make my editing process as simple as possible. This contemporary flower process is no exception. The Lightroom processing is fairly simple and as is the case 99% of the time I start by clicking on the Auto button in the Basic section of the develop module which generally gives a good starting point. Next, I have increased the texture and clarity controls slightly so that we get to see more of the veins of the flower. I then add a little more contrast so that we get to see a greater difference between highlights and shadows. This really brings out the detail of the veins in the petals.
To make the next stage of editing easier I also want to remove any distracting highlights that aren’t part of the flower. The two white spots in the top corners are easy to edit out by using the spot removal tool. We are now ready to head over to Silver Efex Pro for the next stage.
Silver Efex Pro Editing
Whilst it is possible to make black and white conversions in Lightroom and Photoshop, I think Silver Efex Pro simplifies the job. I previously wrote a blog on colour-popping using Silver Efex Pro which used control points. We are going to use the same feature again so that we only isolate the flower. However, before we do this we’ll change the overall feel to the flower. I really like the High Structure (harsh) profile as a starting point. On top of this, I also add the Selenium processing. This gives us a really nice silver look to the conversion. Next, we’ll get rid of the background by using a few control points.

Click on the control point tool and then drop it onto the background of the photograph./ I made the area the control point covers as large as possible. Next, I reduced the Brightness slider as far as it goes. Most of the background is now reduced to black. If you need to, duplicate the control point and remove as much as possible of the background. We should be left with a beautifully processed black and silver flower on a black background.

Final tidy up in Photoshop
To finish off our contemporary flower image we are going to take the Silver Efex image into Photoshop. You can see there are a few areas where the background hasn’t been turned to black. We can easily correct this by using the Spot Healing Brush tool to paint over them so we are left with a nice clean background.
As with last week, I have made this contemporary flower image available on my website for purchase as a limited edition framed print.

Give us your feedback
If you’ve got any questions or comments, leave them below. You can sign up for the Edinburgh Photography Workshop monthly newsletter where you’ll get regular updates on interesting things happening in photography and some great tips. Sign up by clicking here.
![]()