December 18, 2019
Choosing calendar photographs
Use Adobe Lightroom flags and collections to choose your best photos for a calendar
Every year I produce a calendar which I can send to the customers who use the services of Rich Dyson Photography. It can be a difficult task trying to remember the best pictures taken throughout the year. However, with Adobe Lightroom you can make the job easier by using flags and smart collections.
Flagging calendar worthy photos
There are three different ways that you can flag a photograph in Adobe Lightroom. You can use all of them at the same time as well. Before I talk about the system I have used let’s look at the three types of flags.
Flag Status
The flag status has three options. You can add a Flagged status by typing P (for pick). You can remove Flagged status by typing U (for un-pick). Finally, you can add a Rejected status by typing X. If you use the Reject status then this will allow Lightroom to remove the photos from either your hard drive or the Lightroom catalogue by taking the option Delete Rejected Photos in the Photos menu. You can also set these three statuses by right-clicking on the photograph and using the options in the Set Flag sub-menu.
Rating Status
The rating status allows you to apply a numerical rating between 1 and 5 to a photograph. This is shown in Lightroom as a star rating. It’s really easy to apply a rating – you just type the number of the rating you’d like to give the image. You can remove a rating by simply typing 0. You also have the option of right-clicking the photograph and taking the Set Rating sub-menu.
Colour Label
The final status allows you to apply a Colour Label. You have an option of five different colours that can be applied. The colours and associated keystrokes are Red (6), Yellow (7), Green (8), Blue (9) and Purple (no keypress associated). Again, you can also apply a Colour Label by right-clicking and take the Set Color Label sub-menu.
The Rich Dyson Calendar Method
I’m going to show you the process I go through using these three types of flags and statuses. You can create your own method if you’d prefer but I have found this works for me. Throughout the year, if I think I have taken a photograph that could have the potential for inclusion in my year-end calendar, I will make it with a Green colour label by pressing the number 8 after I have finished editing. Around October, I’ll review all the Green labelled photographs and with the benefit of hindsight, I’ll apply a Flagged status to the ones I still like. Finally, I’ll then choose my best 13 photographs (one for each month and a cover image) by adding a Rating of 1.
You’ll probably think that the problem with this methodology is that you’ll need to go through all your photographs in the year to find the Green colour labelled photographs. I wrote about Collections earlier this year and this is an ideal use of Smart Collections to help automate some of the process.
Creating a Smart Collection
You can create new Collections in both the Library and Develop modules of Lightroom. At the top of the Collections tab is a ‘+’ sign. Click on that and you’ll be given the option to create either a Standard Collection, Smart Collection or Collection Set. Take the middle option and you’ll see a pop-up box appear.

Here you can add criteria using the metadata in your photographs to group together photographs. The first criteria I apply is to only show photographs taken since the last calendar was produced. In the large white area, I’ll click the drop-down on the left-hand side of the screen and take the option ‘Capture Date’ inside the ‘Date’ submenu. In the next column, I’ll take the option ‘ is in the range’ and then I’ll add the start and end date that I want the photographs to be taken between. At the end of this row is a ‘+’ sign, click on this and you can add some more criteria. This time I’ll add the Label Colour and only pick photographs which have been flagged as Green. Click on create and we now have every image flagged throughout the year in one place so we can review them.
You could create two more Smart Collections to also show when you have the Flag status set and added the rating of 1 so you can easily see the three stages you went through to choose your best images for the year. The final Smart Collection could look like this;

You can also contain all three of these Smart Collections in Collection Set called, for example, Calendar 2020 which keeps the various Collection together and keeps your Lightroom Library nice and tidy.
Give us your feedback
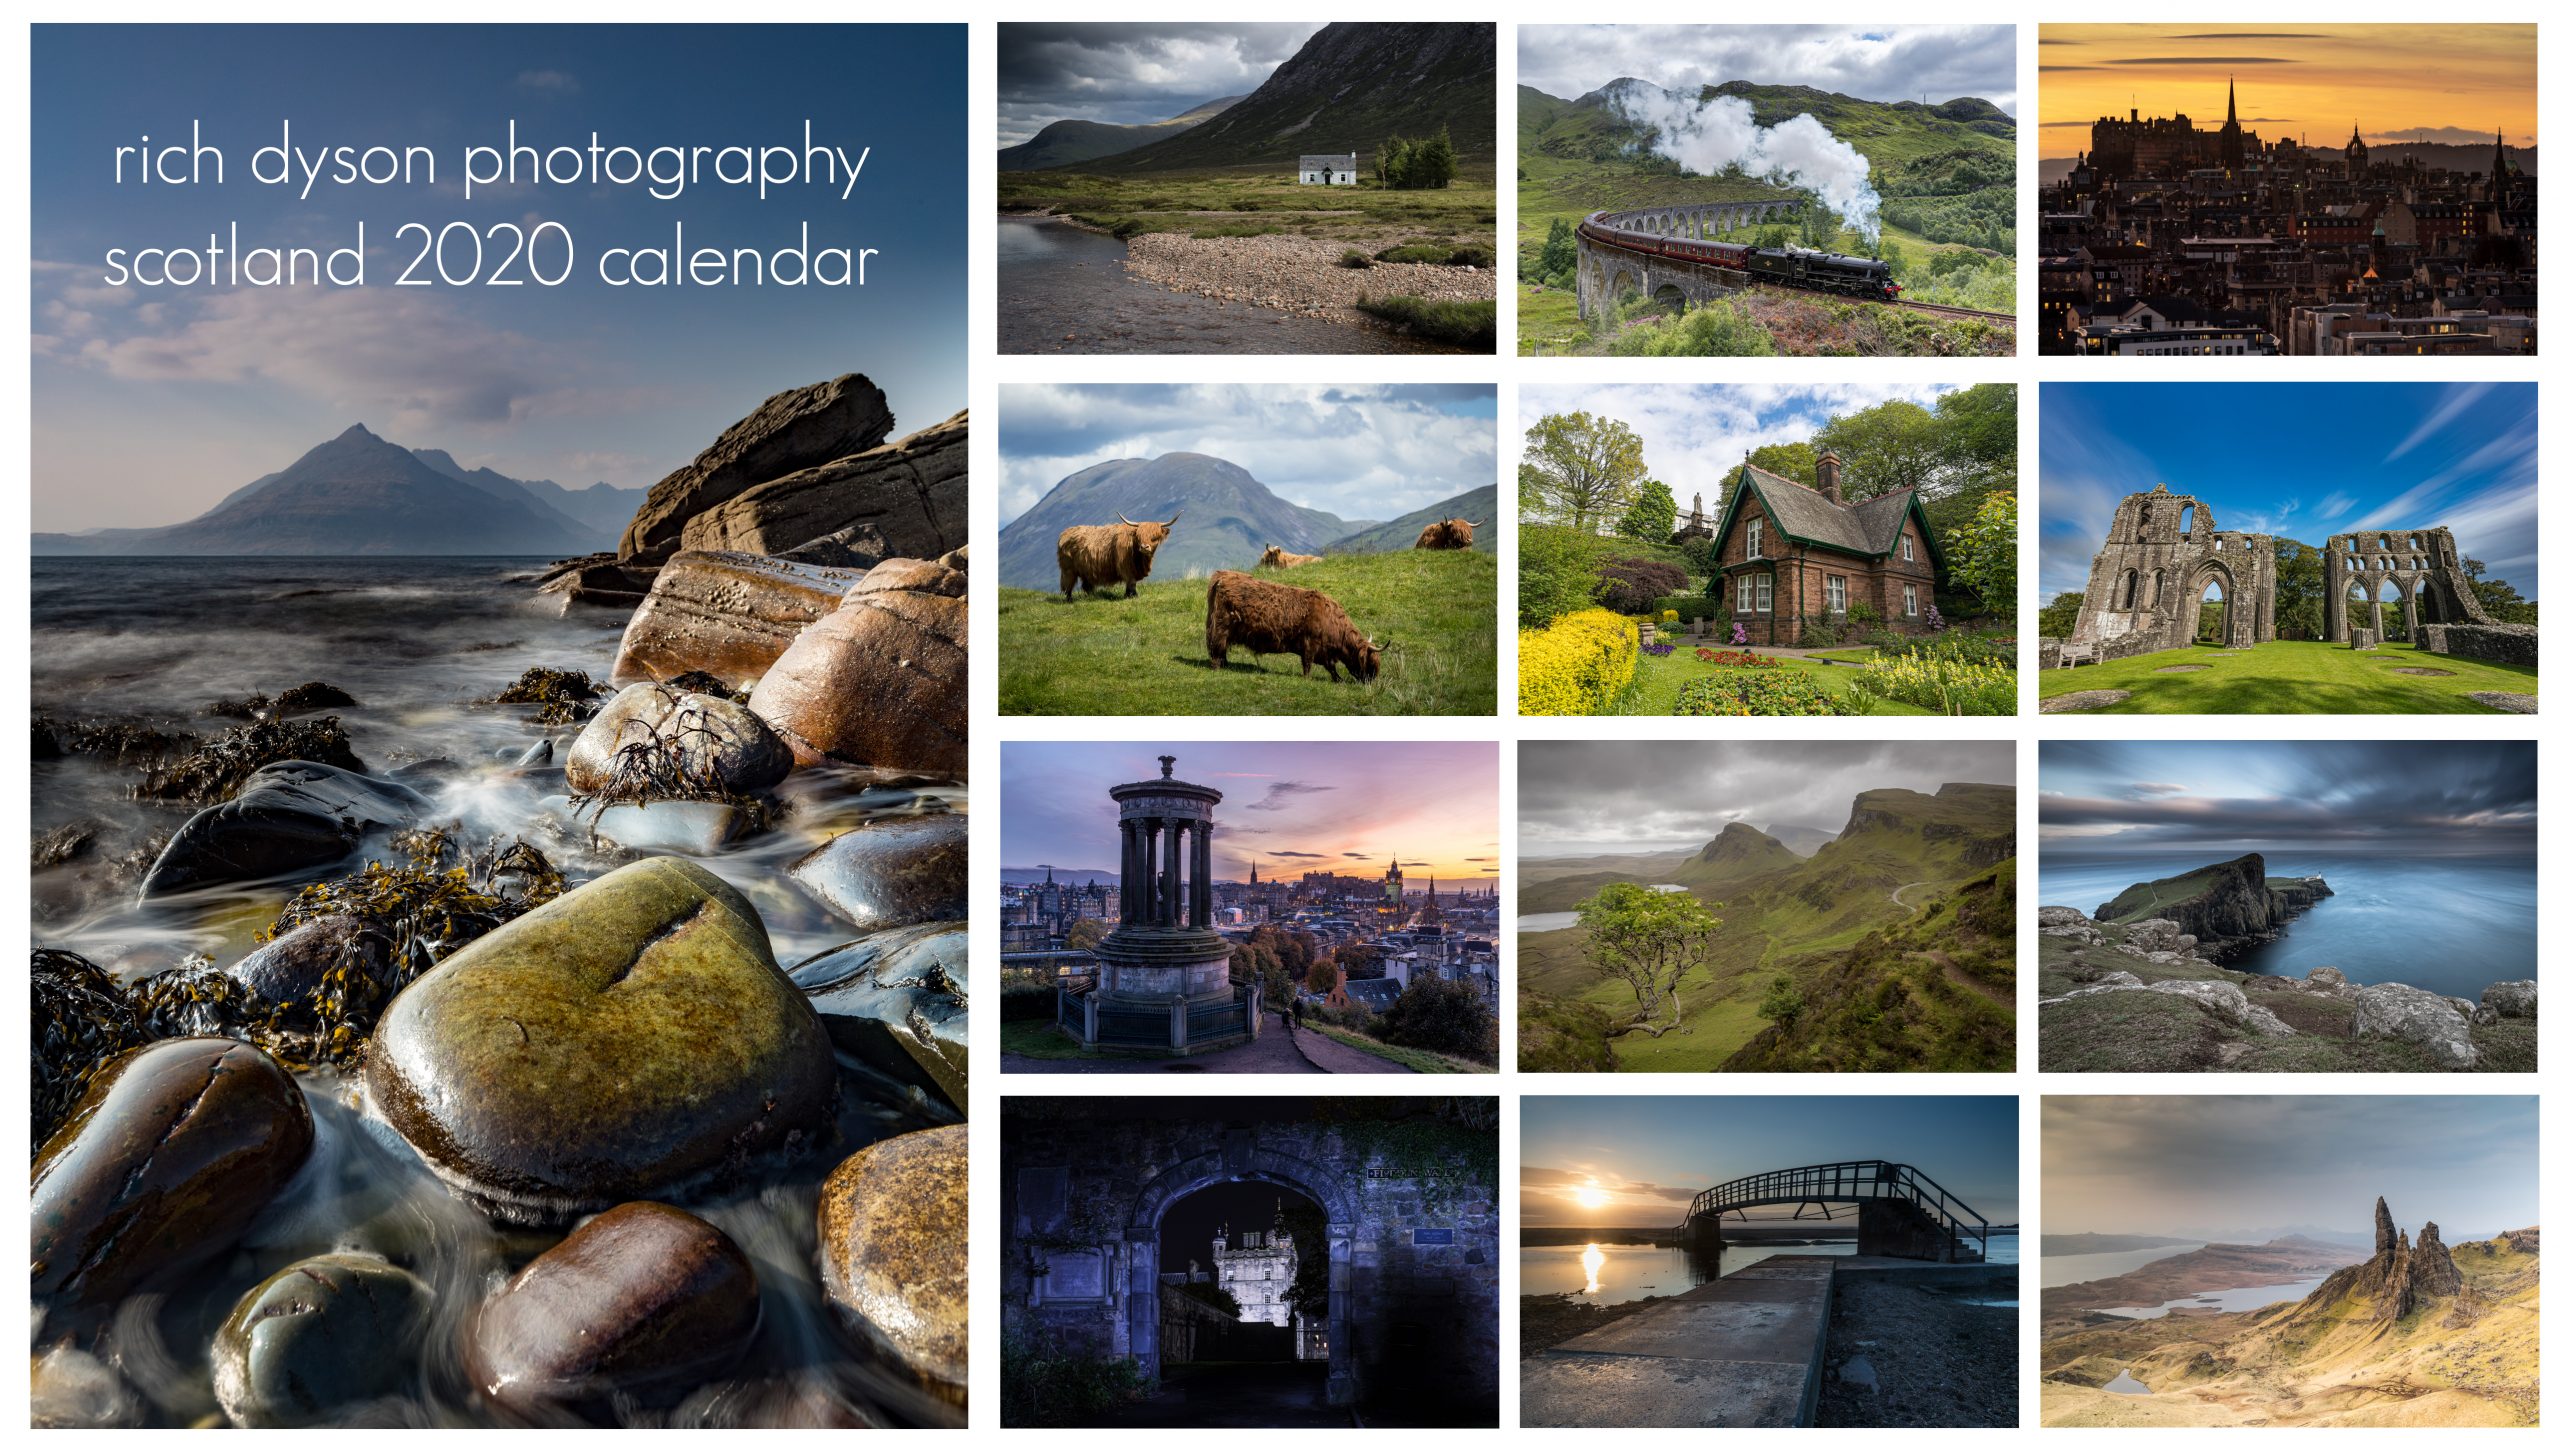
Hopefully, this gives you a good idea of how to prepare your own photographs for next year’s calendar of your own images. For this year though, you could always by the Rich Dyson Photography Scotland calendar by clicking here.
If you’ve got any questions or comments, leave them below. You can sign up for the Edinburgh Photography Workshop monthly newsletter where you’ll get regular updates on interesting things happening in photography and some great tips. Sign up by clicking here.
![]()